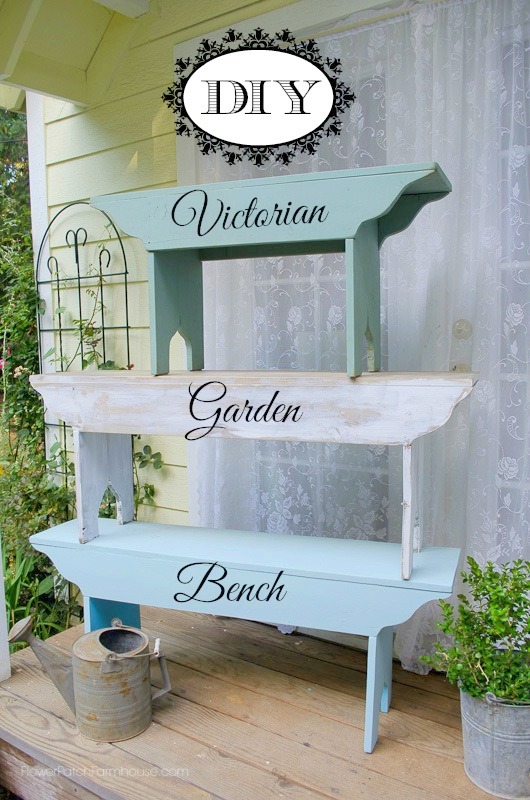
How to Build a Victorian Garden Bench
How to build a Victorian garden bench is a simple tutorial for extra seating wherever you need it.
This DIY cottage garden bench is easy to build and can be customized to fit your needs.
Are you ready to build something? This project is fairly easy and straightforward.
I have built a few of these and have used them for plant shelves, garden seating, and fun seasonal decor pieces.
An easy DIY!
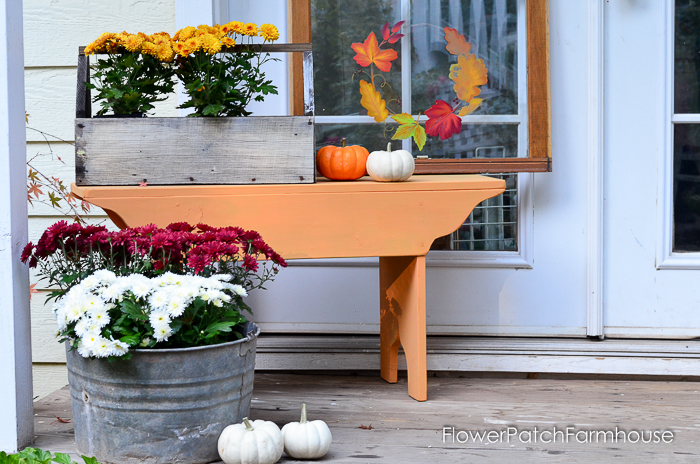
Use it on your front porch, in the garden, or even in the house. Dress her up in pumpkins, or potted mums or just leave her plain.
She is a pretty thing all alone. Now to the nitty-gritty of how to get her built.
I used standard pine lumber from the local lumber yard.
Materials List
One 1 x 12 at 8 feet long (for seat and legs)
One 1 x 6 at 10 feet long (for sides)
you could use an 8 foot board but it would be just barely long enough
nails or screws, you choose
Wood glue
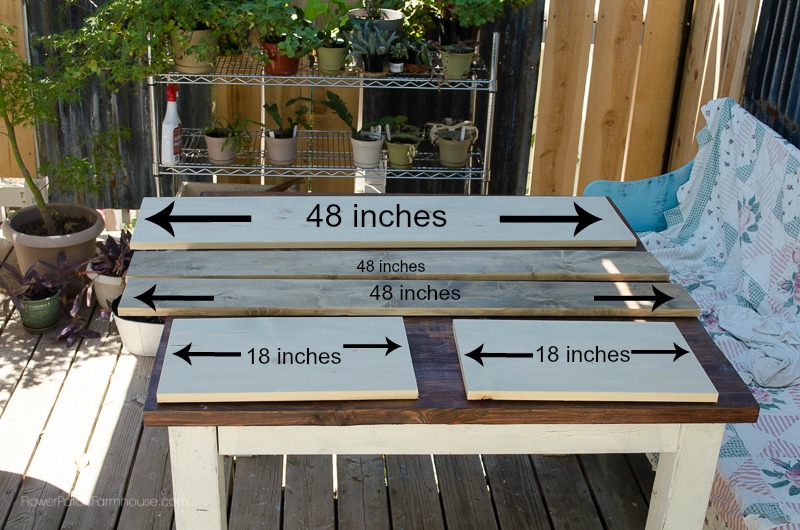
Cut your 1 x 12’s
1 Seat @ 48″ long
2 Legs @18″ long
Cut your 1 x 6
2 Sides @ 48″ long
I used a template for the curves.
I have a pattern available just fill out the form below to get access.
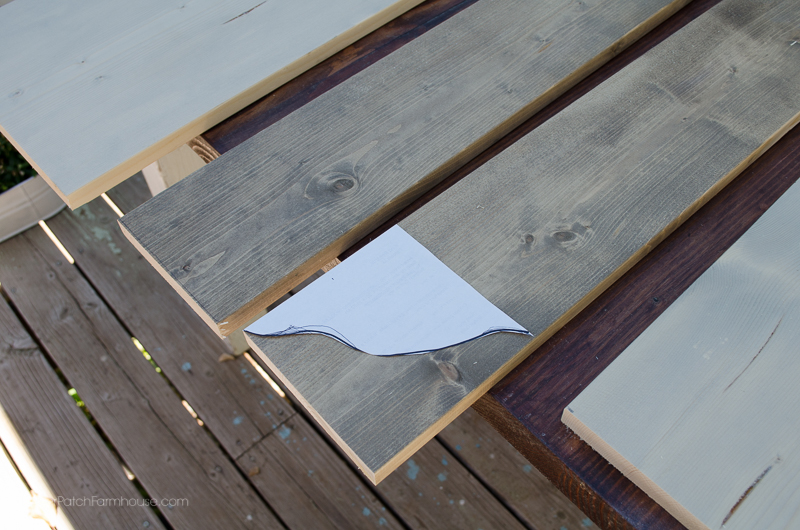
Now it is time for the fancy cuts. I used my Ryobi jigsaw. (I LOVE this saw!)
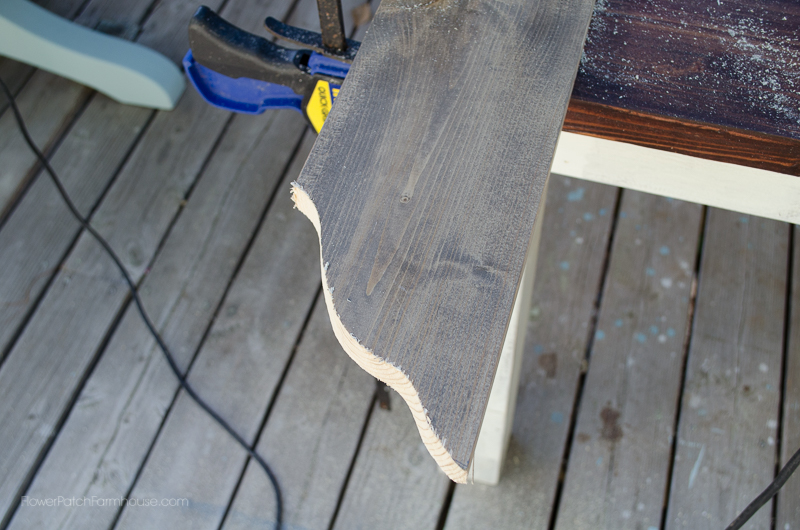
Cut the side pieces and the legs following the outline of the template.
Legs
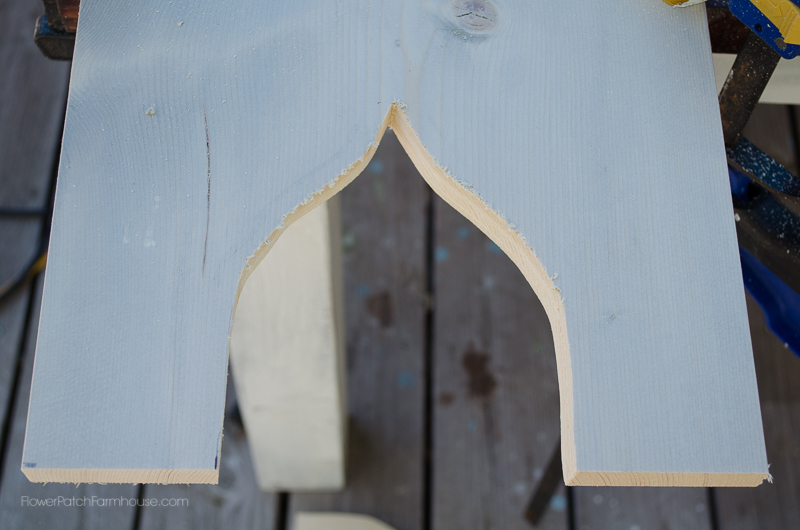
Sides
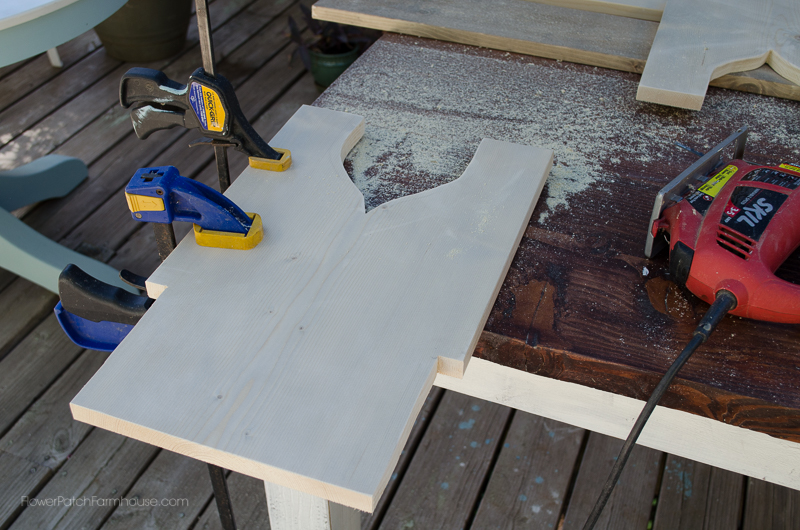
You also need to cut insets into the legs. This is just the depth of the side boards by the height.
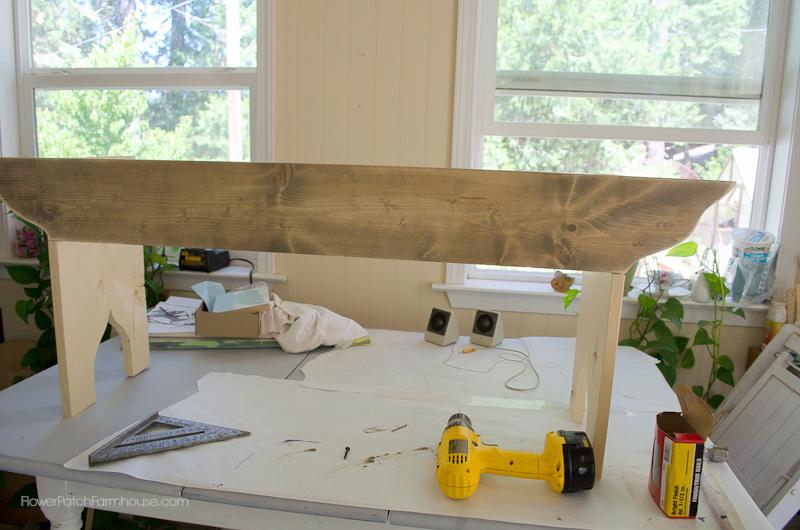
Now set the legs on a level surface on their sides.
I managed to do this by myself but an extra pair of hands at this point is helpful.
I used a speed square to keep it square. It is the metal triangle on the left in the photo below.
I placed it in the corner where the legs and side piece meet. Sorry I did not photograph that process, obviously my hands were full.
I nailed the sides into the legs.
Can you see how the side piece fits into the inset cut into the legs?
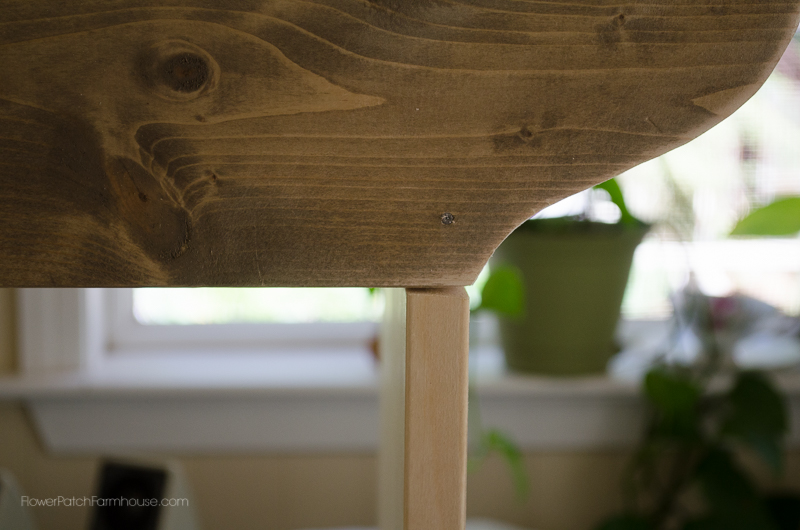
The next side is easier since the attached side holds the legs for you.
You still need to use the speed square to get it to square up well.
I used finish nails so I could counter-sink them and have them virtually disappear but you could use screws or even make this with a Kreg Jig if you have it.
You can see that not all my edges line up perfectly. That is fine by me and I don’t fret it.
These boards were a little wonky and had a bit of a twist to them but they still do the job if you are not a perfectionist.
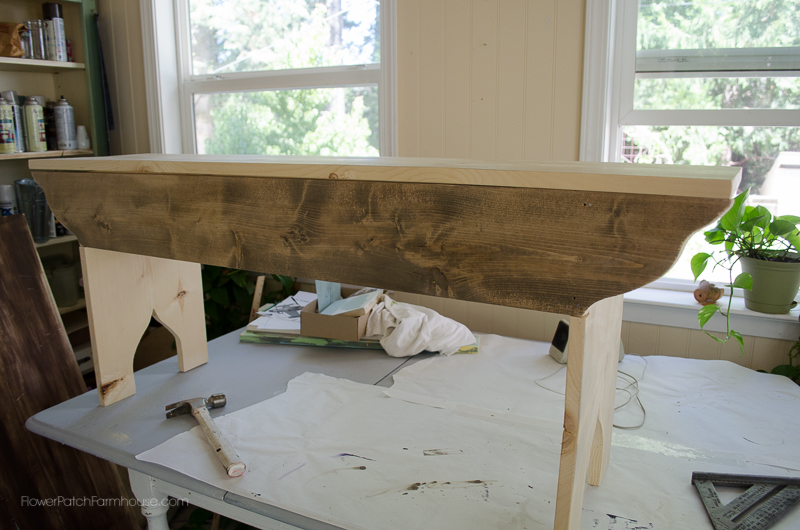
Now nail on the top. I did not show the gluing process but basically you put glue wherever wood edges meet to help keep it all together.
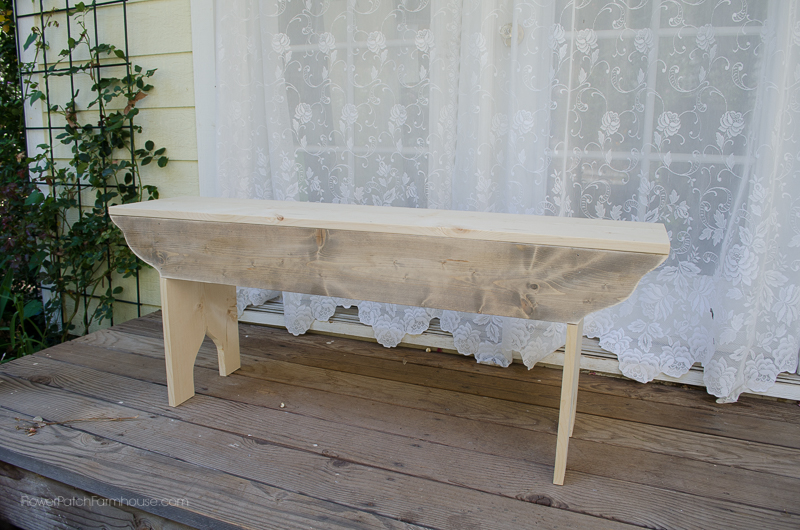
Now you are ready to paint.
I used my Rustic Aged Wood in 4 Steps on this one..with the top coat being DecoArt Chalky Finish Paint in Everlasting

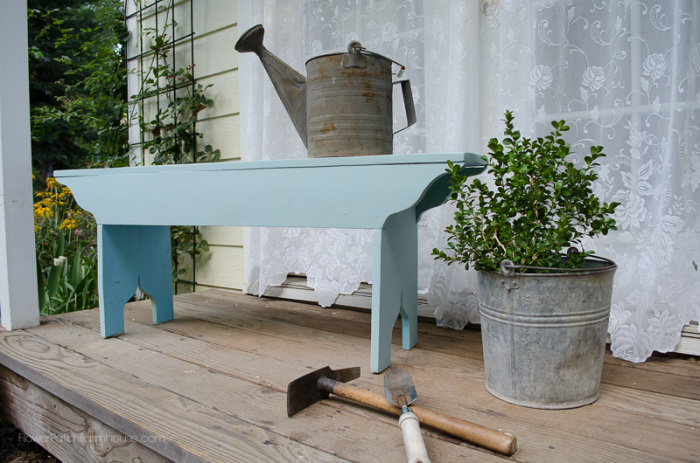
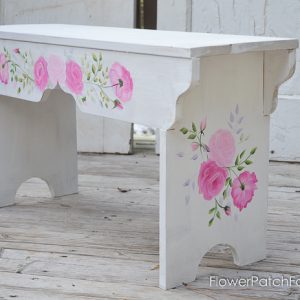
the one below is a custom mix of DecoArt Chalky Finish paint, mixing is so easy, just be sure to write down what you do so you can repeat it.
I love this Sky blue I mixed up.
You can also make a custom size, the bench on the top in the photo below is 36 inches instead of 48
This is such an easy project to change around.
Painted up for Fall on the She Shed porch
For another bench design CLICK HERE
If you make one I would love it if you shared it with me.
Any ideas for how to decorate with one of these?
I think a bright red one would add a great pop of color to my porch.
To access the free printable bench pattern and the cut list just sign in or sign up for a free account.
Happy Building!


I can’t wait to get started
Yea tried refreshing browser already prior to email , Thanks however for the reply ,
Try refreshing the cache or try a different browser. Let me know if this fixes it.
Hello , great looking benches , I can’t seem to get the pattern for the design cuts , I did the email an password for site ? Don’t know what happened , thanks
I am going to build a miniature one of these for my dolls’ house!
can you tell me the wood you used for the side.
and is the rest out of pine or all pine including the sides.
the chalk paint is just one colour or did you layer it.
this is adorable
Hi Tiffany! I love all the ones I have built and now I have been asked to decoratively paint some for some of my readers, which I will and share soon. I have a new design I am going to make as well that will be fun. Enjoy building them in all sizes!
Hi, Pamela ~ I LOVE this adorable bench! I was looking for a tutorial just the other day, and I’m SO glad I found yours! I’ll be pinning this so that I can have it handy when we are ready to make some benches. Thanks for sharing!
It is a pleasure sharing projects with you all…I am so glad you enjoyed it. South Africa, hmmm you are most likely heading into warmer weather, we are just getting our first bit of chilliness, I already miss summer. 😀
I love working with wood too. This is such a great project as it is so easy to do and the results are so useful in many ways! I am so glad you stopped in to say Hello, Elisabeth…Austria is a place I have wanted to visit for a long long time. Some day! 🙂
They would be really great used in a shop, I can see you stacking them for shelving or used to stage other items. I supposed I should’ve given a price breakdown of what I spent so folks had an idea of the cost to build one. Hmm, I may go edit that in. I would love it if you shared if/when you build one.
Hi, I appreciate this tutorial as I can always use benches like this in my shop. Thank you so much. This is a simple bench that I came make myself and it is one of the nicest designs I’ve come across. I’ll be back to visit.
Ginene
Pamela,
I love to work with wood! This benches are fantastic! They are absolutely adorable. You did a great job on it. Have to put it on my list too! You’re inspiring me!!! Thank you for the perfect tutorial!
All my best from Austria and a happy happy time
Elisabeth
What a wonderful idea. Thanks for sharing.
Lots of blessings from South Africa
Sandra
Totally cute! Your embellishments (curved bits) really make it! I’m having Thanksgiving at my house this year, I think a few of these would be great extra seating 🙂
Great job making this beautiful bench! Come link up to Centerpiece Wednesday and share your idea with us http://thestylesisters.blogspot.com/2014/09/centerpiece-wednesday_16.html
And really fun to build. 🙂
I love these little benches, they are so cute and versatile.
You are most welcome, these really are as easy to build as it looks and fun too. They are so versatile.
Love this bench! And directions look like I could build it myself. Thanks for the post!
These stackable benches are adorable .. My son is the builder in this family and thes would look great in the chickens patio as I know that’s who would be using them. He had a chicken or two missing last week so he put up some wire traps to catch the culprit and his dog keeps getting in them. He’s done it twice now so it’s the garage for the nosey pooch at night. Have a great week.
Thank yo Meegan, I do love to build and then paint them up.
Thanks again, Donna for the feature! Can’t wait to see what you make from this, I am sure you will hit it out of the park. 😀 We are just back in from a business trip to Chicago so I am a bit delayed in getting this out to you.
I love all the benches I have made and they come in so handy around here. Our t.v. even sets on one in the living room. That is not what I made it for but it works for now.
I love it….I love the shape and the sizes and its so simple. Great job. THanks for sharing.
Oh my goodness. I LOVE each and every bench. You are so talented. Thanks for linking up to Inspiration Monday.
Make it a great week!
Fantastic project! i pinned!
I have ALWAYS wanted to make my own bench, and now I can! Thank-you! I’ll be featuring this beauty on this weekend’s Party Junk. 🙂
These are so pretty.
Debi
I hope you build some and please when you do, share a photo with me. 😀
Wow! I love your benches! Great template you came up with! Benches are so fun…. And useful too… 🙂
They are just that simple but they turnout so lovely.
Great bench plan. Pinned.
Joy
They are easy to do and have endless uses. I have about 5 I have built and are around on the porches and in the garden. I think I want to paint some with some funky art, like my faux vintage crates. Do build some and be sure to share, I would love to see them.
I bought some gorgeous mums today that I plan on using to decorate with. Just need to keep the deer away from them. I have some little white pumpkins that came up as a surprise in my gardens so I am having fun thinking of ways to use them too.
Pamela, I’m so impressed with your garden benches, and I’d like to make some of these this winter!
I love them all stacked up, they would look perfect for fall piled with white mums and blue-green pumpkins
And it is so much fun! It is very simple with basic tools. When you build yours please do share, I would love to see it!
That is too cute! I definitely need a few. I have a bunch of pallet wood on hand. I need to come up with a version of that bench using pallets. Thank you for sharing!