Pruning Climbing Roses for Optimum Bloom
I am sharing my Pruning climbing Roses post because I am a rebel gardener and my methods are not always compatible with what the ‘establishment’ claims is best practices.
Why? Because I found those methods are not always correct in my climate and type of roses!
How to Prune climbing roses is the how-to of my step-by-step way of getting abundant blooms from my climbers, most are not grafted but are grown on their own roots.
This is for climbing roses and not ramblers, rambling roses bloom on old wood and should only be pruned or cut right after their bloom.
Did you know that the so-called “right way” to prune roses is usually based on hybrid teas for show and not for the average gardener?
Here are more rose myths you may have heard 10 Rose Care Myths Debunked
We have been enjoying warmer days after a week of cooler more Fall-like weather.
It has been about or near 70 daily for a few days and I am trying to take every chance I can to get outside and accomplish some of the garden clean-up chores before winter hits.
I live in Zone 8 in the Sierra Nevada mountains of California and do rose pruning before real cold weather hits in late Fall.
Why prune in late Fall instead of Spring
Traditional garden advice is to not do this kind of pruning until late winter, or early Spring but that does not work for me as we can be buried in deep snow until the first of June.
Climbers are also a different type of rose and can be pruned any time of year.
Some say that pruning now will spur the plant to put on new growth and then the new growth will suffer during freezes.
That is not entirely accurate, it is not only pruning but also soil temperature and day length that encourage new growth so if your rose is truly dormant then it will not put on new growth until all conditions are right.
Late Fall pruning also helps keep my roses from getting broken and damaged by the heavy snow we get here in the mountains of Northern California.
I have been practicing pruning in late Fall for about 30 years and my roses flourish. Late Fall is around early to mid-November.
Why am I telling you this?
Because sometimes what is traditionally done in the garden world is not always what is best in your garden conditions or microclimate. Sometimes you have to experiment.
Gardening advice is not a one size fits all scenario so don’t be afraid to break away from what the “experts” tell you and find what works best for you in your environment.
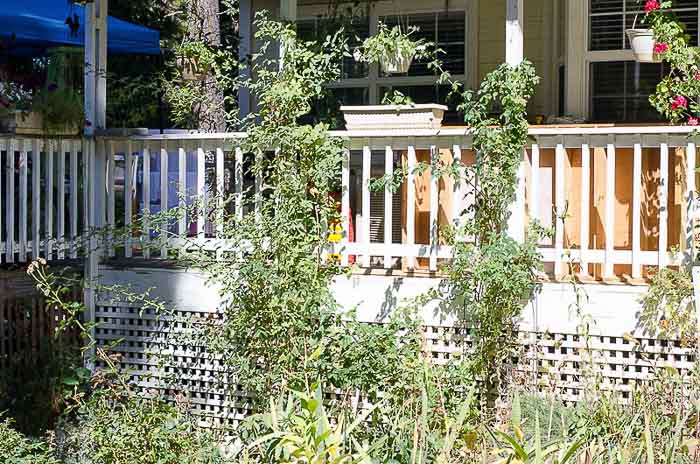
Today I focused on this mess…
Today I show you how I Prune this Rose
The climbing roses along the side of my house have gotten out of control. The one I am going to focus on today is the one to the left in the photo.
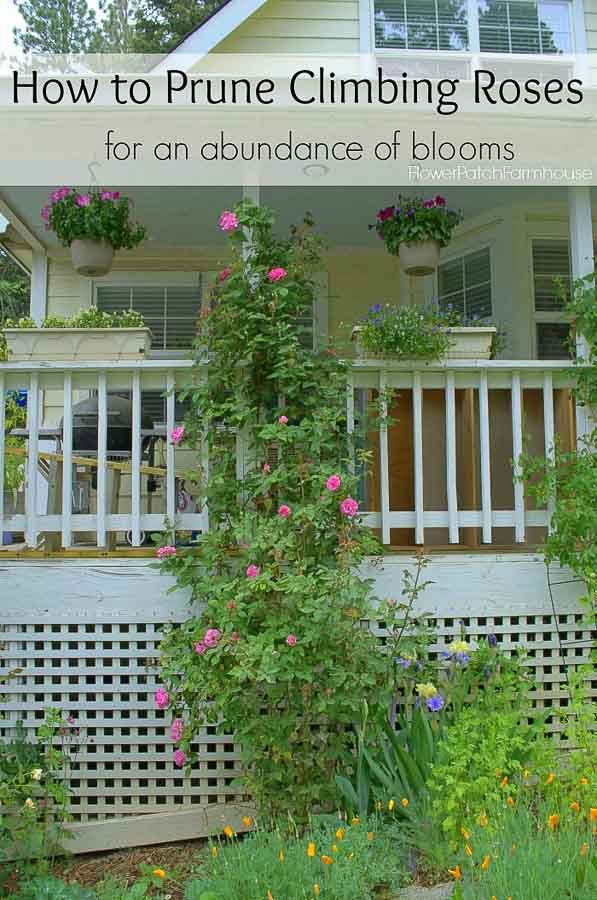
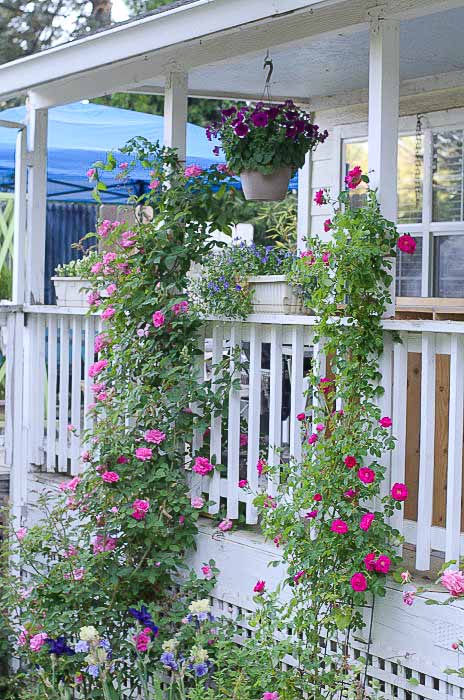
It is a Zepherine Drouhin and it blooms so gorgeously as you can see in the very top photo. It is nearly thorn-less making it so easy to work with.
Again I want to emphasize, pruning climbing roses is different than Hybrid Teas or other bush types. You can prune on them all year long to keep them in check and blooming.
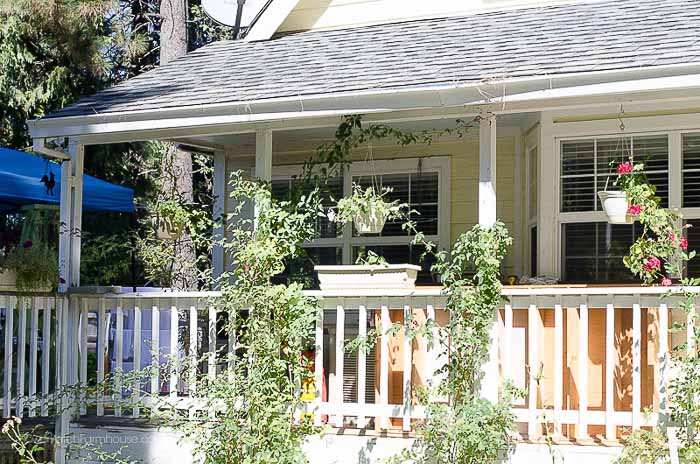
As you can see I have the main cane growing up the porch pillar and starting across the eave of the house now and I want to keep that main cane intact.
So I follow it down to find which cane is the main cane at the base of the rose.
Prefer watching a video? Here is a link to the real-time step by step video.
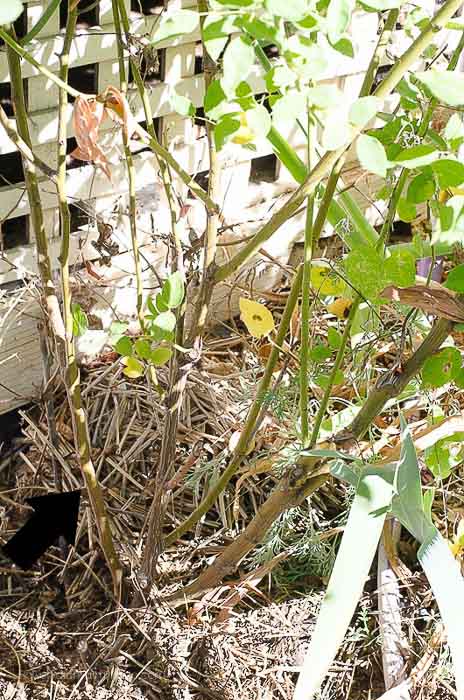
Why prune at all?
So that all the energy goes to this main cane I prune out most of the others.
Yep, just be brutal and cut them out. Cutting most of the older canes out forces the plant to put out new canes from the root (own-root roses) thus refreshing the plant for maximum performance.
This was a renovation prune so if you only want to encourage more blooms next Spring then leave more canes from the base.
You can leave a couple of others and just trim them back in increments of 3 feet, aka, cut one back to 3 feet, the other 6 feet.
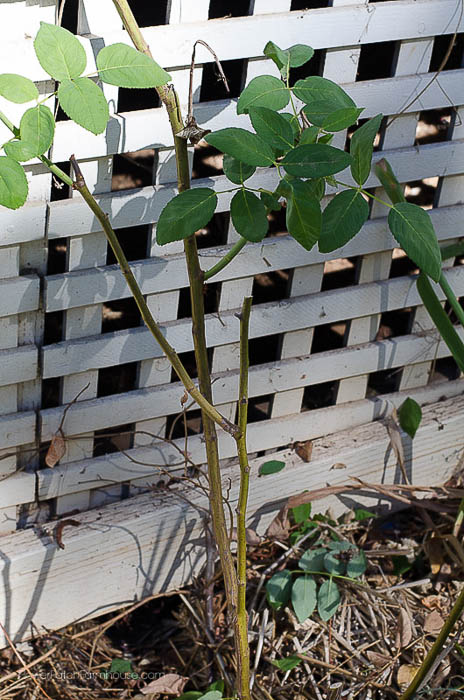
I do leave the small lateral cane coming out of the main cane.
That will provide some blooms along the lower portion of the plant. The main cane may only bloom up higher next Spring and this lateral and any others along here will fill in below.
You can cut the laterals back to about 6 inches or so and they will be just fine.
Now let’s go on up the main cane…
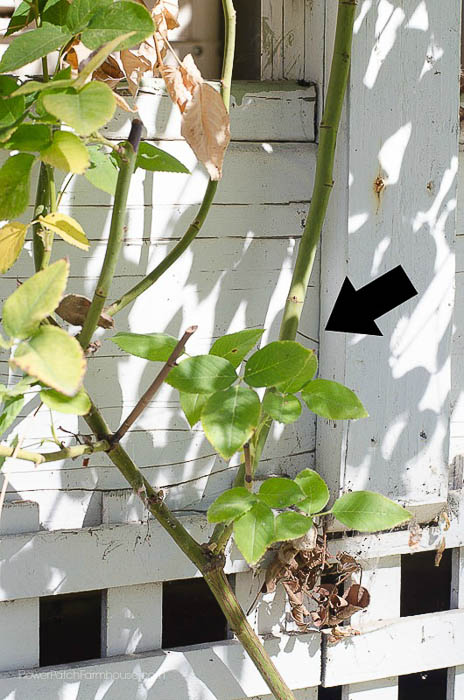
Follow the main cane
As we follow the main cane up we note that a lateral cane is actually the longer one tied to the post to the eave so we cut off the rest of the main cane and now that makes the lateral from here on out the main cane.
I made a cut just after the Y so that the cane going to the left is now gone and the cane with the arrow pointing at it is now the main cane.
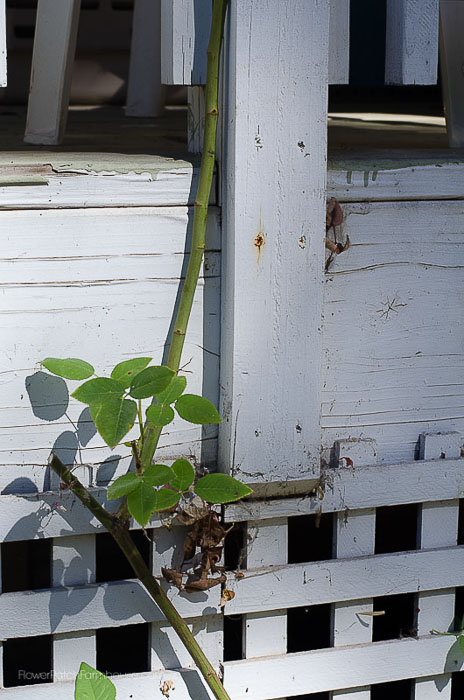
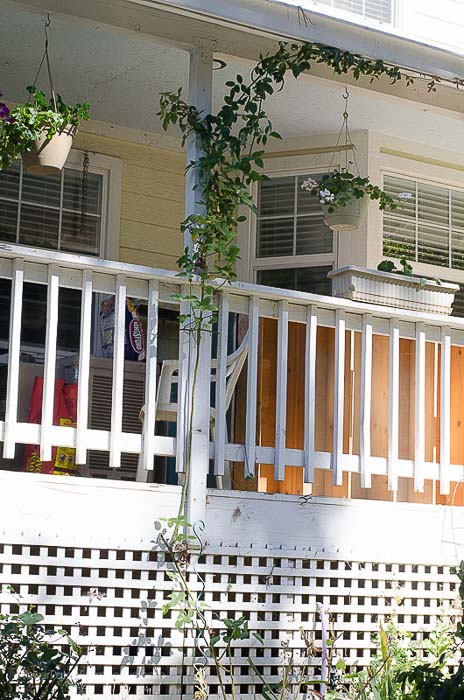
Though it is looking rather bare it will more than fill in next Spring. See all those little eyes along the cane, those can sprout into laterals which will produce flowers, lots, and lots of beautiful blooms.
Let’s go on up…
Tie the rose canes up
Up a bit further the main cane has another lateral cane that I leave. I train both of them along the eave and attach them to hooks that are screwed into the wood.
In the video, I leave more canes and wrap one around the post. That will force more blooms from the laterals.
Related: How to Pillar a Rose
Strip off all the leaves so it will be just a bare cane. That helps prevent some fungus or other issues that can occur.
And that is basically how I prune my climbing roses to keep them neat and tidy. In the Spring, I will do some more pruning to keep it looking neat as some of the laterals can grow 6 feet in no time.
Next Spring I look forward to bowers of pink roses climbing my porch posts…
More on pruning climbing roses
Prune and Train a Climbing Rose on an Arbor for Maximum Blooming
Happy Gardening!



Thanks I did learn alot.