Grow Petunias from Cuttings
Let’s grow petunias from cuttings! A budget friendly way to get more petunias to fill your containers, beds and hanging baskets.
Want to know how to grow petunias from cuttings? If you are like me and garden on a budget buying annuals every year can seem counter intuitive. Or you have a particular petunia you love and want more of it.
Why grow petunias from cuttings
Since my source for inexpensive 6 packs of annuals is no longer I have relied on grocery store choices and I even picked up petunias at Wal-Mart. My petunia seedlings failed this year, bummer, but I am going to start more seeds soon.
This post contains affiliate links. If you make a purchase after clicking a link I may make a small commission at no cost to you.
So I decided to get started with what I have and make more. This is not a way to get full lush plants quickly. You are going to have to be patient and enjoy the blooms later in the season (unless you start in February). But the satisfaction is worth the wait.
A great time to start petunias from cuttings is when you prune up or refurbish your leggy petunias in mid-Summer.
Did you know the Proven Winners Supertunias are started from cuttings and not seeds?
Prepare pots of soil
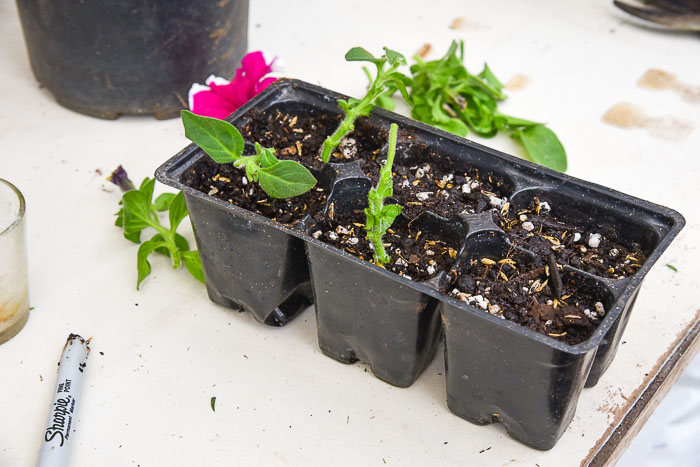
I re-used a six-pack container, filled it with the potting medium and watered it well. Many times I use these small 2 to 3 inch plastic pots I got on Amazon, they have lasted me for 10 plus years and are the perfect size for cuttings.
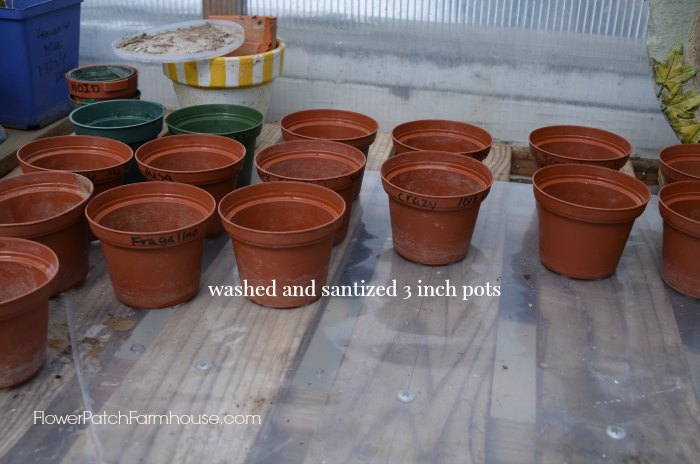
I didn’t use them this time as I was in a hurry and just grabbed the closest thing I had which was the 6 pack container.
Choose Petunia to take cuttings from
This is one of the petunias I will take cuttings from today. I bought this one in a 4 pack from Wal-Mart for $3. I bought these in early April and potted them up to grow on so they would be large enough to take cuttings from.
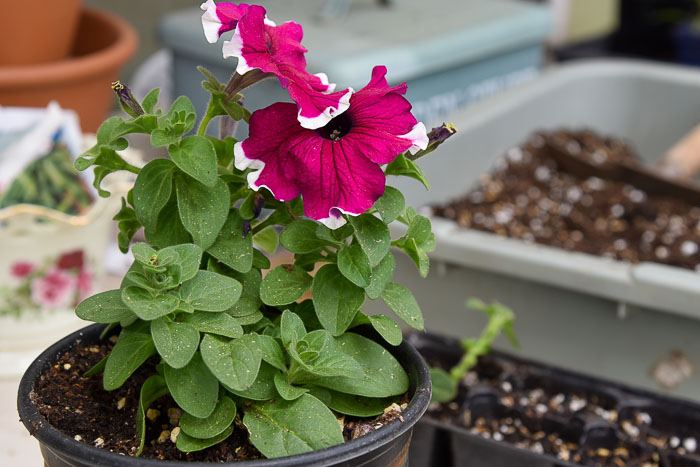
In the video you also see another I take cuttings from. The step by step video is at the end of this post.
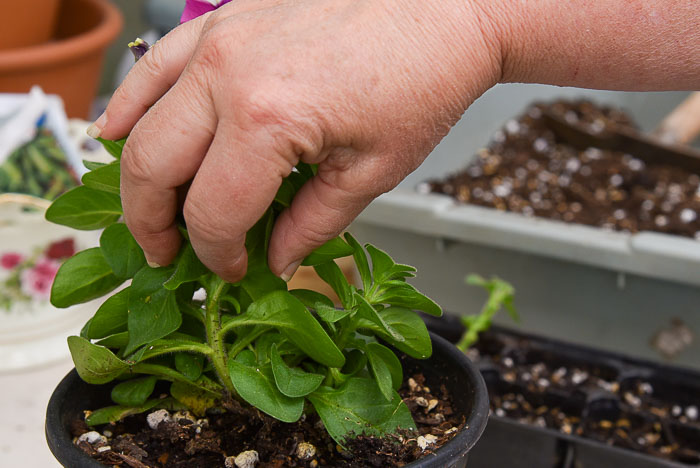
Choose stem to cut
You want a stem that will be long enough. You want almost 3 to 4 inches of cutting to stick into the potting medium. See the DIY potting soil I use here.
The longest stem on this petunia is the one with the big flower blooming. I hate to cut it off when it is so pretty but oh well.
Follow it down as far as you can and find a spot right below a leaf node.
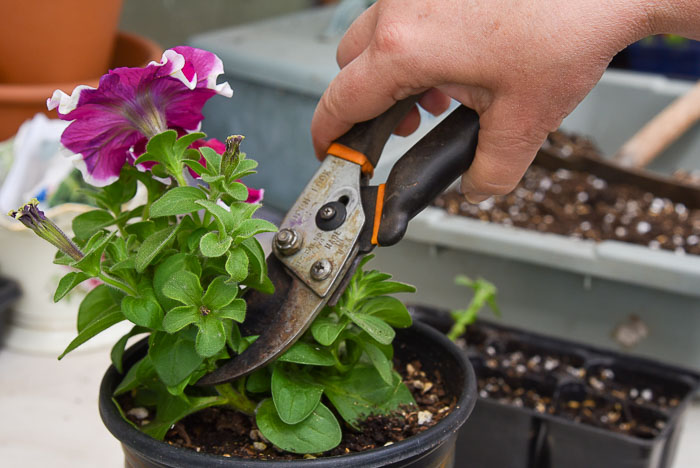
Take your Cutting
Using bypass pruners or a cutting tool of your choice, cut just below the leaf node.
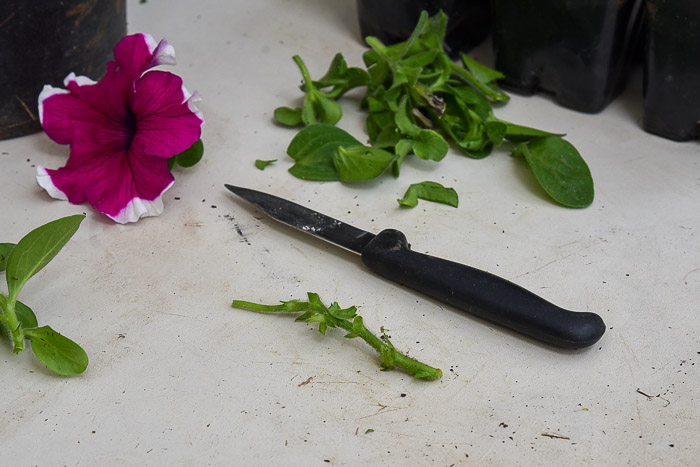
Remove leaves from petunia cutting
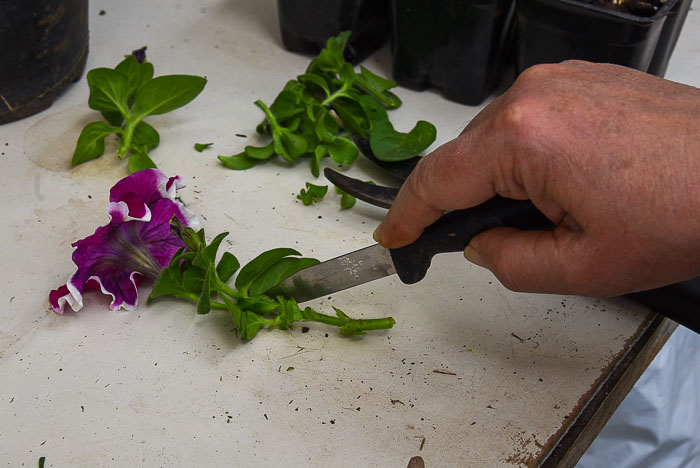
Lay the petunia cutting on your flat surface or potting bench, remove leaves and side shoots.
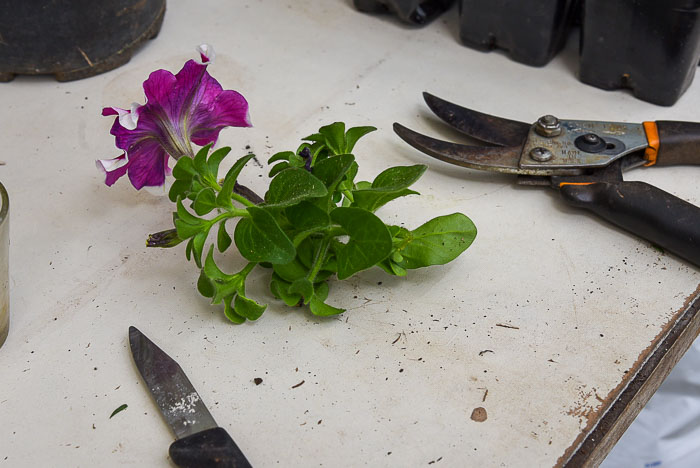
You can pinch them off with your thumbnail or use a sharp knife to sever the leaves from the stem.
It looks pretty sad without all the lovely leaves and flower but soon this little cutting will be sprouting new growth and then later more beautiful flowers.
Rooting Hormone or not?
Dip the bottom end into rooting hormone. This is a good rooting hormone for petunias. (some say you don’t need rooting hormone for petunias, I think I will experiment with that and get back to you)
Put the rooting hormone into a small container, do not dip straight into the bottle as it can spread plant disease and/or fungus. Here I am using a small glass votive with a small amount of rooting hormone in the bottom.
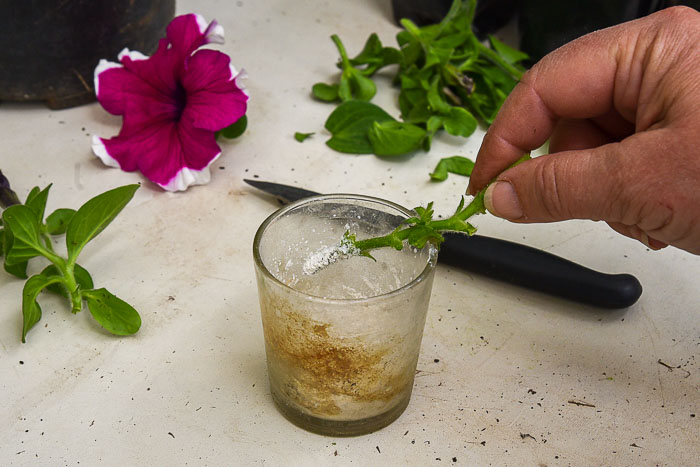
Tap the excess hormone off.
Stick cutting into planting soil
Using a tool large enough around to create an indentation. I used a sharpie, it is nice and fat which creates a good size hole to fit the cutting into.
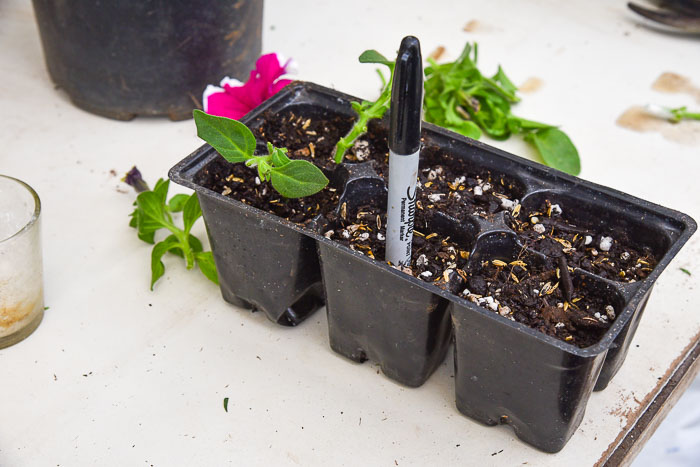
The soil being wet keeps the soil from caving in when removing the sharpie.
Now slide the petunia cutting into the hole left by the Sharpie and press the soil in around it gently yet firmly.
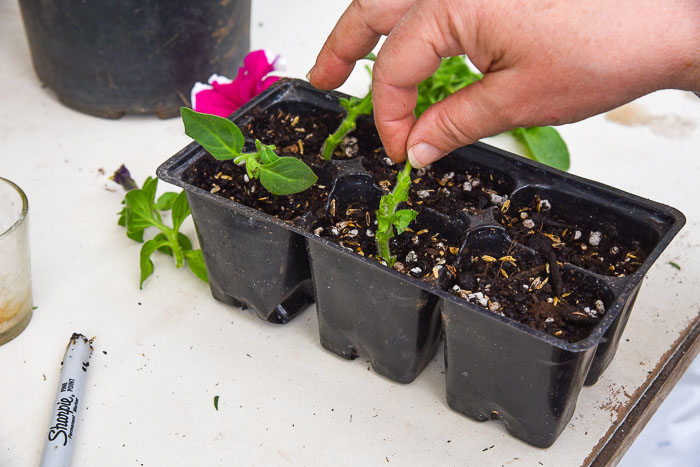
So far I have 3 cuttings from 2 plants. These were not large plants yet so I finish up by grabbing another petunia to cut from.
Place in a cool place.
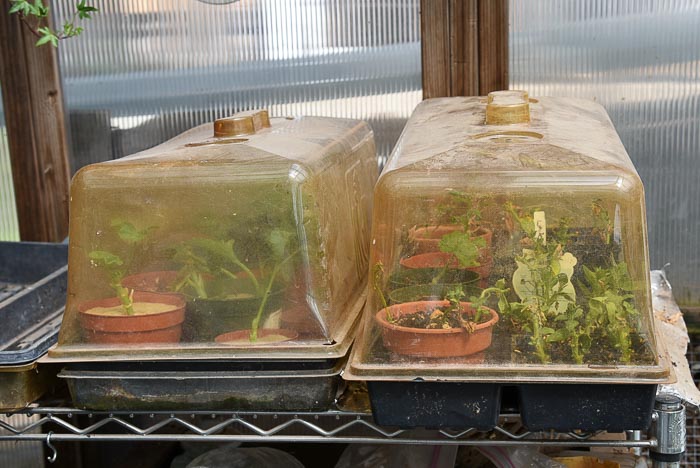
I use these domed lids over the planting trays to keep the cuttings from drying out too much.
Others claim this leads to fungus and rot and they prefer a misting system. But who has that kind of set up other than professionals?
For me these lids have worked great and have ventilation on the top. I couldn’t find the exact same ones on Amazon to link for you but these are close. I have used and abused mine for 10 plus years so they have been worth every penny. Mine started out clear but have ambered over the years.
Or you can make your own DIY Propagation Box that works like a greenhouse.
I have these cuttings in the greenhouse and while that works while it is still cool out it is now getting too hot. I will place them on a table under my deck where they can get bright light but not direct sun and it stays cooler there in the warmer months.

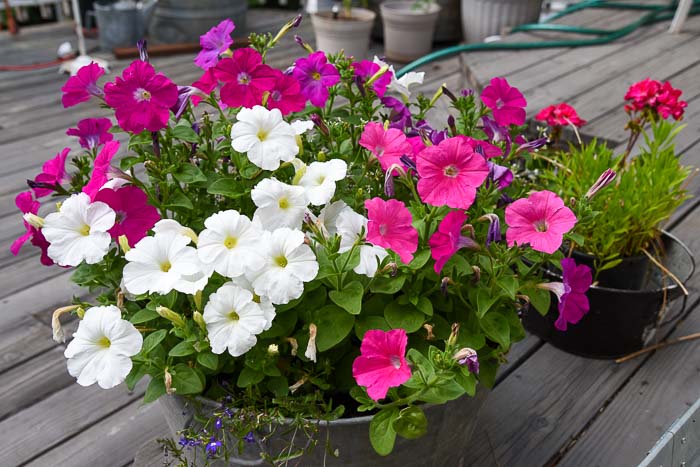
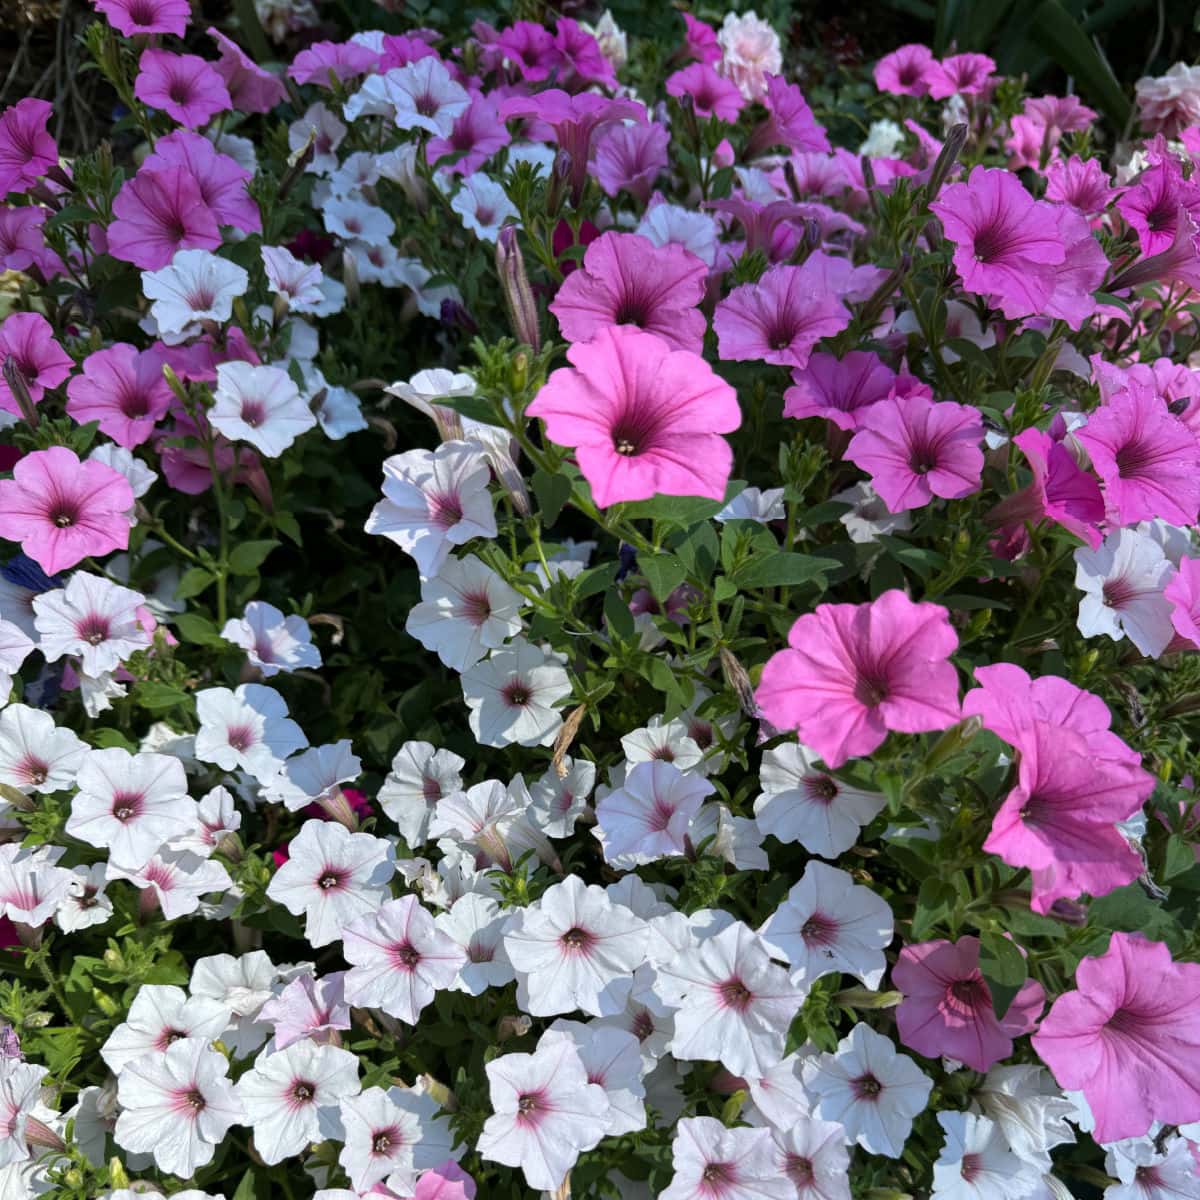
Expect to see roots in 3 to 4 weeks. Before you know it you can fill a tub or container with your beautiful petunias.
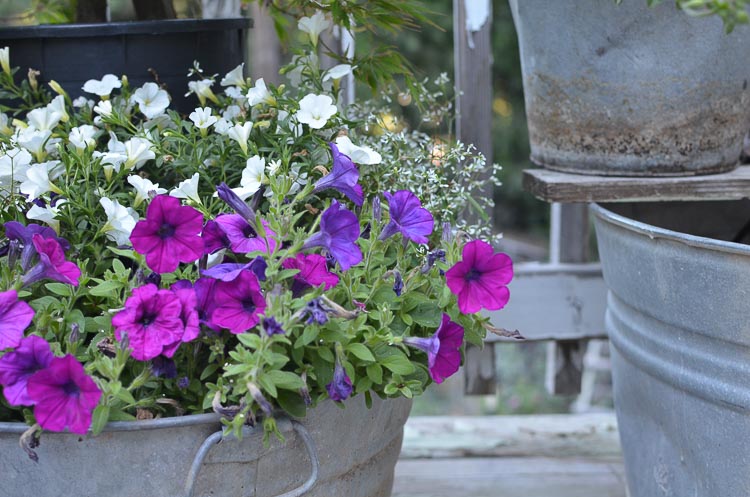
Be careful, propagating plants this way can get addictive. Fair warning!
Want to get more tips and tricks for your home and garden? Just sign up here to be informed for the latest updates that I share.
Happy Gardening!
Please feel free to PIN and share


Thank you so much for all your info Pam, I watch your utubes all the time, You give alot of great info!!!
This is so informative and helpful, thank you. Can’t wait to try this 🙂
I love PETUNIAS that’s about the only annual I buy every year. I plant them all-around my hibiscus and have them in hanging pots all over my back deck, I always receive compliments . Thanks for the info on starting some from clippings I had no idea about doing it.
I love propagating plants! I didn’t know tho you could with petunias
Thank you for your information.
The instructions are user friendly meaning easy to follow.
The above is based on other sites I reviewed that provided too much information on the process.
You want them just moist, not wet. How often depends on so many factors there is no one answer. You may get rain, or have high humidity, that would be different than a drier area. Your temps will also determine how fast they dry out. So as I said, moist but not wet.
When planting the cuttings how often should you water them ??
Thanks for that bit of info, I will have to look up what the gopher plant is. I have read that Castor plant is good and I have some castor oil on order to spray on the ground. I wonder if that is what it is. I have been considering planting things in the 1 gallon or larger pots into the ground and see if that helps. At least the gophers can’t eat the roots off completely.
You are welcome, I wish you success!
thank you
I love your blog on propagating petunias. I just want to say that my mom planted her bulbs in large vegetable/Fruit cans with both ends cut out so gophers could not eat them or dig them up. My sister gave me a start of what she called a gopher plant. It is invasive, but got rid if my gophers. I just keep pulling it up every year but some keep coming up. Worth it not to have the gophers take over my yard & garden.
Thank you for all this helpful information Pam!