A Homemade Propagation Box for Your Garden: No Special Tools Required
Learn how to make a plant propagation box using these easy steps. You don’t need any special tools or equipment and you can do it all in less than an hour!
Do you want to start roses, lilacs, or houseplants from cuttings? Then a propagation box is something that can be a big help!
What is a Propagation Box?
A propagation box is a container that helps to protect plant cuttings from drying out. The humidity retained in the propagation box ensures they maintain enough moisture for them to survive until roots grow.
Or you can use it as a DIY propagation box for seeds. It provides a bit of warmth along with the humidity so you can get an earlier start on tender annuals.
This post contains affiliate links. If you make a purchase after clicking a link I may make a small commission.
You can buy a wide range of units and some are pretty fancy propagators that even come with lights attached.
But you can also make something fairly easy from common supplies.
Supplies for Homemade Plant Propagator
- Clear plastic storage tub with lid. I found mine at Wal-Mart but I have seen them at Dollar General also.
- Small pots for seeds or cuttings
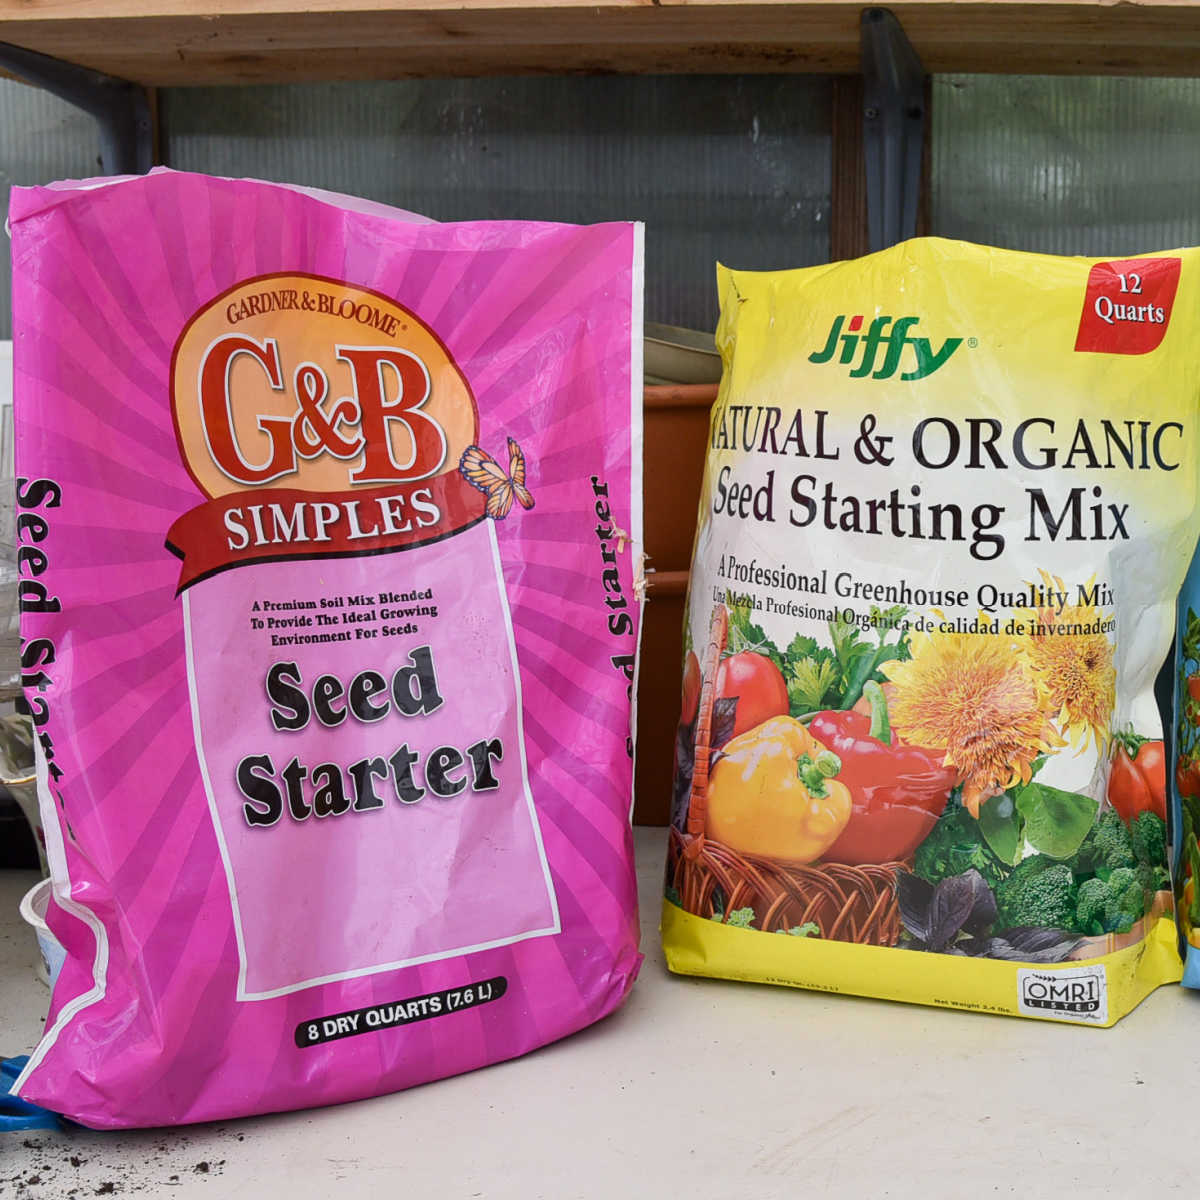
- Potting soil
- Perlite or sharp sand
- Water
- Seeds or cuttings
Container for Propagation Box
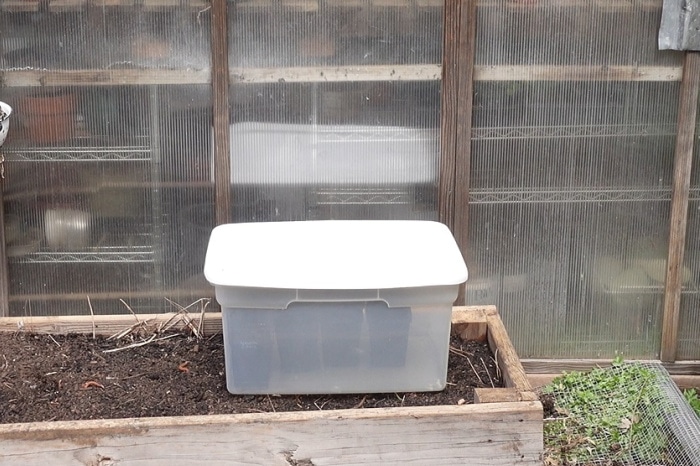
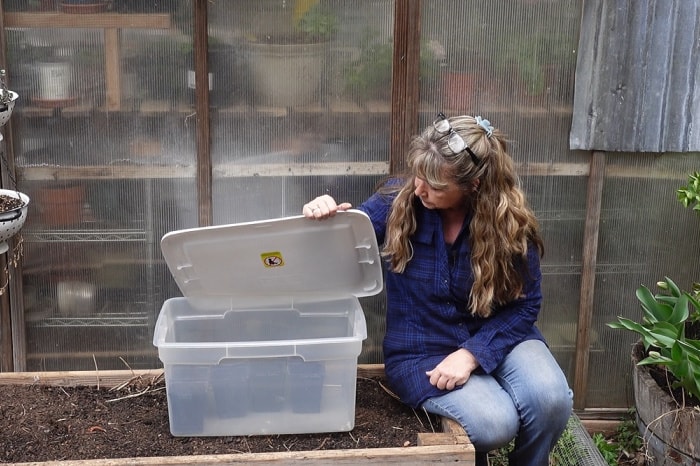
You will need a medium to large-sized transparent storage tub. Mine happens to be made by Sterlite. Choose a box that is tall enough to accommodate the plant cuttings you’ll be putting inside, with room to spare.
Many say you need to use one that has a clear lid but I have found that is not always necessary.
In fact, having an opaque lid comes in handy as the season progresses. The shade the colored lid provides when the sun is high in the sky is perfect for keeping your plants from getting too hot.
If I was placing this on a light rack indoors then a transparent lid would be preferable.
Give your plastic tub a good washing with soap and water, rinse well, then let it air dry.
another
Propagation Box
In my Lilacs from Cuttings article, I showed you another one of my DIY propagation boxes.
It lasted a long, long time…until a bear stepped on it.
How to Use this Propagation Box
There are a couple of ways to go about this. I will start with the first one and that is using individual pots in the box.
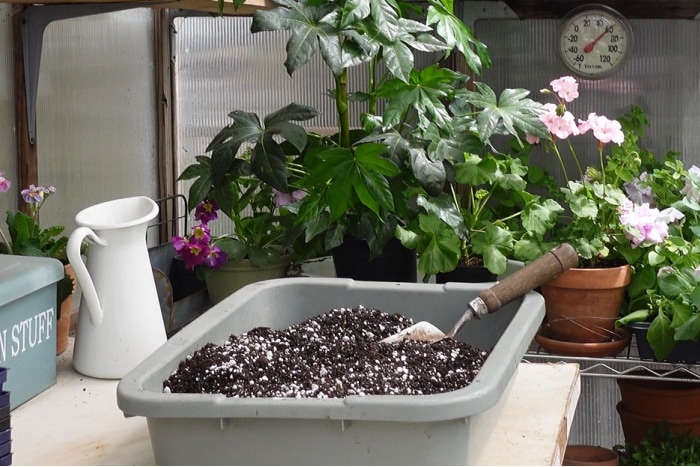
Mix the potting soil with some perlite or horticultural sand to loosen it. (I have also used Paver Sand with success)
Fill 4-inch pots with the mix.
If you are doing cuttings, then take your cutting material. (for many posts on taking cuttings from all sorts of plants check out my Plant Propagation section)
If growing from seeds, then sow your seeds into the pots as directed on the seed packets.
In my video I shared how I am using the propagation box as a mini greenhouse to start some tender annuals like Zinnias in Spring before it is warm enough to sow them directly in the garden.
Place your small pots of seeds or plant cuttings into the box. I did not need to drill holes in the box.
It is easy enough to add water to the pots when needed as long as you don’t overdo it.

This will work for winter sowing as well!
Place the lid on top to cover and hold in the moisture.
Where to locate your Propagation Box
That depends on what you are trying to do and what time of year.
If you are attempting to Winter Sow seeds then place the propagation box outside where it won’t be knocked over. Locate it where you can easily check on it periodically.
This time I used my propagation box for starting seeds of tender annuals a bit earlier than I can direct sow in the garden. I placed it beside my greenhouse to benefit from the heat that escapes at night from it.
The propagation box could also be placed up against the house if you don’t have a greenhouse.
If you are using this to propagate cuttings indoors and under lights then a transparent lid would be best. I have other ways I prefer indoors under lights but this is an option.
Another method of using this Propagation Box
Another way to utilize this propagation box is to place the soil directly in the tub to about a depth of 4 inches. Moisten it lightly. You want it damp but not sopping wet.
After dipping ends in rooting hormone place cuttings directly into the soil mix (the same loosened mix as I used in the pots).
I have used a lot of different rooting hormones and all have worked. What I like about the liquid concentrate is you can mix up the potency to suit your cutting types. Some take a bit of a stronger solution than the softer cuttings.
Your local weather, temperatures, and what plant cuttings you are trying to root will determine where you place the box.
I only use this large of a propagation box outside.
When rooting rose cuttings I would place the propagation box in a mostly shady location in Summer, as I take my cuttings after the first bloom.

Note: some like to root some plant cuttings in water and though that does work, water roots are different than roots developed in soil. For one, they are more tender, and once planted in soil it can take a bit more time for the plant to settle in and start growing again.
Whereas starting in the soil creates tougher more resilient roots that transplant easily and recover much faster so the plant gets growing quickly.
More plants to start from cuttings in a Propagation Box:
Petunias from Cuttings
Lilacs from Cuttings
Bottom heat can help accelerate rooting of many plants. Use a heat mat under the propagation box if needed.
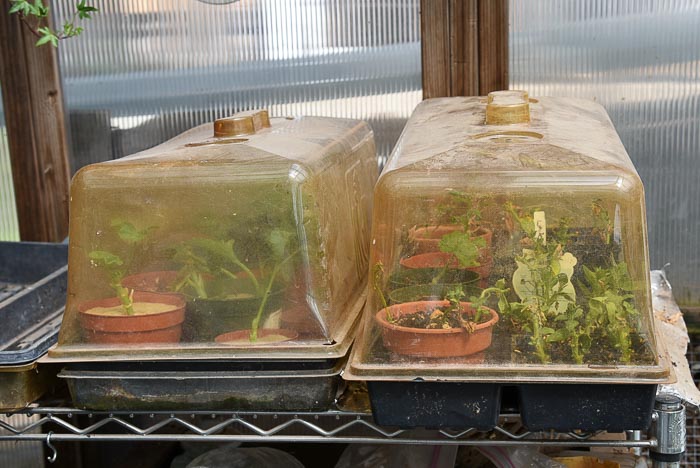
This seems too simple to work but trust me, it does. I have the vented domes that cover the planting trays and they work great too. (shown in the very first photo of this post)
Happy Planting!