How to Grow Dutch Iris
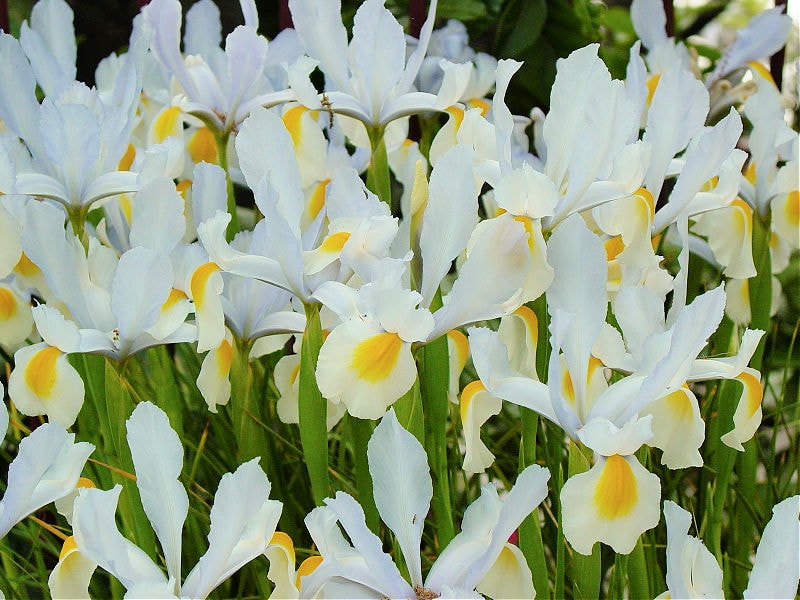
Dutch iris (Iris x hollandica) is a beautiful, low-maintenance flower that is perfect for beginner gardeners.
Dutch iris flower in late spring or early summer and is a great addition to any garden!
If you’re looking for a unique addition to your garden this spring, look no further than the Dutch iris!

Iris Hollandica are grown from tear-shaped bulbs unlike other Iris, such as Bearded Iris, which are grown from rhizomes
Today you will learn:
- Where to plant Dutch Iris bulbs
- What type of soil do they prefer
- When to plant these Iris bulbs
- How best to Plant them
- How to care for Dutch Iris plants
Where to Plant Dutch Iris Bulbs
The first step in growing Dutch iris is finding the perfect location.
It’s a good idea to choose an area of your garden that gets full sun for at least 6 hours per day.
Though Dutch Iris prefers a sunny location you can grow them in part shade, you just may not get as good of a bloom.
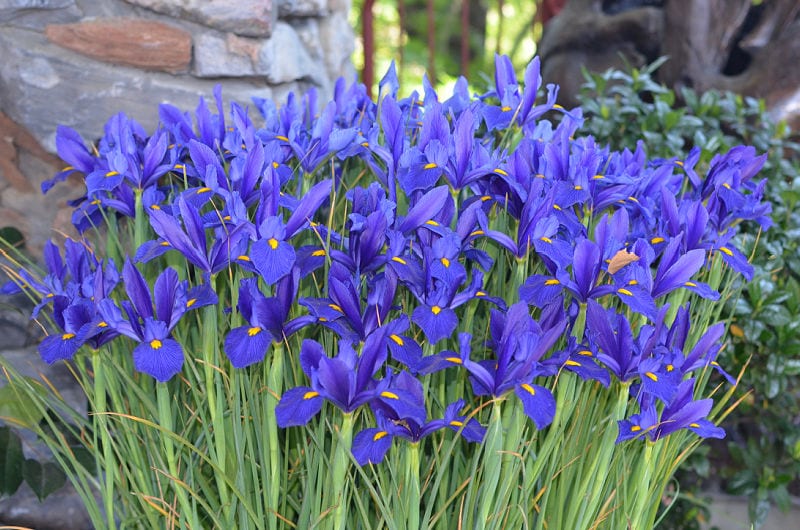
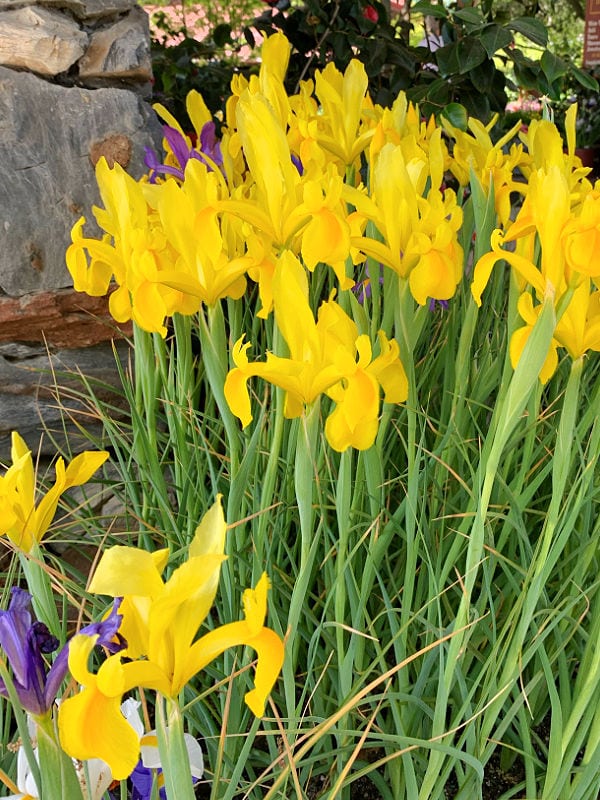
The flowers are the perfect height for the middle of a perennial border, standing 18 to 24 inches tall.
If the area you plant them stays hot and dry during the summer months these flowers may naturalize returning year after year. If not you will need to dig them up and store them.
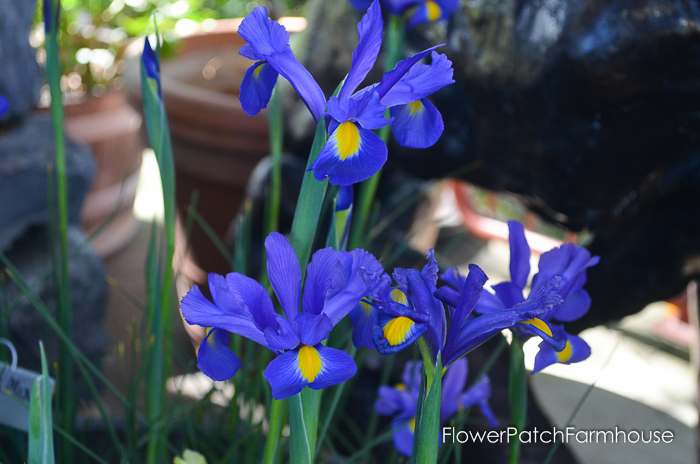
Or you can grow them in pots and containers.
Once you’ve found the perfect spot, it’s time to prepare the soil.
Preparing the Soil Before Planting the Bulbs
The soil should be loose and well-draining. If your soil does not drain well adding amendments such as compost will help.
If you don’t make your own compost bagged organic compost or soil amendments will work.
Your local garden center should carry a variety of these products.
Loosen the soil to about 6 to 8 inches deep, working the compost in well.
When to Plant Dutch Iris Bulbs
Dutch iris bulbs should be planted in the fall, at the same time as tulips and daffodils.
For best results, plant the bulbs as soon as you get them or within a month after.
Remember, a better quality bulb means a better plant.
This gives them time to develop and get established before the ground freezes over for winter.
How to Plant Dutch Iris
The bulbs are teardrop shaped and the pointed end should be planted facing upwards approximately 5” deep and 4” apart.
Or try grouping them…
Ten to twelve bulbs planted per square foot create an outstanding display. Several groupings like this, in the ground or in containers, make for lots of Spring color!
How to Care for Dutch Iris Plants
Depending on your climate you can expect to see foliage appear in late winter to Spring.
Just like tulips and daffodils, they are watered by winter and spring rains.
There is no real need for fertilizing especially if you have well-amended soil.
Once they start blooming you may wish to cut them for fresh flowers in your home or enjoy them in the garden.
Once flowering is done let the leaves remain until they yellow. You can dig up the bulbs and store them in a cool dry place to replant the following Fall.
Or you can treat them as annuals. Though planted in my flower beds with other plants I have had them return a few years in a row.
As stated above, if they are planted in an area where the soil stays on the drier side all summer you can leave them in place. They may spread and perennialize to return each year on their own.
Or if they are in containers just let the soil dry out and only water occasionally if at all.
Adding color to your garden is easy with Dutch iris! These beautiful flowers come in a variety of colors and add personality wherever they’re planted. With just a little bit of care, you can have healthy Dutch iris plants blooming all spring long!