How to Root Rose Cuttings on a Windowsill
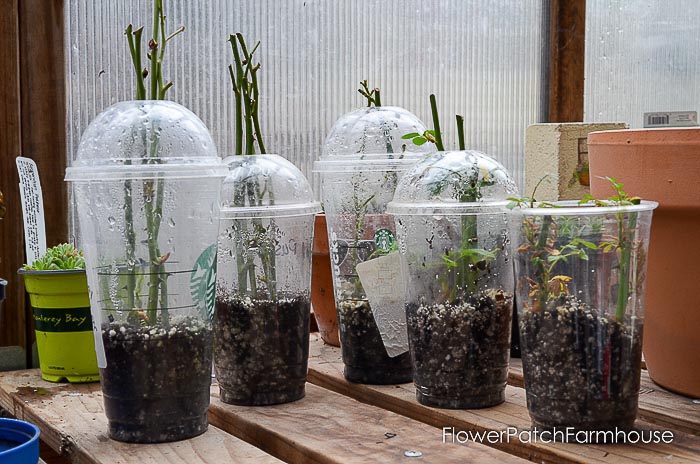
Don’t have a greenhouse or an outdoor propagation area? This simple windowsill method is an easy way to root rose cuttings indoors using clear disposable drink cups with lids. The cups create a humid environment while allowing you to watch the roots develop without disturbing the cuttings.
Before you begin: If you haven’t already prepared your rose cuttings, start with my Complete Guide to Rooting Rose Cuttings, where I explain how to choose the best stems, prepare the cuttings, and use rooting hormone for the best success.
Why I Like This Method
This has become one of my favorite ways to root rose cuttings indoors because it’s simple, inexpensive, and lets me monitor root growth without removing the cuttings from the container.
Some of the advantages include:
- Inexpensive, easy-to-find supplies
- High humidity without daily misting
- Easy watering through the opening in the lid
- Clear cups let you see when roots have formed
- Easy to move indoors if temperatures change
What You’ll Need
- Clear disposable drink cups with matching lids
- Heated metal skewer or similar tool for making drainage holes
- Prepared rose cuttings
- Rooting medium
- Rooting hormone (optional but recommended)
- Permanent marker for labeling
Step 1: Prepare the Cups
Wash the cups thoroughly before using them.
Using a heated metal skewer, melt several drainage holes in the bottom of each cup. This allows excess water to drain while preventing the rooting medium from becoming waterlogged.
Some like to use a glue gun that heats up or a soldering iron.
Step 2: Add the Rooting Medium
Fill each cup with your rooting medium, leaving about an inch below the rim.
(For the propagation mix I use, see my Complete Guide to Rooting Rose Cuttings.)
Step 3: Insert the Cuttings
Insert four or five prepared rose cuttings into each cup.
Sometimes, I like to let the tops of the cuttings extend through the hole in the center of the lid.
If your cuttings are longer, simply trim them shorter so they’ll fit comfortably inside the cup.
Before placing the lid on, label both the cup and the lid with the name of the rose variety.
Step 4: Add the Lid
Snap the lid onto the cup.
The domed lids work especially well because the small opening in the center allows a little fresh air to circulate while maintaining enough humidity around the cuttings. In my experience, this provides plenty of moisture without encouraging mildew.
Another benefit is that you can water through the opening in the lid whenever the rooting medium begins to dry.
Step 5: Place on a Bright Windowsill
Set the cups on a bright windowsill out of direct sunlight.
Bright, indirect light encourages healthy growth without overheating the cuttings. I can easily bring the cups indoors, making this an excellent propagation method when outdoor temperatures are too hot or too cold.
Step 6: Watch for Roots
One of my favorite things about this method is being able to see the roots developing through the sides of the clear cup.
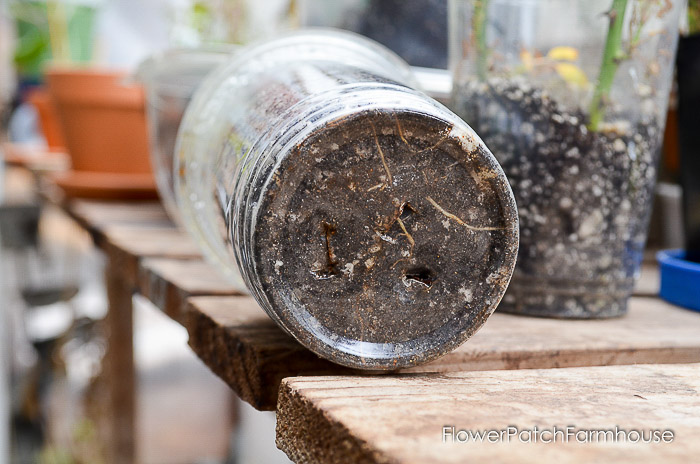
Rather than disturbing the cuttings by tugging on them, I simply wait until I see a healthy network of roots. Once the cups are well filled with roots, I separate the cuttings and pot them into individual containers.
Until then, they’re perfectly happy growing together in the cups.
Watch the Process
It’s much easier to understand this setup when you see it in action. Watch the video below to see exactly how I prepare the cups, insert the cuttings, and care for them while they root.
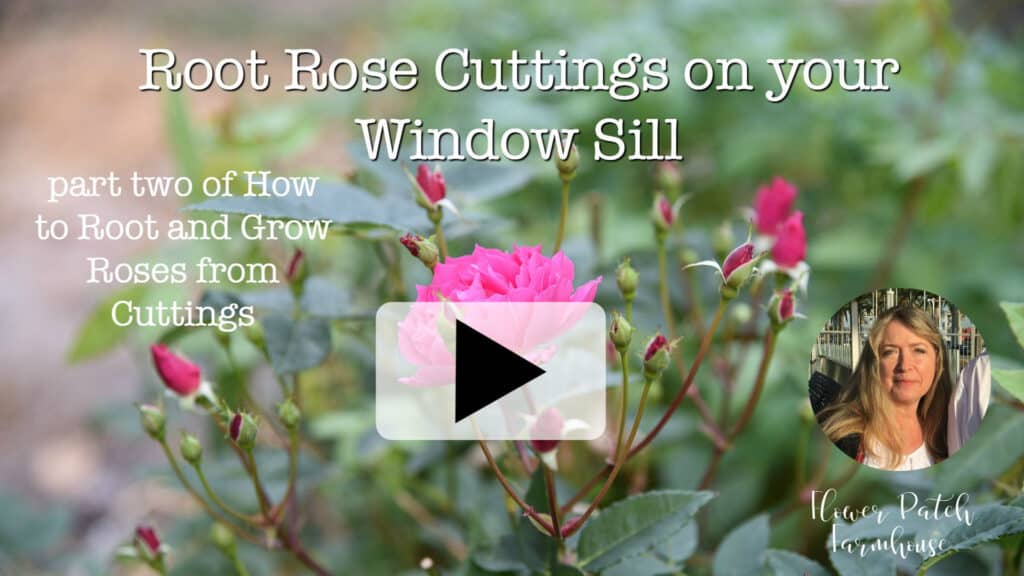
I will let them get tons of roots before I separate them and pot them up into larger pots. For now, they are doing great just in the cups.
Want to know how to pot them up once they have roots? See this post: Potting Up Rooted Rose Cuttings!
For another great method of rooting roses see this method: How to Root Rose Cuttings Using My Terra Cotta Water Reservoir Method
Happy Gardening!
Hi, I’m Pamela
With 45 years of hands-on gardening experience, I love sharing practical tips, proven techniques, and inspiration drawn from my own gardens. My goal is to nurture your confidence, spark your passion, and help make every step of your gardening journey more enjoyable.