How to Root Rose Cuttings Using My Terra Cotta Water Reservoir Method
My Terra-Cotta Pot-in-Pot Method
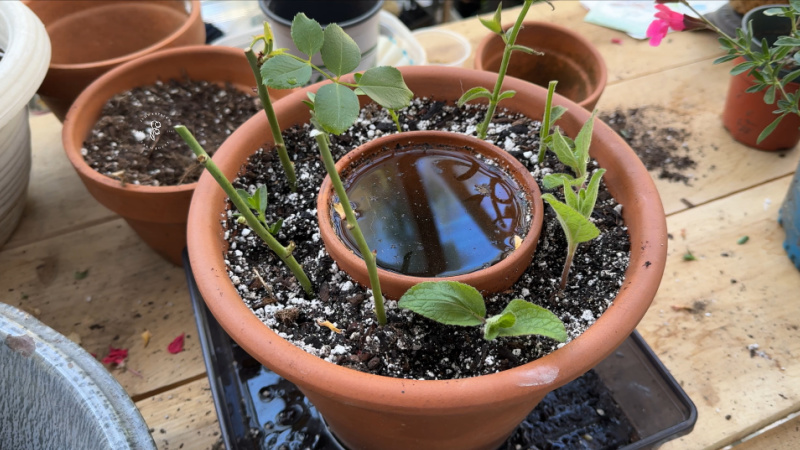
- A smaller terra-cotta pot sits inside a larger terra-cotta pot.
- The drainage hole in the inner pot is sealed.
- Propagation medium fills the space between the two pots.
- Rose cuttings are inserted into that surrounding medium.
- Water added to the inner pot slowly moves through its porous walls.
- The surrounding medium stays gently and evenly moist.
- The water-filled pot helps maintain humidity around the cuttings.
- No plastic humidity cover is needed in my conditions.
This post contains affiliate links. If you make a purchase after clicking a link I may make a small commission at no cost to you.
Watch My Terra-Cotta Rose-Cutting Method Video
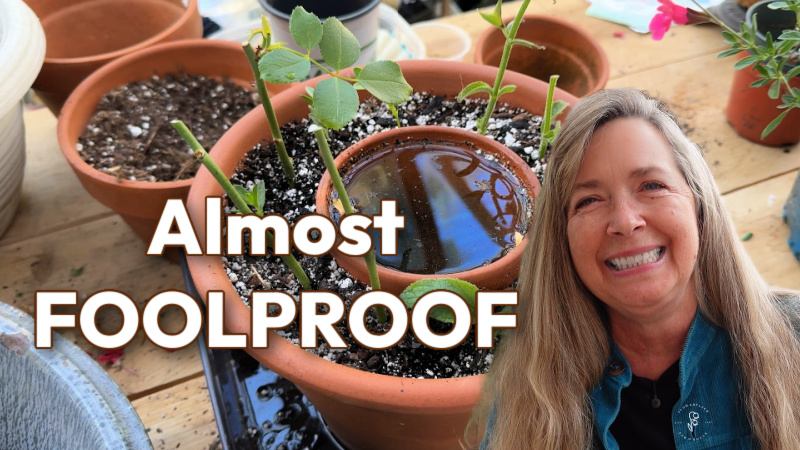
It is much easier to understand this setup once you see how the two pots fit together. In this video, I show you how I prepare the inner water reservoir, add the propagation medium, place the rose cuttings, and maintain the container while the cuttings root.
Prefer written instructions? The complete step-by-step tutorial continues below.
1. Choose two terra-cotta pots
Select one small unglazed terra-cotta pot and a second pot large enough to leave about an inch and a half or more of planting space around it.
The inner pot must be unglazed so water can move gradually through its porous walls.
2. Seal the drainage hole in the inner pot
Plug the drainage hole securely so the smaller pot will hold water.
Be sure the plug is watertight enough that the water seeps through the pot walls rather than draining immediately through the bottom.
3. Position the smaller pot
Add enough potting medium to bring the smaller pot to the rim height of the large pot. Place the plugged pot in the center of the larger container.
4. Add the propagation medium
Fill the space between the two pots with a loose, well-draining propagation mix to within half an inch of the rims. Gently firm it so there are no large air pockets, but do not compact it heavily.
My Potting Medium
For this method, I use:
- 1 part compost
- 1 part perlite
- 1 part coarse horticultural sand
The goal isn’t an exact formula. The important thing is creating a loose, fast-draining mix that stays moist while allowing plenty of oxygen to reach the developing roots.
5. Take & Prepare the rose cuttings
Start with a healthy, prepared rose cutting that has had the lower leaves removed and has been treated with rooting hormone (optional but recommended).
Rose cutting preparation steps are in my Complete Guide to Rooting Rose Cuttings.
6. Insert the cuttings
Place the prepared rose cuttings into the propagation medium surrounding the inner pot. Use a pencil or other tool to create a hole to insert the cutting into.
The medium can be wet or dry. When it is wet, it can be easier to create a hole.
Space the cuttings far enough apart that the stems and leaves are not crowded.
7. Water the propagation medium initially
Moisten the propagation mix after inserting the cuttings so it is evenly damp from the beginning.
This initial watering settles the medium around the stems. After that, much of the moisture can be supplied through the inner terra-cotta pot.
8. Fill the inner pot with water
Fill the plugged inner pot with water. The water will gradually move through the porous clay and into the surrounding propagation medium.
Check the water level regularly and refill it as needed. As you refill it you may let some overflow into the medium but don’t overdo it.
9. Place the container in bright indirect light
Keep the cuttings in bright light but out of direct sun.
Direct sunlight can overheat the container, dry the cuttings, and increase moisture loss.
10. Monitor the cuttings
The purpose of the inner pot is to maintain steady moisture, but the propagation mix should not remain soggy.
Check the medium periodically, especially while you are learning how quickly the water moves through your particular pot. Different terra-cotta pots may vary in porosity.
That final point is important: terra-cotta pots are not all equally porous, and mineral deposits can also change how readily water moves through them over time.
11. Check for Rooting:
After about 4 to 6 weeks, tug on a cutting. If it pulls away easily, then you know it has not yet rooted. Some roses take longer than others.
If the cutting feels like it doesn’t want to pull free, then it may have roots. Slide a long flat blade along the edges of the outer pot, then around the inner (water reservoir), as sometimes if the roots have grown much, they will cling to the pot. Just pulling them out may tear or damage them.
Don’t be fooled by new leaf growth. A rose cutting can produce leaves using the energy stored in its stem before it has formed any roots. New leaves alone are not a reliable sign that the cutting has rooted.
Want to know what to do after you have roots? Find out HERE!
Why This Method Works
Unglazed terra cotta contains tiny pores that allow moisture to move slowly through the pot wall. This is the same basic principle used by buried clay-pot irrigation systems.
In this rose-propagation setup, the inner pot acts as a small water reservoir. Rather than pouring water directly over the cuttings, moisture moves gradually into the propagation medium as it begins to dry.
This offers several potential benefits:
- Moisture is supplied gradually rather than all at once.
- The medium is less likely to be disturbed by overhead watering.
- The base of the cuttings can remain moist without the foliage being continually wetted.
- The water reservoir helps moderate moisture levels around the cuttings.
- The open setup permits more air movement than a sealed plastic cover.
I wish you successful rose cutting propagation! Be warned, you may become addicted.
Hi, I’m Pamela
With 45 years of hands-on gardening experience, I love sharing practical tips, proven techniques, and inspiration drawn from my own gardens. My goal is to nurture your confidence, spark your passion, and help make every step of your gardening journey more enjoyable.