How to Divide and Transplant Perennial Phlox: A Step-by-Step Guide
Today we will talk about how to divide perennial phlox also known as phlox paniculata, garden phlox, tall phlox, and for those that don’t know any better, flocks flowers.
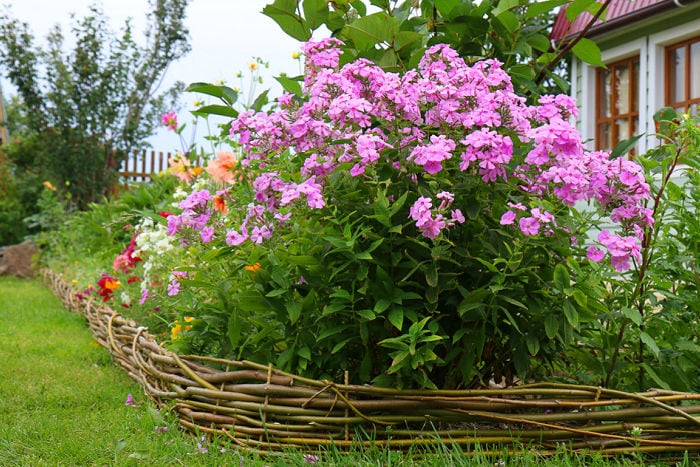
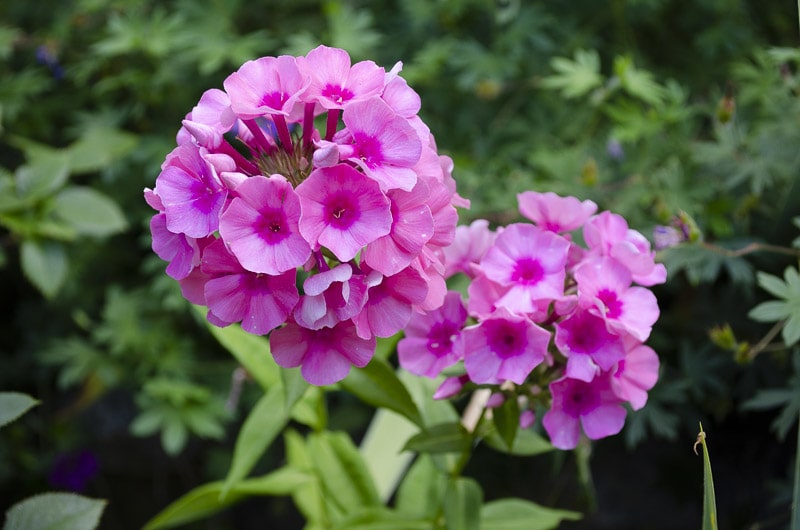
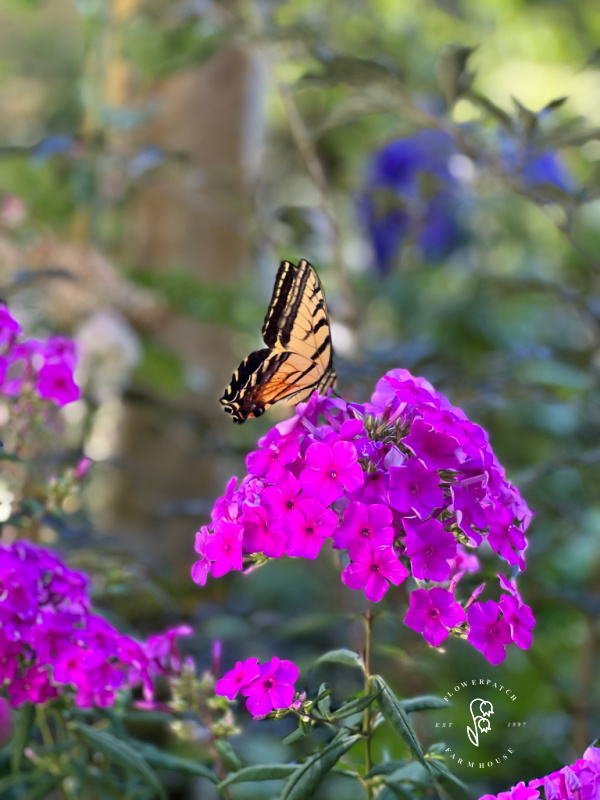
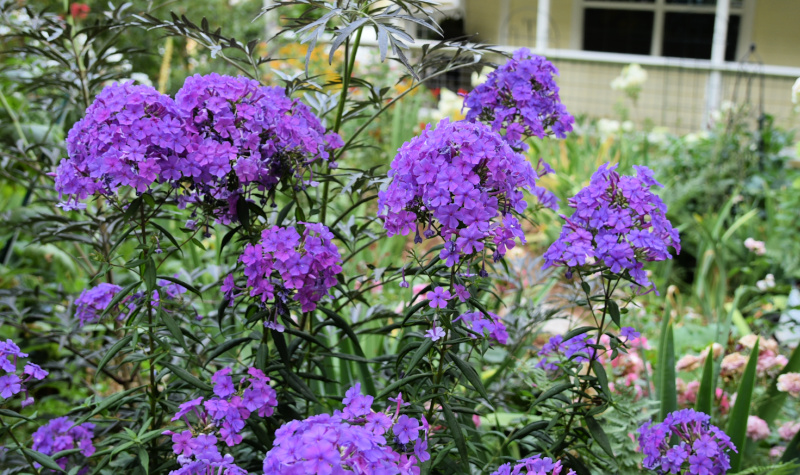
Perennial phlox, with its vibrant clusters of flowers and easy-going nature, is a beloved addition to many gardens, especially cottage gardens.
Over time, perennial phlox can become crowded, leading to fewer flowers and overall health.
Dividing and transplanting your perennial phlox is a simple but important task that can rejuvenate your garden and ensure the continued vitality of these beautiful blooms.
Grow Gorgeous Phlox!
Here are some great tips for planting tall Phlox (pronounced Flocks) that will help you get the most out of this lovely plant.
Another advantage is the new divisions turn into new plants to add to other locations of your garden for free.
Here are seven steps to guide you through the process:
Table of Contents
- When to Transplant Phlox
- Tools for the Job
- Where to plant Phlox divisions
- How Best to Dig up
- How to Divide your Phlox plants
- Replanting
- Maintenance
- Pro tips for success
Timing Matters
When you divide perennial plants the best time can differ. Garden phlox can be divided and transplanted in late summer to early fall or Spring during cooler weather.
The best time depends upon your local conditions. It is best to make divisions 6 weeks before the ground freezes. You want the plants to grow new roots before it gets too cold.
When you divide perennials in the fall it is a good idea to cut back the plant to about 6 inches to make it easier.
Tools for the Job
Equip yourself with the following tools:
- Shovel or spade
- Garden fork (optional)
- Pruning shears
- Watering can or hose
- Compost (if necessary)
- Mulch
Where Best to Plant New Divisions
If you want vigorous plants, choose a new location with well-draining soil and partial to full sunlight. Add organic matter like compost or well-rotted manure to create loose soil if needed.
Also consider these plants do like most soil and plant with plants with similar likes, though I am a rebel and plant just wherever I want.
How to Dig Up Phlox Plants
Begin digging around the base of the phlox, outside of the root zone, with a sharp spade. This could be a few inches away from the main stems or it could be further.
Some like to use a garden fork to loosen the soil and roots, gently lifting the plant as you work your way around. I also do this with my shovel.
Or you can slice down into a portion of the mother plant base, I choose a 4-inch section as a general rule, and remove just that section.
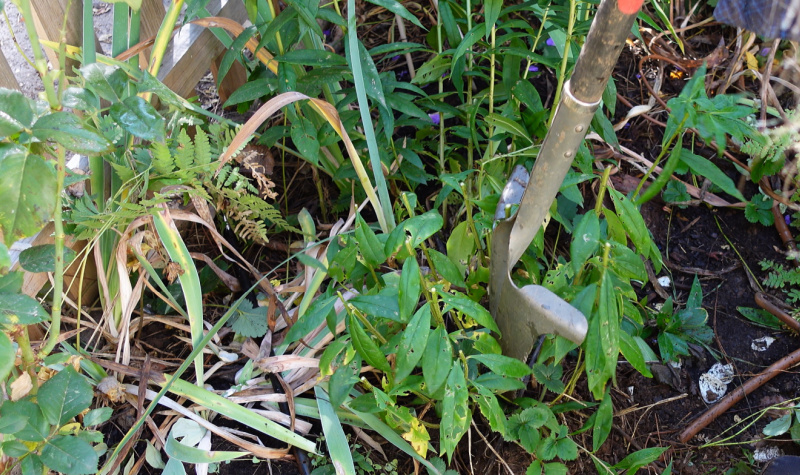
Old plants will do fine with this method and you can do the same with most herbaceous perennials. (see the video at the end of this post where I show you how this can be done)
Dividing the Root Mass
Separate the root ball into sections, each with healthy roots and multiple shoots or stems.
Trim any damaged or unhealthy parts with pruning shears. (in spring it will be shoots emerging from the ground and in fall it will be stems)
Sometimes I start at the center of the plant, dig up a large portion then divide into smaller sections.
Replanting Phlox Divisions
Position the divided sections at the same soil level as their previous planting.
Meaning where the root meets the plant base should be level with the surrounding soil.
Fill the hole with soil, gently firming it around the roots.
Water in thoroughly, this not only hydrates the plant and divisions but also helps settle the soil.
Giving them a 30 minute soak in Organic REV will go far in mitigating transplant shock and get them off to their best start.
Maintenance
Maintain consistent watering, especially in dry spells. This is especially important as the new divisions get established.
Apply organic mulch on the soil surface around the base of the plants, keeping it 2-3 inches away from the stems to retain moisture and suppress weeds.
If dividing in fall you should see new shoots in late Spring to early summer.
Pro Tips for Success
Monitor and Water as Needed:
Keep a vigilant eye on transplants, ensuring they receive regular moisture without waterlogging the soil.
In fall make sure it stays hydrated if you don’t get rain soon. Or if you have a dry spell in winter. My garden is covered in snow in winter so this is a non-issue.
Fertilize?
I rely on the compost as a slow-release feed and don’t bother with starter fertilizers or anything else added at planting time.
If you feel you need to fertilize then I recommend either of these two products (they are what I use):
Agrothrive General Purpose (affiliate link)
Organic REV Liquid Fertility (affiliate link)
Deadhead for Optimal Growth
Remove faded flowers to encourage new growth and prolong the blooming period. When removing the fading flowers cut back to a new set of buds which will be evident typically a bit lower down the stem.
Shield from Extreme Weather
In hot weather, offer temporary shade using garden fabric or lightweight cloth. This is optional.
I don’t usually have to do this but I live in a mild summer climate. If you have high heat then keeping the soil moist and providing a bit of shade either from neighboring plants that will provide dappled shade during the hot afternoons or with garden fabric will help keep the blooms from getting scorched and last longer.
In conclusion:
Tall phlox are one of my favorite fall-blooming plants and because they bloom later I especially love them planted in areas that have a lot of early spring bloomers as it extends the colorful season of the perennial garden!
With one parent plant, you can end up with a number of plants to enjoy.
Now that you know how to divide perennial phlox, you can not only revitalize your beautiful garden phlox but also extend your healthy, thriving garden for no cost.
Are your garden beds filled to the brim and you end up with additional plants? Gift some to friends.
Want to learn about phlox subulata, read here. Happy gardening!