How to Grow Clematis Like a Star!
How to grow clematis: A Beginner’s Guide to Growing Clematis
Welcome to this beginner’s guide on how to grow clematis, the stunning flowering vine that adds a touch of elegance and beauty to any garden.
Did you know that clematis are called the ‘Queen of Climbers?’ This certainly fits in my garden and they will bring drama and beauty to your garden too!
Whether you’re a seasoned gardener or just starting your green journey, this blog post will provide you with essential tips and tricks to help your clematis thrive.
So, grab your gardening gloves, and let’s dive in!
Choosing the Right Clematis Variety
When it comes to clematis, selecting the right variety is crucial for successful growth. With over 300 species and countless hybrids, it can be overwhelming.
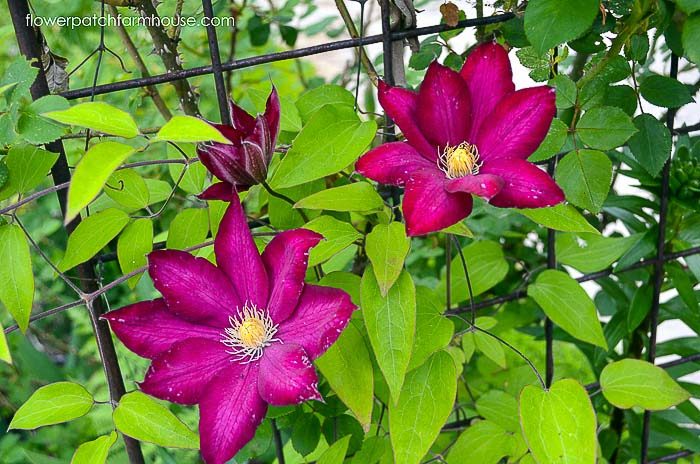
Fear not! Start by considering the flower color, size, and flowering time. Do you prefer vibrant purple, soft pink, or crisp white blooms?
Choose a variety that suits your taste and complements your existing garden aesthetic. Additionally, be aware of the plant’s size and ensure it will fit the available space.
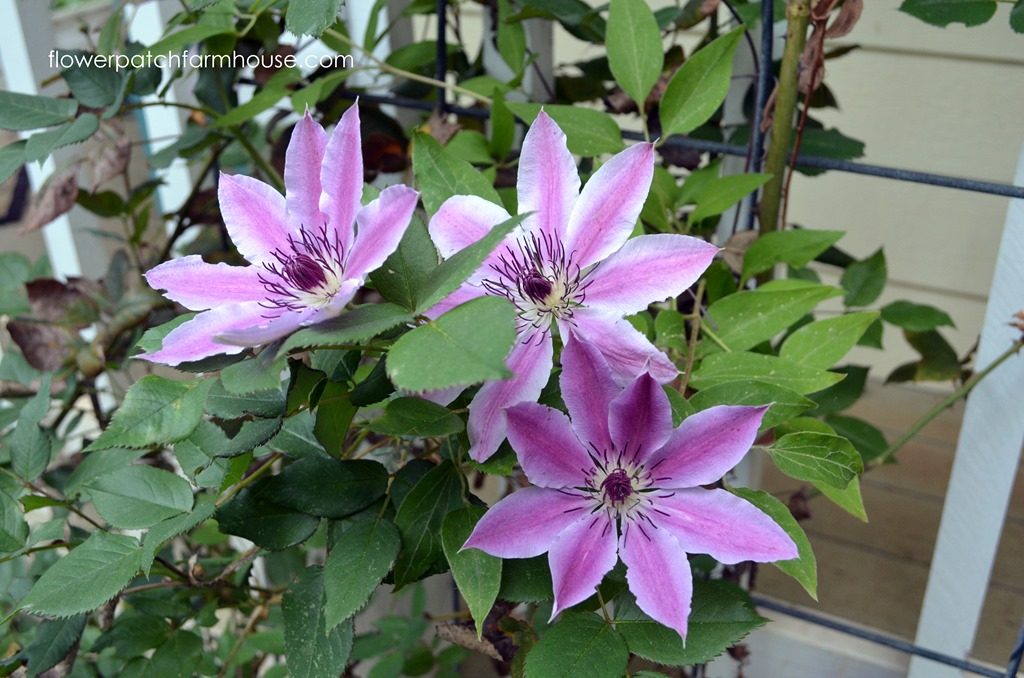
There are many varieties like Clematis Montana, Clematis Armandii, Clematis Viticella, and the list goes on but the growing requirements are similar.
This post contains affiliate links. If you make a purchase after clicking a link I may make a small commission at no cost to you.
Getting Started Growing Clematis
Good soil is always the best way to get started.
Soil health is the best thing you can do for any plant in your garden. Compost can be your friend and Regenerating your Soil will help you have the best growing experience no matter the plant.
Clematis enjoys well-draining soil enriched with organic matter. Mix in compost or well-rotted manure to improve the soil’s fertility and drainage.
This helps retain moisture without becoming waterlogged, preventing root rot. Proper soil preparation sets the stage for strong and vigorous growth.
Preparing the soil is an essential step in growing healthy clematis. Start by digging a hole twice as wide and deep as the root ball.
Do NOT add the amendments to the planting hole!
I have been adding amendments to build my soil for years so now I don’t bother with the larger planting hole, I can just create a hole large enough for the root mass to be planted in.
great garden tips
See how easy it is to build your soil!
Truth be told, if you build your soil you are good to go with planting almost anything. Soil health is the key to a vibrant, more carefree garden!
If you don’t have the best soil you can promote great growth with a product that will help you get started. Completely organic and promotes healthy soil microbes and root growth, it’s called Organic REV.
Planting Clematis
You can buy clematis as bare-root or established in a pot, either way. Choose a location that gets at least 6 hours of sunshine in high summer.
However, they also appreciate some shade on their roots to keep them cool.
This can easily be achieved with mulch, planting with ground cover or even using a large stone. Select a spot with well-draining soil and ensure there is ample support for the vines to climb.
Consider trellises, fences, or arbors as potential support structures. Remember, clematis loves to reach for the sky!
They can be planted in a spot with less sunshine but they won’t perform as well as they do in the sun.
In hotter climates late afternoon shade helps the colors on darker versions stay vibrant. The hot sun tends to fade them out, but they are still beautiful just less showy. (see below for those who live in a mild winter climate).
Plant the clematis about 2 to 4 inches deeper than the crown of the plant. This will help if the clematis gets struck with wilt, a fungus that causes the entire vine to die back.
Having the crown under the soil allows you to cut it completely back and it will grow new shoots that are fungus/disease-free.
If you do contend with the wilt be sure to clean up and burn any of the vines, leaves etc you cut off, you don’t want that fungus hanging around.
After planting, apply a layer of mulch to help retain moisture, prevent weeds, and keep the roots cool. Remember to water regularly, especially during hot and dry periods.
No matter the pruning group, when you first plant your clematis you should prune back the growth to 8 to 12 inches the first growing season. This is tough to do but it is rewarding.
Pruning it back ensures good root development which is crucial to a healthier clematis and more shoots coming up from the base. More shoots, more flowers.
Pruning for Optimal Growth
Pruning clematis is often a source of confusion.
However, it’s not as complicated as it may seem. Understanding the three pruning groups—Group 1, Group 2, and Group 3—will help you achieve the best results.
Group 1
Group 1 clematis blooms the earliest in Spring on old wood, so it requires minimal pruning. You should only deadhead this type Clematis! Or to remove dead or diseased vines.
Flower buds are formed the previous year, so if you prune before they flower, that means no flowers for you that year.
Group 2
Group 2 blooms on old and new wood, benefitting from light pruning after the first flush of flowers. See here for more ways you can prune type 2 Clematis effectively.
These bloom in Spring and early Summer, they are the large, showy flowered ones we all love. Many will re-bloom but the first bloom of the season is the best.
Group 3
Group 3 clematis blooms on new wood and should be pruned back hard in early spring. These are summer blooming and they will bloom on into Fall for masses of color all season. Add a few of these to your collection and you will have gorgeous clematis until frost.
How to Care for Clematis
This has been mentioned before but bears repeating, be sure and provide support, something for the clematis to climb, a sturdy trellis, arbor, or post. A healthy clematis will smother it with beautiful blooms in no time.
You can also have them climb through other plants and some shorter-growing clematis are perfect for this.
Clematis Fertilizer
Clematis are considered heavy feeders. As I stated before, start with healthy well-fed soil.
If your soil needs help, top-dress the clematis with worm castings or compost. (the worm castings need to be fresh and not bagged, bagged worm castings have been pasteurized which kills much of the goodness)
If I feel it needs a good boost I use an organic liquid feed that will feed the plant but better yet also the soil.
Since I plant my clematis next to other heavy feeders like roses I know that they all will get enough nutrients to pump out the blooms for me.
Other gardeners have reported that they don’t feed them at all and still get good results.
Clematis Care
As the plant grows, monitor its water needs, ensuring the soil stays consistently moist but not saturated.
Regularly remove spent flowers to encourage more blooms. This works only with Group 2 and 3 pruning types. Removing spent blooms on Group 1 does not encourage more blooms.
Stay vigilant for pests like aphids or spider mites and take appropriate measures if necessary.
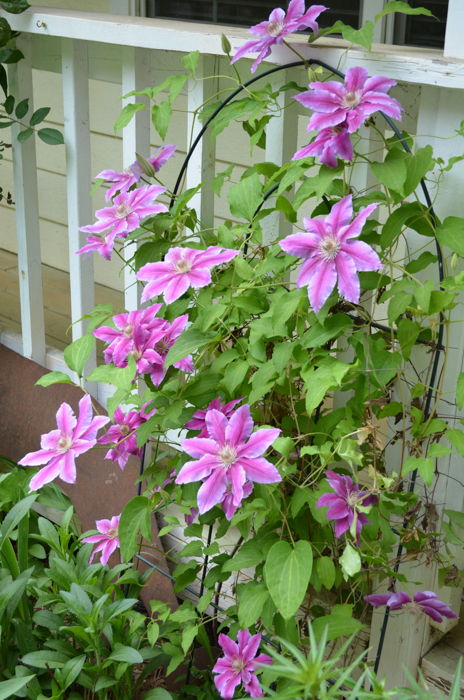
Growing clematis is a rewarding experience that allows you to witness the beauty of nature unfolding before your eyes.
Selecting the right variety, providing adequate sunlight, preparing the soil, and following proper planting, watering, and pruning techniques
A few I grow and miscellaneous information.
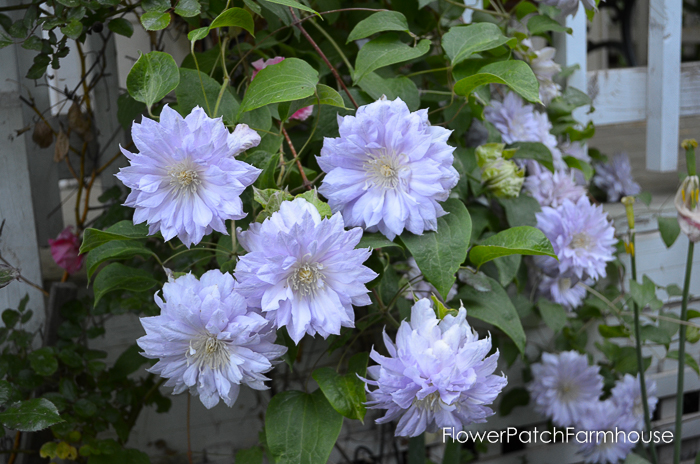
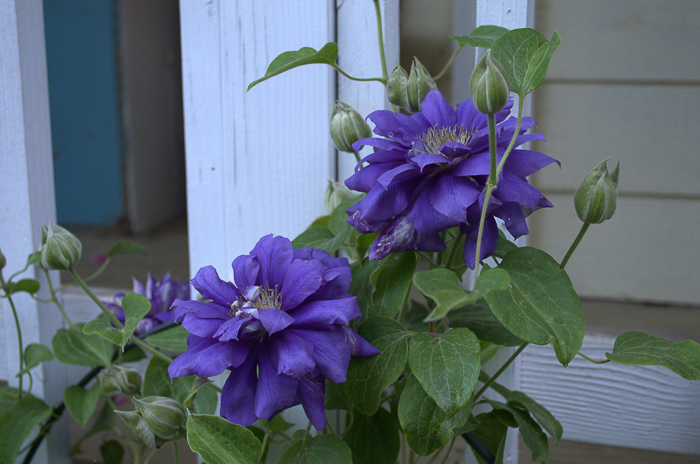
This double one below called Franziska Maria, is one of my favorites, it blooms and blooms in early summer.
Be aware that if you plant a double the first year it will most likely have single flowers, the doubles develop on old wood so the following year you will get the doubles.
If you can plant all three groups in your garden you will have clematis blooms for months and months. It is advised to plant like groups together so pruning will be easier.
Growing Clematis in Mild Winter Regions
For those of you who live in a warmer winter region, I have had a few readers who successfully grow clematis and get it to bloom by burying a plastic flower pot beside it and putting ice in the pot to chill the roots.
One reader said she does it for about two weeks long and she gets beautiful blooms. (clematis need some winter chill to bloom successfully, I have not had to try this as we get cold winters but I thought I would pass that on to those of you who live in warmer regions)
You can also grow many of these in pots on your porch, patio, or deck, some varieties have been bred especially for container gardens. What is not to love about Clematis?
Please PIN and share the Clematis love!
Until then…..Happy Gardening!
Other posts you may enjoy
How to Prune Clematis for Top to Bottom Bloom(this happens in Fall)
How to Spring Prune your Clematis
Propagate Clematis by Layering
Build an Easy Garden Obelisk (for your Clematis to climb)
How to Start Clematis from Cuttings


Thanks for your special advisers.
Hello from Bucharest Romania.
Right now is good. Just be sure to dig deep, they have long tap roots. Get it settled into its new spot and water well and keep moist without over watering. It should do fine. I have moved quite a few and they did great, it does take them a good year or two to really grow fully but worth the wait.
I have a clematis that needs to be transplanted, when should I do it?
could be a variety of issues. Has it been extremely hot? That can cause some leaf yellowing.
There could be an iron deficiency, so giving it a shot of chelated Iron would help. My go to brand is Liquinox.
Or you could be dealing with mites…as I said it could be many things so not knowing all the details it is hard to troubleshoot for you.
My clematis has leaves turning yellow at the top. It’s about 9’ tall. Bloomed beautifully in the spring. My first year at this home. What do I do about yellowing leaves?
Warsaw Nike
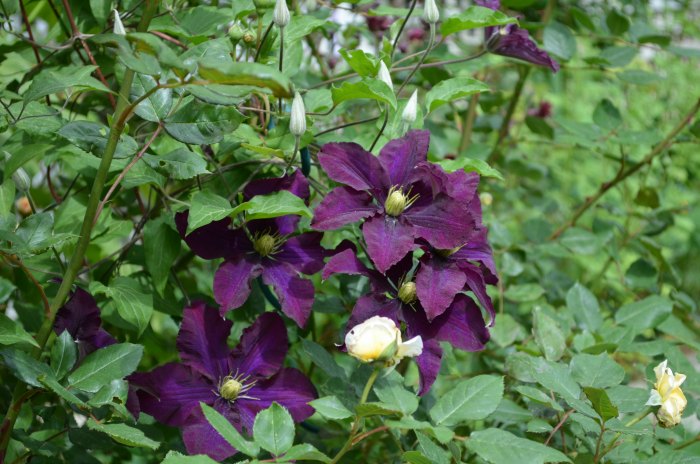
What is the name of the last purple clematis in your post please? Right at the very end. Thanks
I am surprised at how digging my clematis up were fairly easy and survived my moving them. I had read that they really don’t like it and rarely survive. In fact, where I dug one up from I must’ve left some root as another came back in the same spot. Good for you in rescuing them in hot summer. 🙂 Better to try than have them dozed under. You can take cuttings from the one to gave your sister to get one like it for yourself. Or try root layering it. Or maybe you have already thought of that. No, not only you would do that, I am constantly amazing myself at some of the goofy things I do.
Love all your input. I too love clematis. I have several colors and types. When my mom passed I inherited many more. Nobody wanted them if you had to dig them in hot summer. The landlady of 22 years already had a mini dozer to level my moms pride and joy. Later a lot of “family” wanted some. I gave my sister one. Turned out to be my NEW one. It is beautiful at her house. I am sitting here shaking mybhead and laughing. Only me. I will be following your blog. Ty. I need this.
I have several clematis in dark purple, light purple, pink and white. Ialso have the evergreen clematis. It is very fragrant and fast grower.
Hi Pamela,
Would you mind telling us approximately where you are? Zone 8 with snowy winters and warm dry summers sounds like a perfect climate for gardening. I am in southwestern Idaho, zone 6 with long cold winters and hot dry summers. Spring can’t come soon enough!
Meredith
Cut them back to a few inches from the ground to encourage new and hearty shoots, the more shoots the better looking plant you will have. The one that has not sprouted just may grow but it sounds like it may not have made it. Here is a video you may enjoy, I hope the link works for you. Planting Clematis
Hi, I really hope you see and answer my post. I have 4 new Clematis plants. Two are about 1 1/2 foot tall. One is about 2 Ft . And one has not even sprouted. I just planted all 4 this year. Three in ground on in a pot, which is the tallest.So, My question is, do I trim the all to the ground basically, Or do I leave them alone this year and let them grow, and hopefully the one that hasn’t sprouted will grow.