Succulent Fairy Garden
Transform Your Broken Pot into a Stunning Succulent Fairy Garden
Welcome back, garden friends! Today, I’m thrilled to share a project I’ve been eager to dive into – creating a stunning succulent fairy garden using a broken terracotta pot.
This is a wonderful and budget-friendly way to recycle and add a touch of whimsy to your space. Let’s get started!
First things first:
- Let’s Gather our Materials
- Prepare the Terra Cotta Pot
- Plant the Succulents
- Add the Finishing Touches
A full video of putting this together is linked at the end of this post!
Gathering Materials for our Succulent Fairy Garden
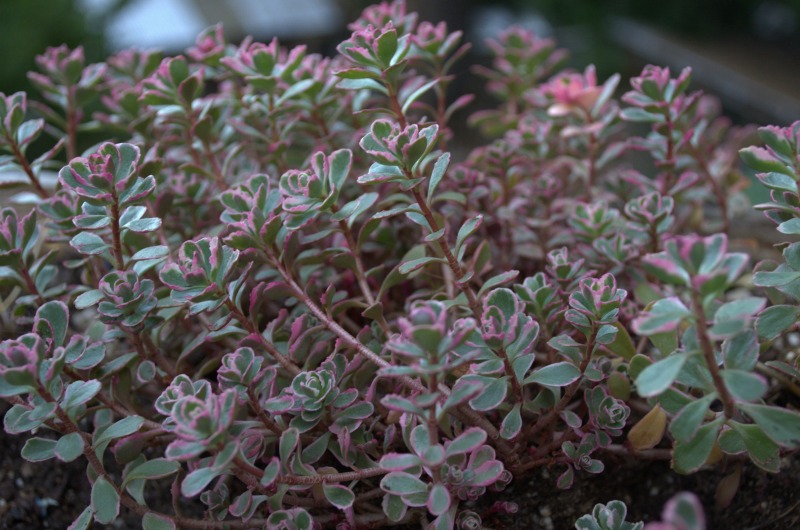
Our project begins with selecting the perfect succulents for our succulent fairy garden. I ventured into my garden to pick various types, like the ones with red-tipped leaves, ‘Appeltini’ and the fuzzy ‘Sugar Shimmer’ variety.
Each succulent offers unique textures and colors, making our planter a vibrant display. I chose others as well from my garden where they grow like weeds and needed a bit of thinning.
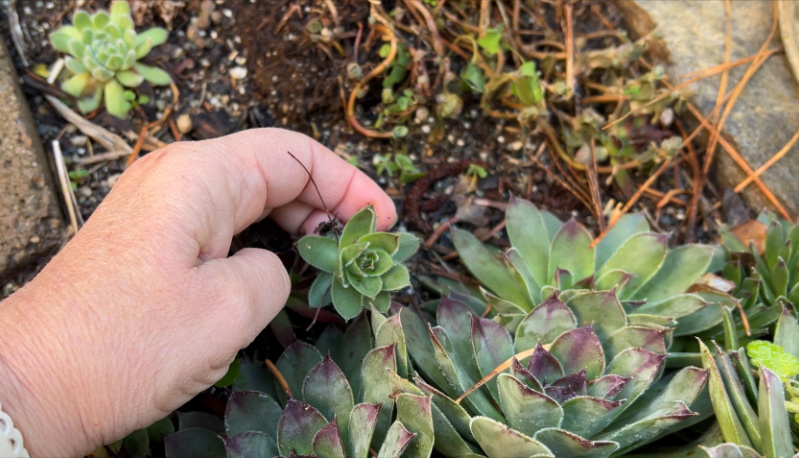
That is one thing nice about Hens and Chicks aka Sempervivums, is if they thrive in your garden conditions they will replicate themselves easily giving you plenty of material for miniature succulent gardens. (Echeverias do not survive the winters in my climate)
To add some extra interest, I included some creeping sedums in this miniature garden.
Preparing the Pot
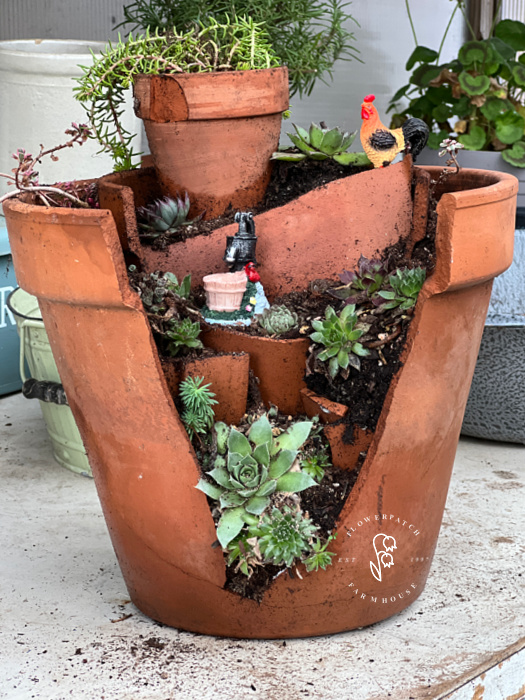
The star of our project is a cracked and broken terracotta pot, once used as a makeshift terra cottage pot heater that did not work as far as providing any heat in the greenhouse. Its broken form, however, makes for an ideal succulent display.
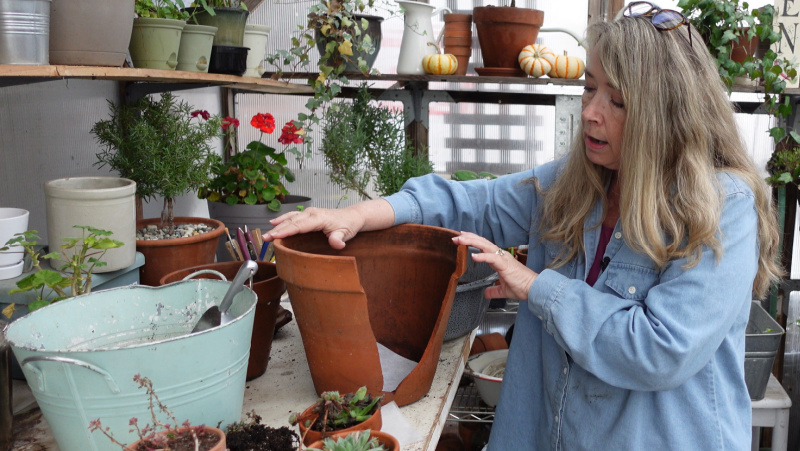
To begin, I lined the bottom hole with mesh for better drainage, which is essential for healthy succulents. You could also use a coffee filter for this.
Then, I added a mix of general-purpose sand and potting soil for grit and moisture control.
Planting the Succulents
The fun part! I started with rooted succulents from my garden, carefully placing them in the pot. (if your succulents do not have roots just place them on the soil, they will usually root themselves given the proper conditions)
I chose a mix of sizes and colors of sempervivums for variety. As I positioned each plant, I ensured they had good soil contact. The broken edges of the pot allowed for creative placement, adding interest and character to the arrangement.
Finishing Touches
After the plants were in, I filled the gaps with more soil and sand. It’s crucial not to overwater, especially right after planting, to prevent root rot.
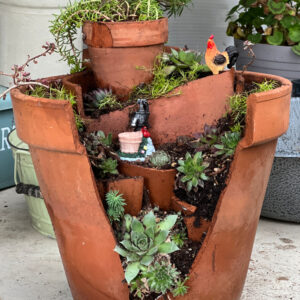
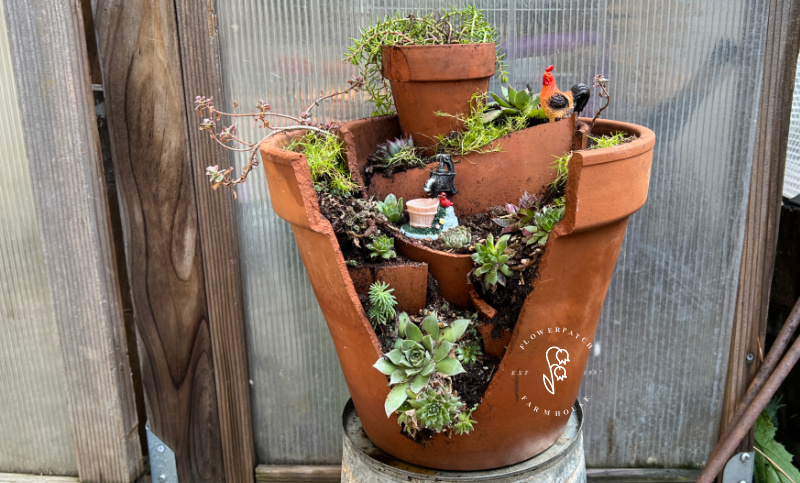
As a final touch, I added some charming miniature garden accessories I found at a dollar store – like a tiny bird bath and a minature rooster.
These whimsical elements bring an extra layer of fun to our succulent fair garden planter.

And there you have it! A beautiful, tiered succulent fairy garden, ready to bring life to any corner of your home or garden.
This project is a demonstration of the beauty of upcycling and the joy of gardening. Remember, as your succulents grow and spread, your miniature garden will continue to evolve, becoming more stunning with time.
I hope you enjoyed this DIY project as much as I did. If you’ve ever created a succulent or mini-dish garden, I’d love to hear about it! Please share your experiences and let’s continue to inspire each other with our green thumb adventures.
Next Time:
Stay tuned for more DIY garden projects, including a unique terrarium made from unconventional items.
Join me next time for more gardening fun! Until then, happy planting!
Hi, I’m Pamela
With 45 years of hands-on gardening experience, I love sharing practical tips, proven techniques, and inspiration drawn from my own gardens. My goal is to nurture your confidence, spark your passion, and help make every step of your gardening journey more enjoyable.


You are welcome.