Budget-Friendly Seed Starting: Grow More for Less!
True old-fashioned seed starting!
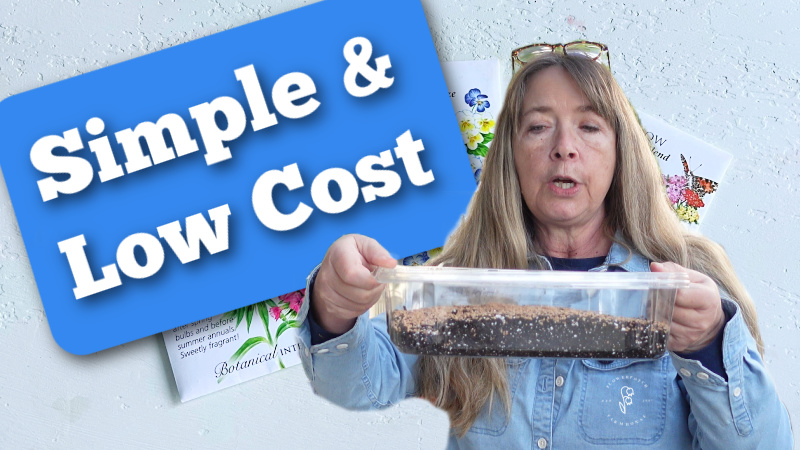
Hey friends! Today, let’s talk about seed starting on a budget. There are tons of seed-starting videos and articles out there and many will have you buying all sorts of stuff you really don’t need!
I want to show you how to do it at almost no cost. Many people feel intimidated by seed starting, unsure of where to begin, so I’m here to simplify the process and make it as cost-friendly as possible.
I learned gardening from my grandparents, who grew their own food out of necessity during the Great Depression. Their methods were practical, using what was available rather than buying expensive gardening products. You don’t need a lot of fancy equipment—just a few basics, many of which you can recycle!
This differs from Winter Sowing, which is also a great budget-friendly way to start seeds!
Winter Sowing 101
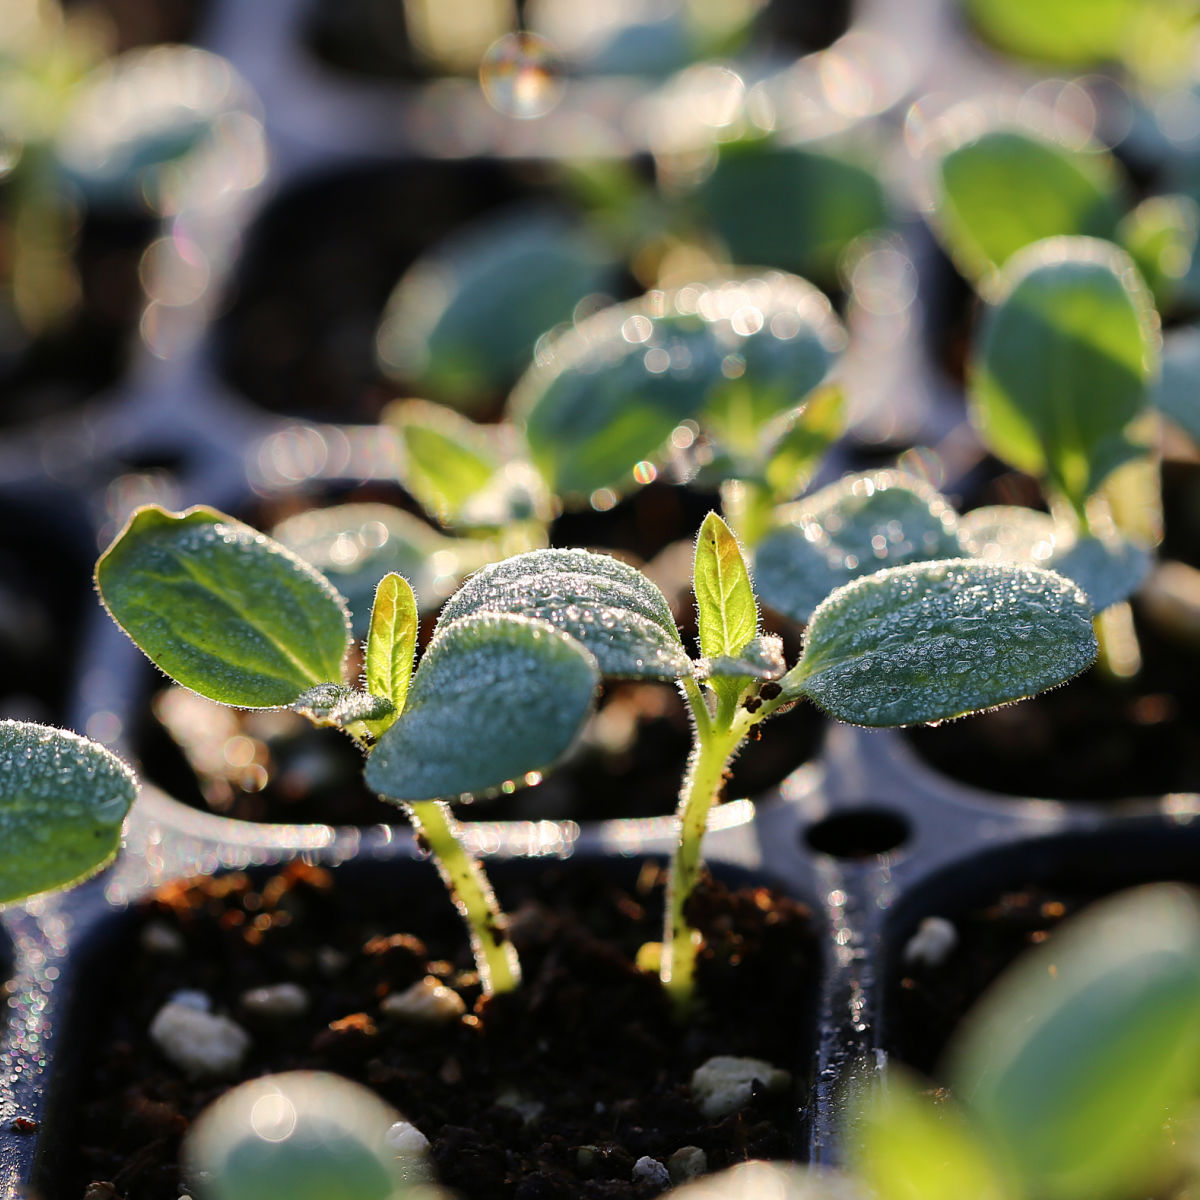
Budget-Friendly Seed Starting Basics
Containers: Free and Recycled
You don’t need to buy special seed-starting trays. Instead, use recycled containers such as:
- Salad containers (the lids work as humidity domes!)
- Solo cups
- McDonald’s drink cups
- Yogurt tubs or sour cream containers
- Milk jugs
To create drainage holes, heat up a skewer, screwdriver, or old knife and carefully poke holes in the bottom. Or simply use a utility knife. (the hot tools work safer for me but use what you feel comfy with)
Soil: No Need for Expensive Seed Starting Mix
Many recommend seed-starting mix, but it’s not necessary. Potting soil works just as well—sometimes even better! Many seed-starting mixes contain mostly peat moss, which can become hydrophobic (repelling water). A good-quality potting soil, preferably organic, will work fine.
You may want to loosen it up a bit with perlite but other than that, you are good to go.
Seed Starting Mix vs Potting Soil!
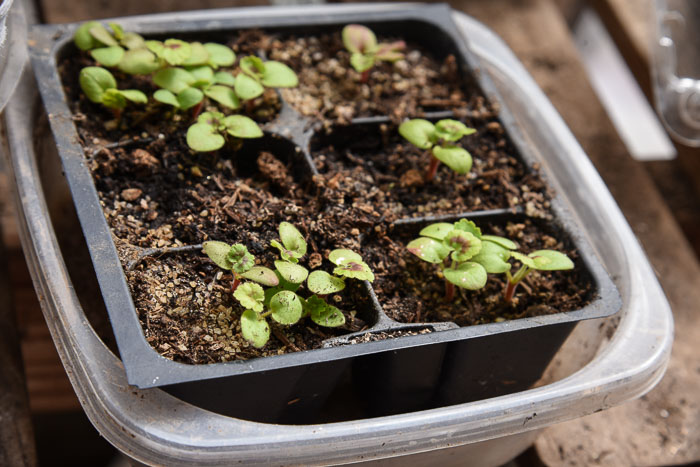
Trays for Bottom Watering
Instead of buying seed trays, use what you have at home:
- Old baking trays
- Plastic takeout containers
- Metal tubs
Bottom watering prevents disturbing the seeds while keeping the soil evenly moist.
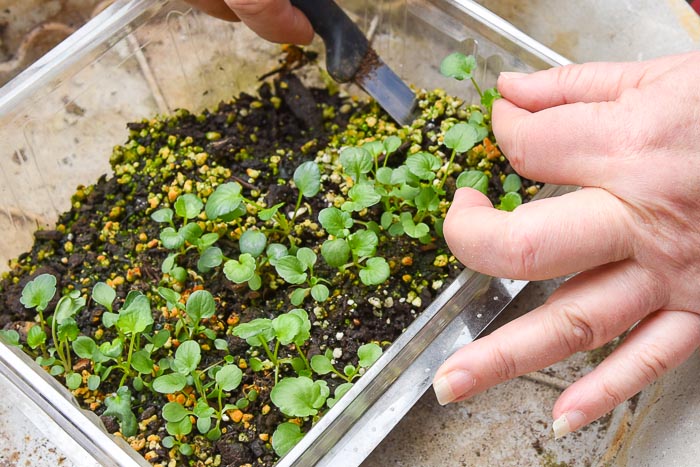
Planting Your Seeds
- Fill your chosen container with 2-3 inches of potting soil.
- Space seeds about 1-2 inches apart to give them room to grow and easier to transplant.
- Cover seeds with a light layer of soil or vermiculite, depending on their light requirements. Some seeds you do not cover. Read the seed packets.
- Press everything down gently to ensure good seed-to-soil contact.
- Place the container in a tray of water and allow it to absorb moisture from the bottom. Tepid or warm water works the fastest.
How to Read Seeds Packets
Light & Temperature
- You don’t need grow lights! Start your seeds in a sunny windowsill after the Spring Equinox when daylight lasts 12+ hours.
- Room temperature should be between 65-75°F for optimal germination.
- Heat mats are optional. They speed up germination but aren’t necessary. Without one, seedlings will still catch up in a few weeks.
Fertilizing Seedlings
- If using regular potting soil with synthetic fertilizer, you don’t need to fertilize early on.
- If using organic soil, start fertilizing once the seedlings develop their second set of true leaves.
- I prefer a liquid organic fertilizer diluted to half to a quarter strength and applied weekly.
Affordable Seed Options
- Dollar Tree seeds are 4 packs for $1.25 and work beautifully!
- Seed industry regulations ensure even budget seeds meet germination standards.
- To boost success, plant extra seeds to account for any that may not sprout.
How Much Does Budget Seed Starting Cost?
- Containers: Free (recycled materials)
- Potting soil: $5-$8
- Vermiculite (optional): $8
- Seeds: $2.50 for 8 packs (Dollar Tree or Dollar General, you will pay more from other resources but it can still be budget friendly)
- Garden Markers: Free (cut from yogurt, sour cream or cottage cheese tubs or repurpose plastic cutlery knives)
- Fertilizer (optional): $15 for a liquid organic option
Total Cost: Around $20! For just a small investment, you can start a thriving garden and test if seed starting is right for you before spending on additional supplies.
Final Thoughts on Budget-Friendly Seed Starting
Seed starting is not only cost-effective but also rewarding! You don’t need expensive equipment to be successful. By using recycled containers, potting soil instead of specialty mixes, and budget-friendly seeds, you can grow a beautiful garden affordably.
Give it a try, and let me know how it goes. Happy gardening!
Click here to see how I start seeds indoors with lights and other stuff!
Hi, I’m Pamela
With 45 years of hands-on gardening experience, I love sharing practical tips, proven techniques, and inspiration drawn from my own gardens. My goal is to nurture your confidence, spark your passion, and help make every step of your gardening journey more enjoyable.