Plant Bare Root Clematis
Plant bare-root clematis in pots to give them a head start.
Planting bare root clematis in pots is what you do if you can’t yet plant them in the garden. If you are planting directly in the garden this is the same method.
Please note: there is a full-length step-by-step video you can watch me do this linked at the end of this post.
Why Plant Bare Root Clematis
You can often find a better selection of varieties in bare-root, plus there is a dramatic cost savings. Spring is when you will find bare-root clematis in big box stores, nurseries, and online.
Be careful when buying at big box stores as they may have dried out. I have had great success buying them at Costco. In my area, Costco carries the Longfield Garden bare root perennials and they are in tip-top condition.
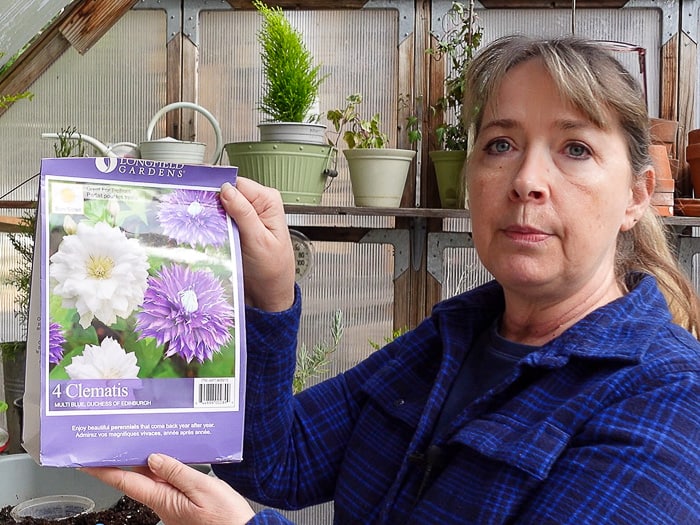
You can also order directly from Longfield Gardens online and I often do. Everything I have ever ordered from them is top-notch.
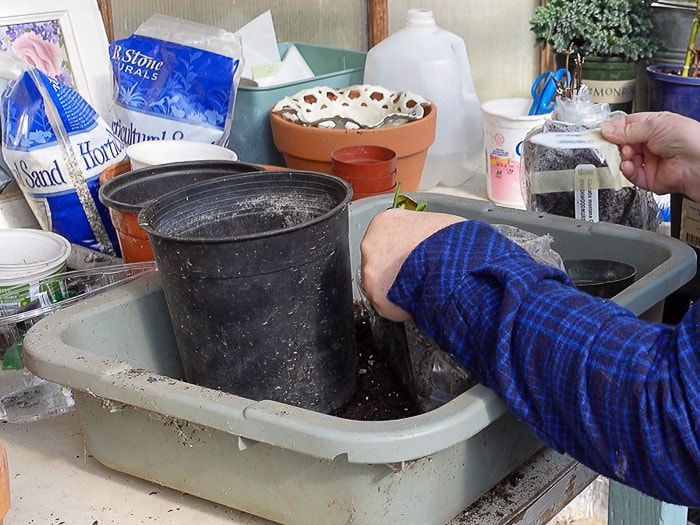
Prepare containers
Use one-gallon nursery pots or something similar in size. This gives the roots room for healthy root growth.
Recycled pots from previous plant purchases will work great, just clean and sanitize well between uses.
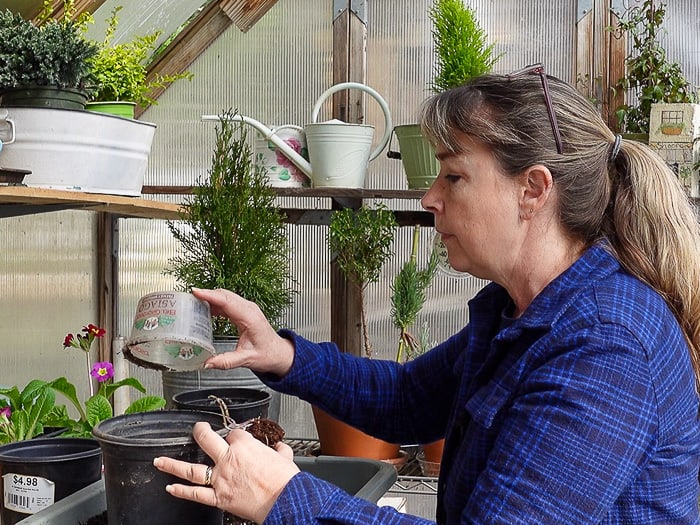
Inspect clematis
Open the packaging carefully. The bare root clematis plant may have already started to sprout making it possible to cut it off accidentally.
When shipped to you or the stores they are taken from cold storage where they have been kept dormant. Warm temperatures in stores and our homes will wake them up.
The new growth is white as it has been in the dark and has not greened up from sunshine yet.
The medium this bare-root clematis was shipped in is still nice and moist. If it was dry then soaking for 20 minutes in tepid water would be needed to help rehydrate the roots.
Planting bare root clematis
Fill the one-gallon container halfway with good potting soil. The potting soil I am using today is Gardeners and Bloom potting mix. Any good quality potting mix will work.
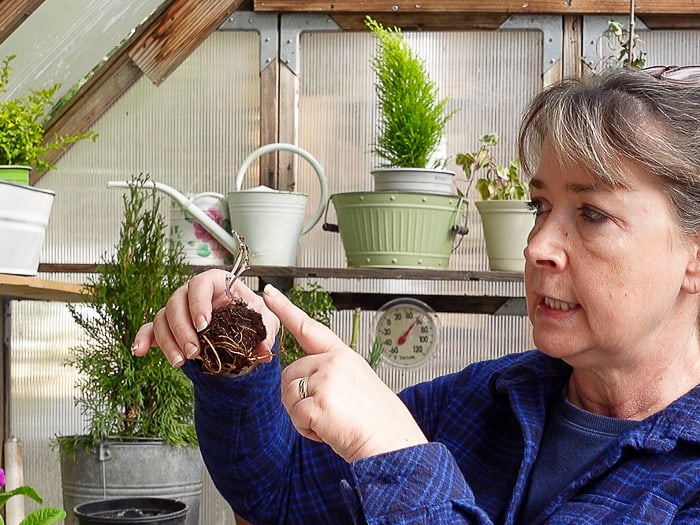
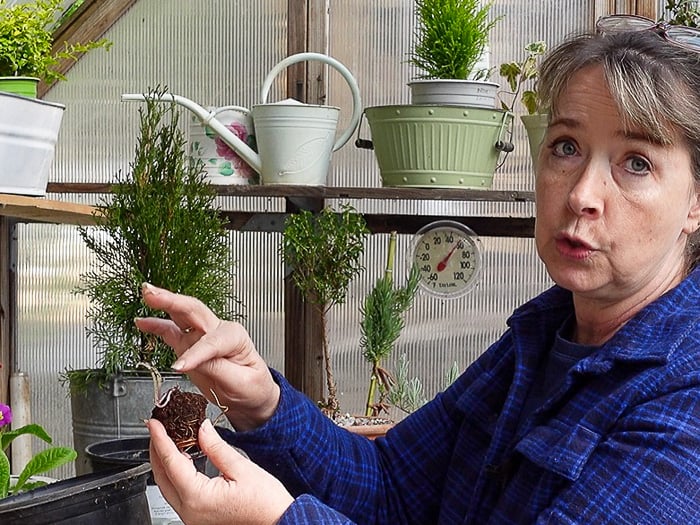
You will want two inches of the clematis crown to be under the soil line (or you can do this when you plant in your garden). Note: you can plant where the crown is just barely below the soil surface.
Look close you can see the crown just below my finger in this photo. If you feel it, it is hard, unlike the soft feel of the new growth.
Nestle the roots down into the soil in the pot. Don’t press too hard, clematis can be brittle and easy to break.
Notice there is plenty of room to add more soil. Fill the pot with more potting soil to half an inch of the top. This leaves room to water.
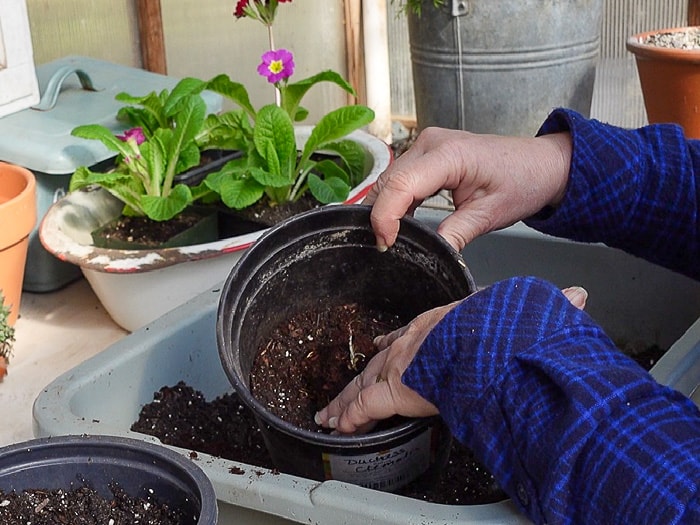
Press gently to firm the soil and water well.
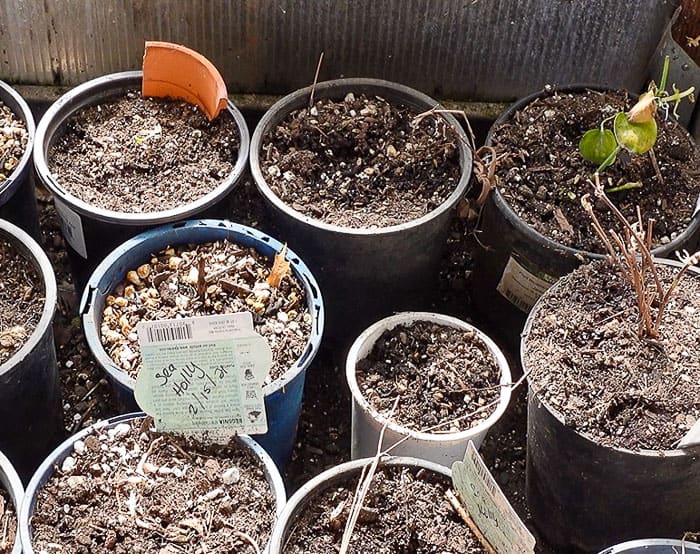
Where to Place Potted Bare Root Clematis
Place your potted clematis in a protected space. These are in my greenhouse which is more of a glorified cold frame. It is not heated.
While you wait for the temperatures and soil to warm you can keep your potted clematis on a porch against the house or in a garage.
Once the temps overnight are not super freezing you can place them outside but keep an eye on fluctuating temps that dip below freezing. Bring back in if temperatures drop to freezing.
Clematis are cold hardy but super freezing temps will do harm.
How to Care for your Potted Clematis
Keep an eye on moisture levels in your pots. You don’t want them waterlogged but you do need to make sure and not let them dry out.
As the temperatures climb and your soil warms you can plant out in your garden. Many clematis can be grown in containers but they need to be large and roomy. Most are not suited for container growing and won’t perform as well as in the garden.
For more information on planting in your garden then hop on over and read this article: How to Grow Clematis Successfully.
If you really need to grow in containers look for ones that are better suited for that use. There are newer dwarf varieties available that are purported to do well in containers. The information on each clematis will usually tell you.
It can take a couple of years for a bare root clematis vine to mature and begin flowering vigorously. Be patient, this is a plant for the long haul.
To shorten the wait and help ensure your success, it’s best to purchase a plant that’s at least two years old.
Look for a container-grown plant in a quart or gallon-size pot. If you’re shopping for your clematis at a garden center or nursery, select a robust plant that’s showing vigorous growth. Brushwood nurseries send out mature plants that you can enjoy the first year. They are more costly but that is to be expected, they are perfect for the impatient gardener.
Enjoy your Clematis
Sorry for the blurry shot but this is a Warsaw Nike clematis I bought bare root at Home Depot. It took a couple years for it to take off but it has been well worth the wait.
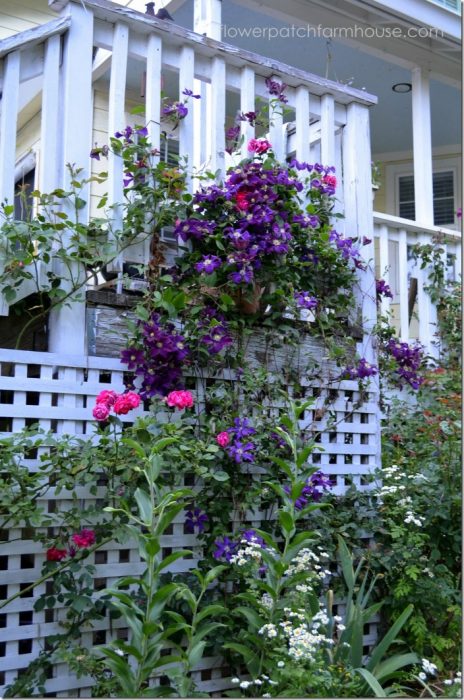
Clematis make a perfect companion for roses.
Want to try your hand at propagating clematis? See here.
Happy Clematis Growing!
Hi, I’m Pamela
With 45 years of hands-on gardening experience, I love sharing practical tips, proven techniques, and inspiration drawn from my own gardens. My goal is to nurture your confidence, spark your passion, and help make every step of your gardening journey more enjoyable.


Brushwood is awesome and the clematis they send out and nice and healthy! I am glad you found me too.
Thank you for the information and mention of Brushwood nursery! I’ve not done well with Clematis propagation or bare roots. Picked up two at a big box store today not realizing it could be years before they produce anything. I went right to Brushwood to order a beautiful Clematis that will bloom this same year! I’m excited and thank you so much! I also watch your youtube channel, but this article popped up when I was searching for info about Clematises — I did not know you had a website too. Thanks again — love your content.
There are many variables but you should see something in about 2 weeks with optimum conditions. If not, you can get a refund from Costco. Sometimes they can become too dried out depending on how they were shipped, how long they were in the store, and how long you waited to plant them. Have you dug down into the soil a bit to see if something is happening under the soil? Some are just slower than others even of the same variety. Bareroot in packages can be a gamble but both Costco and Longfield Garden are very good about refunds.
Can you suggest how long it would take if the plugs were planted in pots like you described in your video (Costco purchase also) before one could expect to see some healthy shoots with leaf development. I got 3 plugs in the purchase & looks like only 1 is the survivor – going to check with C. to see if they have more…………………your advice helps ………………..new to planting plugs
Love your site – you do a great job of teaching us