How to Plant Amaryllis Bulbs
Do you love the look of amaryllis flowers (hippeastrum) but don’t know how to get started growing them? Have no fear! In this blog post, I will walk you through everything you need to know about planting amaryllis bulbs and giving them proper care. Let’s get started!
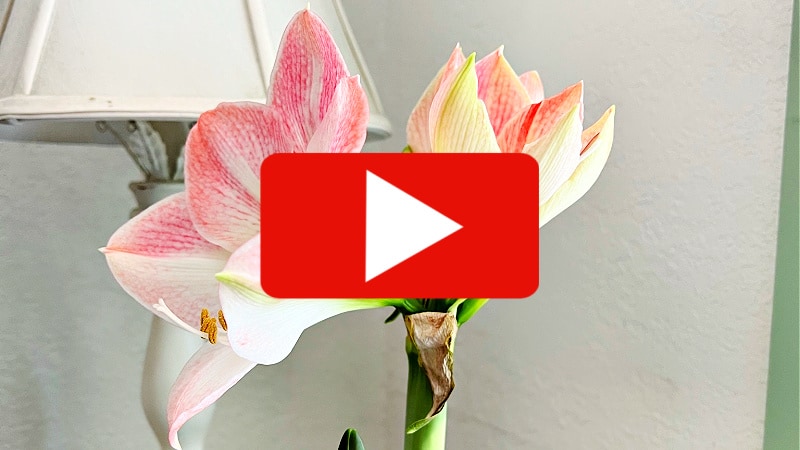
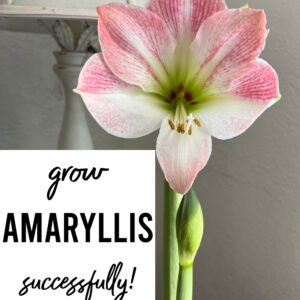
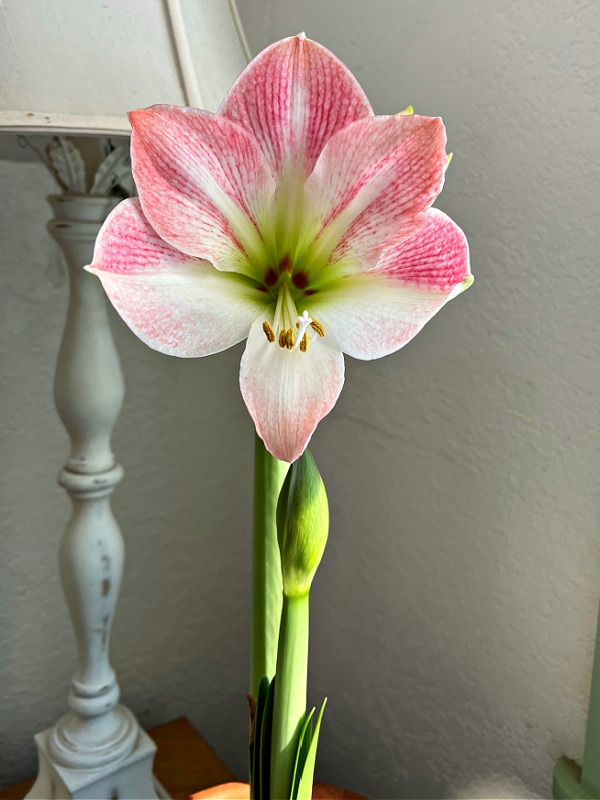
The beautiful specimen below is Apple Blossom Amaryllis and usually can be easily found at most garden centers and big box stores. They come as bare bulbs or waxed bulbs.
This post contains affiliate links. If you make a purchase after clicking a link I may make a small commission at no added cost to you.
When Should Amaryllis Bulbs Be Planted
This depends on when you wish your Amaryllis to bloom. Pick a time and count back 6 to 8 weeks. That is the typical amount of time it takes for the Amaryllis to sprout and bloom.
The wide range of dates can encompass October – April, so if you like you could easily get a few bulbs and stagger bloom time for an endless display during the cold, dark days of winter.
Helpful Hint: Large bulbs tend to produce more flower spikes than smaller ones.
What You Will Need to Plant Amaryllis Bulbs
First things first, let’s gather the supplies you will need to successfully plant your amaryllis bulb. You will need the following items:
- One healthy amaryllis bulb per pot
- One pot per bulb (I prefer terra cotta pots) that is at least 8 inches wide and 6 inches deep for big bulbs and I use my smaller pots for the others.
- Good Quality Potting soil
- Some perlite for a base (optional, I find it helps prevent root rot or overwatering issues)
- A bright spot or sunny window in your home
Now that we have all of the materials we need, let’s get started on planting the bulbs.
Step One: Choose & Prepare Your Pot
Plant the bulb in a pot that is one to two inches larger than the diameter of the bulb.
Amaryllis blooms better under conditions in which they are slightly rootbound. Containers can be either terra cotta, clay, or plastic, and they must have drainage holes in the bottom.
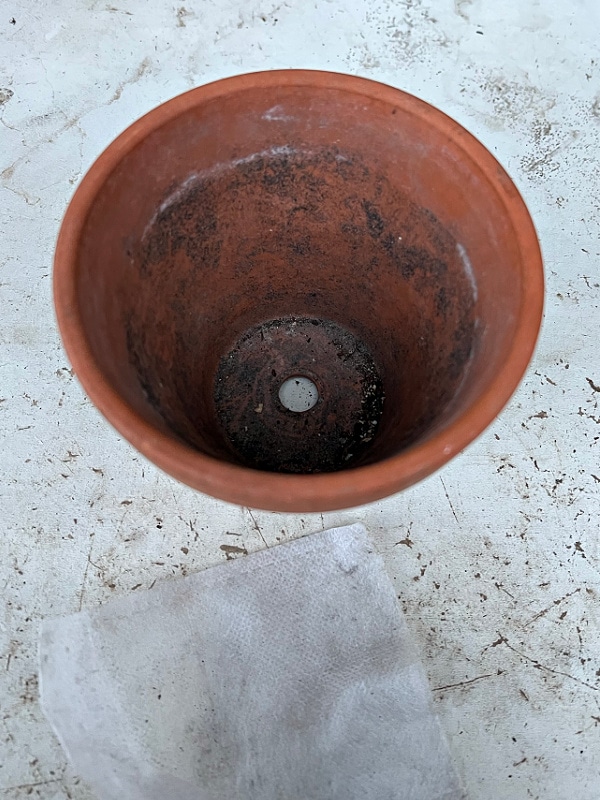
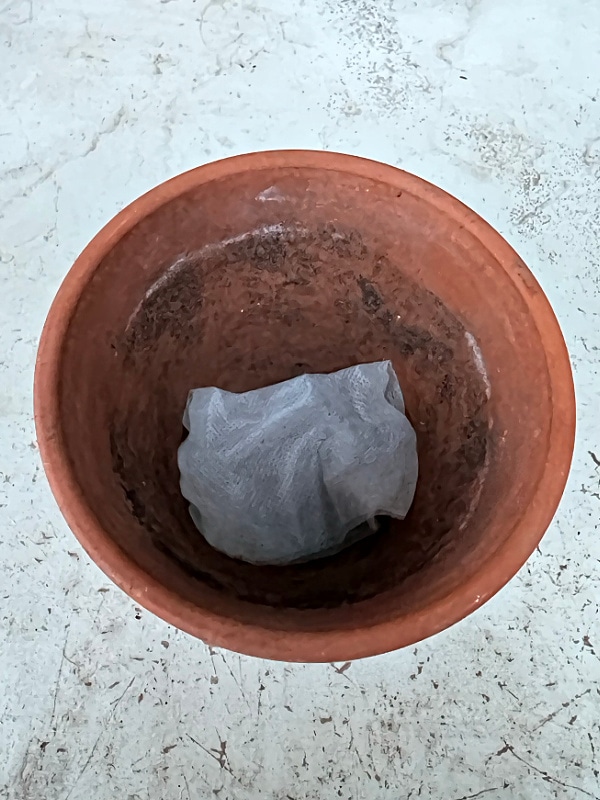
If using a terra cotta or container with a large drainage hole you usually need to place something over the large hole to prevent soil from coming through.
You can use a shard of a broken pot or I like to use a paper coffee filter. (in the video I share what else I have been using)
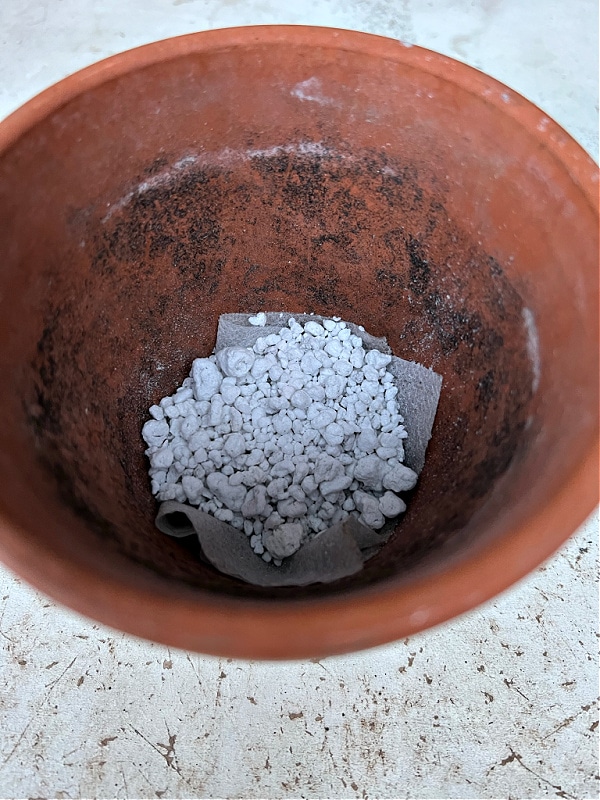
Optional: Add 1/2 an inch of perlite in the bottom of the pot.
Next, fill it with a few inches of soil. You will want the top third of the bulb above the soil line.
If you are reusing a pot, make sure to empty it and give it a good scrub with soap and water before adding fresh potting soil. (when disinfecting I use a solution of 1 part chlorine bleach to 10 parts water)
I prefer terra cotta pots for Amaryllis plants as when they bloom the flower stalk can become quite top-heavy and the weight of the pots helps to keep them from toppling.
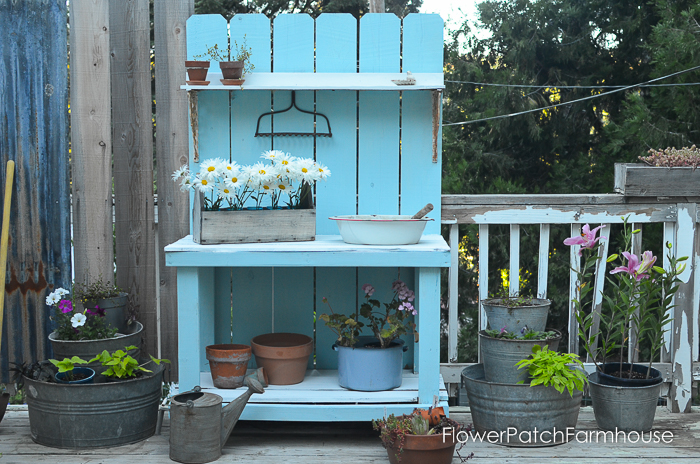
the many reasons why
I Love Terra Cotta Pots
Terra cotta pots have been around for ages and I mean ages but they have come in and out of popular use. Here I will share the amazing benefits of terra cotta pots!.
Step Two: Plant Your Bulb
Now it’s time to plant your bare bulb!
Place your bulb in the center of the pot on top of the soil and begin to fill in around it with more potting mix until it is covered two-thirds of the way.
Leaving the top third of the bulb out of the soil keeps the bulb’s nose dry, which helps reduce red blotch infection, a fungal disease.
Make sure not to bury the bulb too deep, and of course, it should be pointing up when you are finished planting.
Top with a bit of gravel or horticultural sand to make it prettier and also help prevent fungal disease. (optional)
In the video at the end of this post, I share how I planted up an Amaryllis that did not have its roots cut back and how I planted the little baby bulbs that had grown alongside the mother bulb.
Step Three: Water Well and Place in a Sunny Location
After planting, give your bulb a good drink of water so that the soil is moistened but not soggy.
Then, find a sunny spot in your home for your newly potted amaryllis. A south-facing window is ideal, but any spot that gets six to eight hours of sunlight per day will do.
I don’t have a south-facing window that is available for plants so I have mine in an east-facing window and that works too.
Amaryllis like warm temperatures, 70-75 degrees F, for good growth while the roots form and new leaves grow.
Reducing the temperature to the 60’s after flower buds appear will help them to last longer. Cool temperatures help many things to bloom longer but my home is never that cool so I am not sure how much longer.
Step Four: Watch It Grow!
In two to four weeks, you should see green tips poking through the soil.
You may be surprised at how fast your Amaryllis bulb begins to show new growth. As you watch it grow keep the soil well-moistened but not wet.
Once your plant has sprouted, continue to water it about once a week.
When blooms appear increase watering as needed. I like to check my potted plants with a moisture meter, for me, it is more accurate than the finger test.
Check on today’s price for the one I use here.
Related: There is nothing better than winter blooms in your home to enjoy, so go ahead and give Amaryllis a try along with the many Zygocactus that are just as easy to grow!
easy growing tips
Grow Beautiful Holiday Cacti
The gorgeous bright colors of Thanksgiving and Christmas cacti are easy to enjoy in your home during winter. Learn how you can grow them and get loads of blooms!
I do hope this blog post has inspired you to give growing amaryllis bulbs a try! These beautiful flowers are perfect for adding cheer to your home during the time of year when it can be drab.
With just a few supplies and some simple instructions, anyone can successfully grow these stunning blooms. Give it a try and enjoy the rewards of your hard work!
What is your favorite Amaryllis to grow?
Here are some I love…
- Amaryllis Ferrari
- Apple Blossom Amaryllis (as seen in this post)
- Amaryllis Single Naranja (orange amaryllis)
- Amryllis Double Alaska (white double, on my wishlist!)