Harvesting Zinnia Seeds

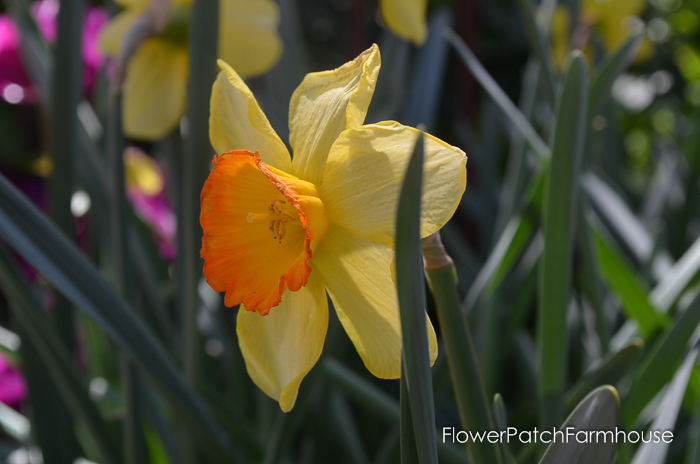
How To Harvest Zinnia Seeds Like a Pro! If you’ve ever seen a zinnia, you know why they are so beloved in the garden—their vibrant colors and long-lasting blooms truly bring any outdoor space to life.
But did you know that you can save money and still enjoy these beautiful flowers by harvesting your own zinnia seeds?
This post contains affiliate links. If you make a purchase after clicking a link I may make a small commission at no added cost to you.
Though I mourn the end of summer I do enjoy harvesting zinnia seeds. It is one of the Slow Gardening chores that I take my time doing each year.
But how exactly do you harvest zinnia seed? I’ll walk you through it, step by step.
Identify Mature Zinnia Flowers
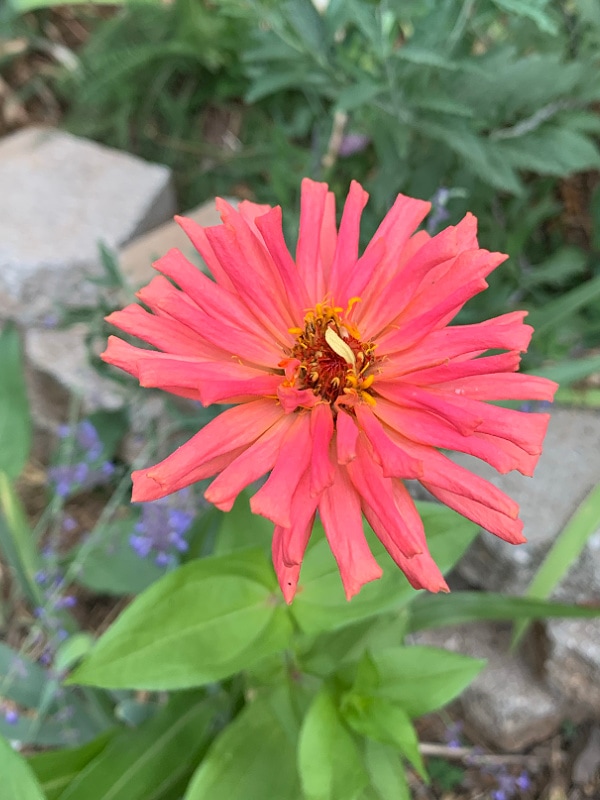
The key to saving zinnia seeds is to identify which ones are mature enough to harvest their seeds.
If the zinnias are still flowering, they’re not ready yet.
Toward the end of the growing season look for flower heads and petals that are beginning to dry out and turn brown.
This is usually a sign that the seeds inside are ripe and ready for gathering.
I will stop deadheading certain zinnia plants so they can go to seed and the others I will continue to use for cut flowers.
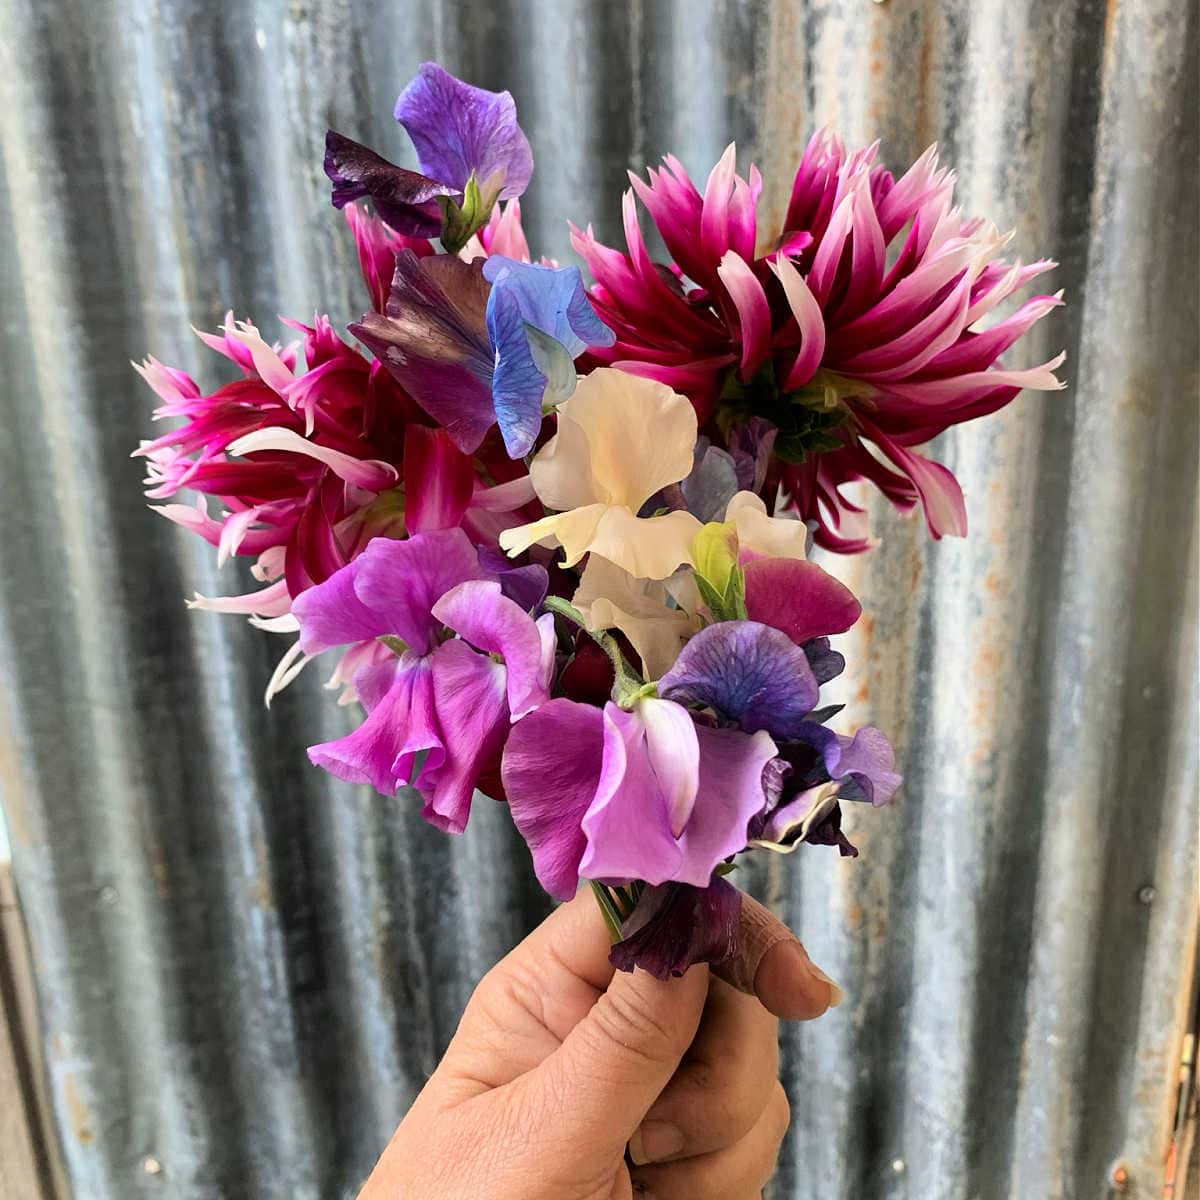
grow your own gorgeous bouquets
Easy Home Cut Flower Gardening
Growing your own cut flowers doesn’t mean you need a large space or even a dedicated space. Plant cutting flowers in your beds and borders and enjoy lush bouquets all season long! Great for all gardeners.
Harvest the Zinnia seeds
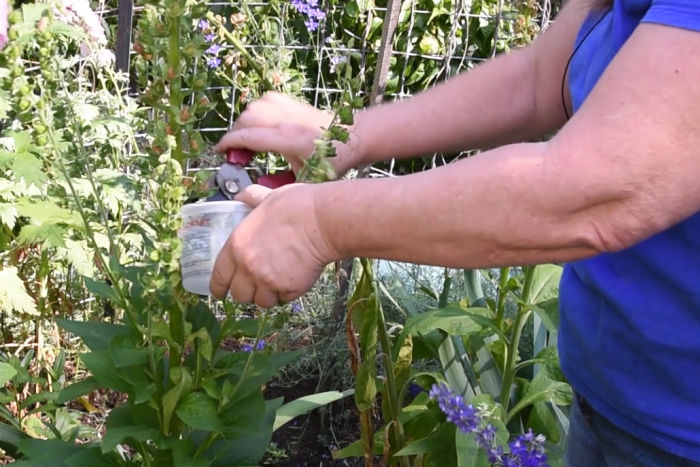
Cut and Collect: When you’ve identified which dried zinnia plants are ready for harvesting, use snips or pruners to cut off the heads of those plants.
Place a small tub or container (I use recycled food tubs) beneath them as you cut the dried flower head fall into it.
(I collect lots of flower seeds this way) Seed Saving 101, easily save seeds from more flowers!
Next, place the heads in a dry container and let them sit overnight so they can dry out completely before the next step.
Separate Seeds from Heads
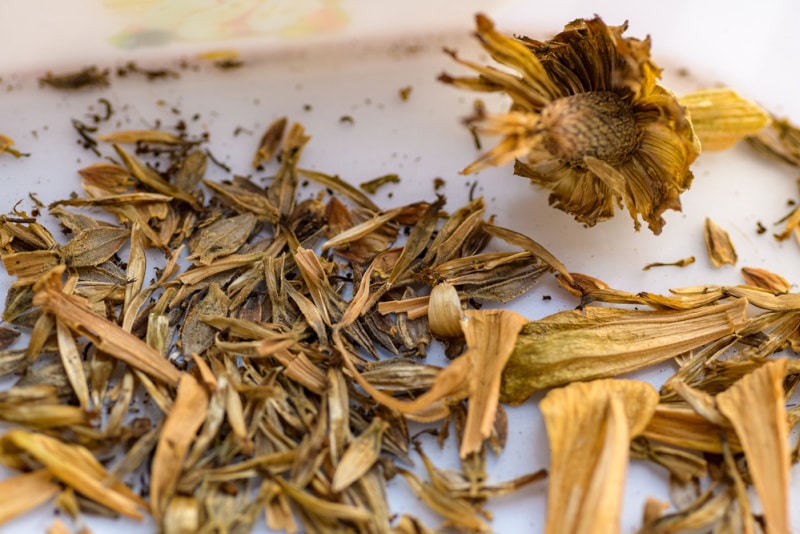
Once your zinnia heads have dried out completely, it’s time to separate the seeds from their head housings.
One way is to place the lid on the tub you used to collect the flower heads and shake it well.
This should loosen the seeds from the petals and base.
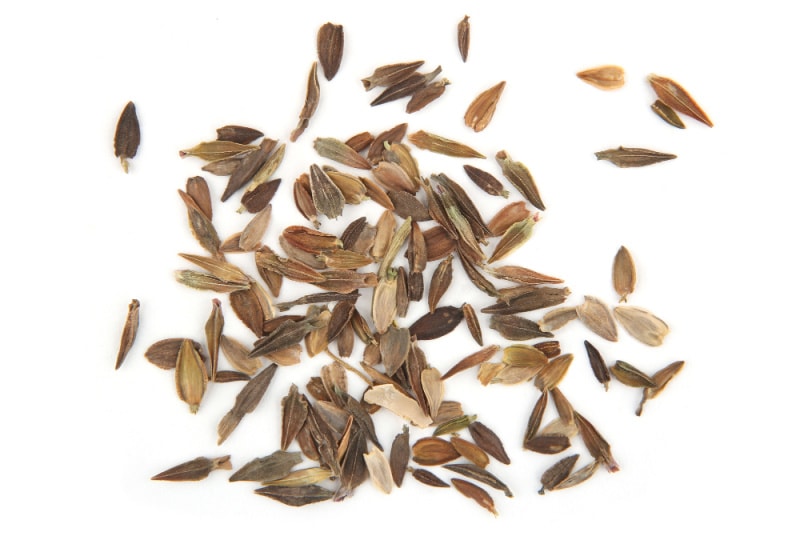
Or simply rub your hands over the head of each flower until all of the little black seeds fall onto your hands or into a bowl below.
You can also use your thumbnail to gently pull apart each head if necessary.
Separate out the chaff, the dried petals. The viable seeds are usually heavier.
Storing Your Zinnia Seeds Properly
When you save seeds you need to store them in a cool, dry place.
Be sure to store them in a container safe from mice and moisture.
For my seed saving I use a cardboard box or plastic tub with a few of the desiccant packets inside and keep it in my basement or office.
Storing them properly will help keep them viable for up to five years!
Zinnia Seed Starting
When It’s Time To Plant just head on over to the post all about growing zinnias!
grow loads of
Zinnias from Seeds!
Harvesting zinnia seeds is not only rewarding but also quite simple—all it takes is a bit of patience (allowing those gorgeous petals to die back) and attention (making sure that all new seedlings are properly stored).
So if you want to add some extra color to your garden and save on the budget, give harvesting zinnia seeds a try!
It’s easy enough for beginners as well as experienced gardeners alike. Just make sure to have fun with it!
Important note: since your zinnia seeds will be open-pollinated what you grow from seed will vary. Hybrids will not grow true to the parent plants but will still be beautiful!