DIY Tomato Cage
DIY Tomato cage that is as pretty as it is useful. Tomato cages are essential for keeping our tomato plants growing strong and tall. Many methods work yet aren’t the most attractive. Let’s build one that is beautiful in the garden!
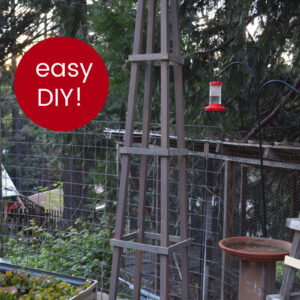
These DIY tomato cages are a bit on the tall side, but you can build them shorter. The design is easily adaptable to fit your needs,
NOTE: The base measurement I used was because of the dimensions of where my tomato plants are located between some raised beds but they would be much more stable with a wider base as in my original Garden Obelisk.
Supplies & Tools
We bought a bundle at Home Depot of the 2″ x 2″x 8′ and of the 1″ x 2″ x 8′ furring strips. We paid $2.28 per 2 x 2 and $1.18 for the 1 x 2 x 8.
If the 1 x 2 furring strips look too junky then go for the Spruce, Fir, Pine common board which are $2.61 each. When buying your lumber, check for straightness, get ones that are as straight as you can. When buying in a bundle it is not possible to check every single board but you can eyeball the bundle to see if they are a good lot.
Each tomato support obelisk uses 4 of the 2 x 2’s and 3 of the 1 x 2’s. For the size I built at 8 feet tall I used 20 feet of the 1 x 2’s. So the third has some leftovers and if you make more than one obelisk you can use the leftovers of the third 1 x 2.

Tools and other supplies are a Ryobi 18 guage brad nailer, a straight edge, pencil or pen, tape measure, brown flooring paper, and exterior wood glue.
You can also screw this together instead of nailing it if you prefer. Pre-drill all holes before screwing so you don’t split the wood.
Create a Centerline
To keep things aligned properly you need to create a centerline to pull your measurements from. I used brown flooring paper from Home Depot, it is thicker than brown craft paper but that could also work.
Create a line that is the length of your work surface. Under this brown paper is a folding 8-foot table. I measured in approximately halfway from the side of the table along the length.
Using the straight edge as a ruler draw the line from top to tail of the table.
You can see the line on the brown paper below.
Getting tomato cage measurements
This tomato support obelisk has a 16-inch wide bottom to fit the space I want it to go.
I measured out 8 inches to the left and to the right of my center line to get 16 inches. Mark it.
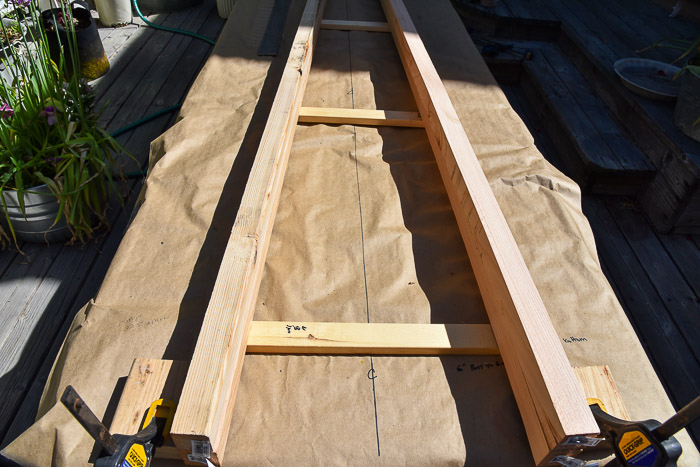
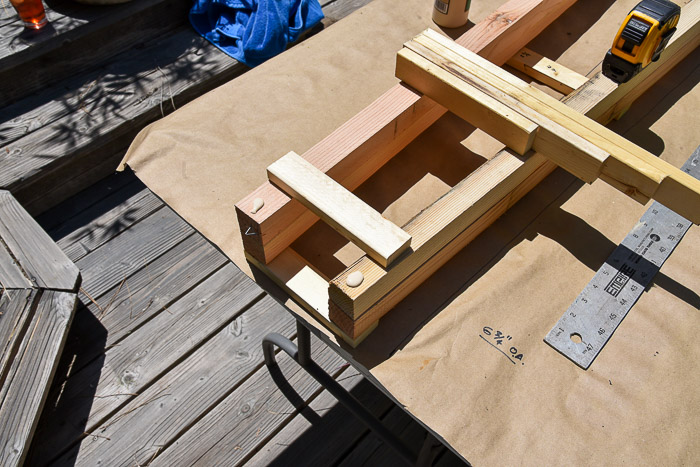
Here below we clamped two scrap pieces of 2 x 4 at the 16 inches but the second one I built it was better to clamp the 2 x 2 sections to the table.
At the top, I wanted it to be 6 5/8 inches and measured the same way from the center line and mark. Though you cannot see it I placed marks at the measurements at the bottom and top so the next obelisk I build I will just line my wood up to the marks.
Clamp the top rails down as at the bottom.
Get rung measurements
The first 2 x 2s I used were very straight so were my beginning pieces. In the video, I do share how I must use clamps and some muscle to get some bowed 2 x 2’s to meet the same measurements at first.
I wanted this obelisk bottom rung to be at 6 inches from the ground so measure up 6 inches from the end of the 2 x 2s and mark it.
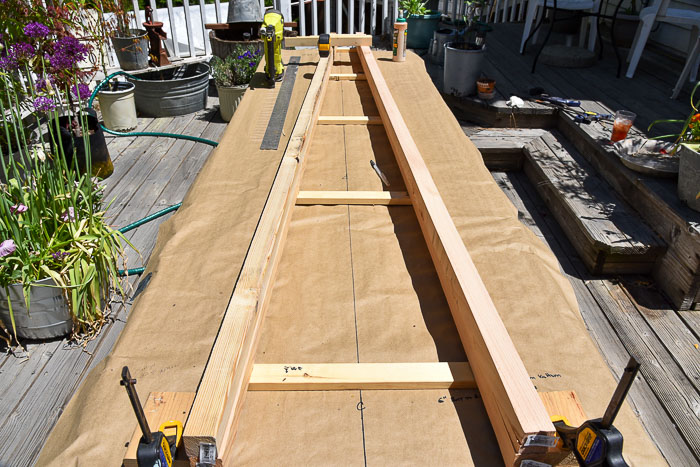
To figure out how far apart to make my rungs I measured from the top of the 2 x 2 to the top of the bottom rung. I have 5 rungs so that will be 4 spaces. Divide the measurement from the top of the obelisk to the bottom rung by 4 and you get how far apart your rungs should be.
On this one that is 22.5 inches. Mark at 22.5 inches from the top, then 45 inches from the top, then 67.5 inches, 90 inches.
Measure across the 2 x 2s at these points to get the size for your rungs.
Mine ended up being 15 3/8″, 13 1/4″, 11″, 8 3/4″ and 6 5/8″.
I cut 2 sets of rungs at those measurements.
Note: these measurements are relative to what size and base width you create your obelisk tomato support.
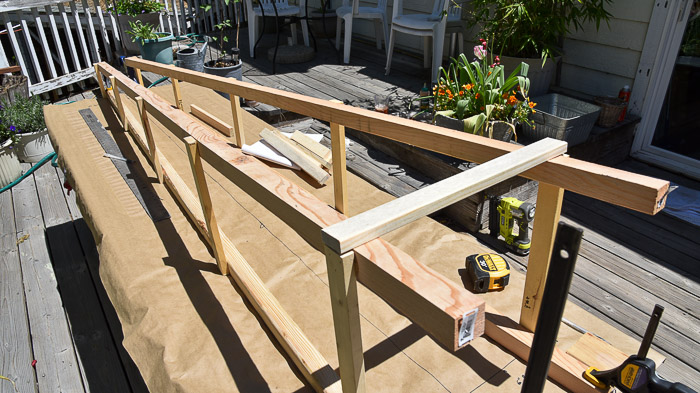
Assemble DIY tomato cage
Now that your pieces for the two sides are cut it is time to assemble.
I started with the top and bottom rung. Add a dot of glue to the 2 x 2 then place the rung on top of the glue to nail.
Using the brad nailer attach the rung to the 2 x 2’s
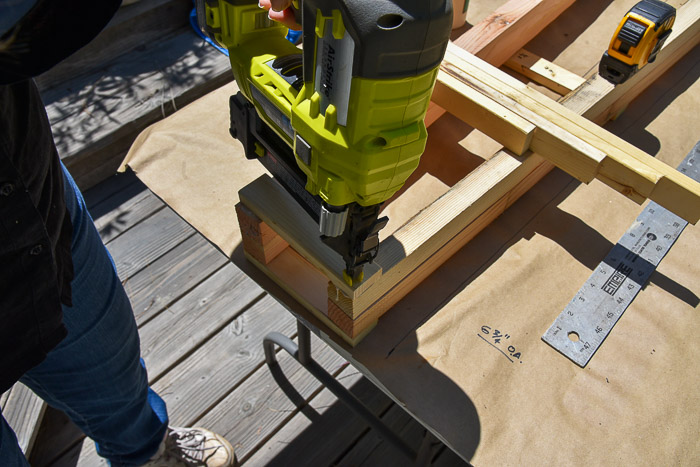
I learned that using a triangle nailing pattern helps to keep the pieces from ratcheting so I nailed them that way. Time will tell if this works. See what I mean in the photo below.
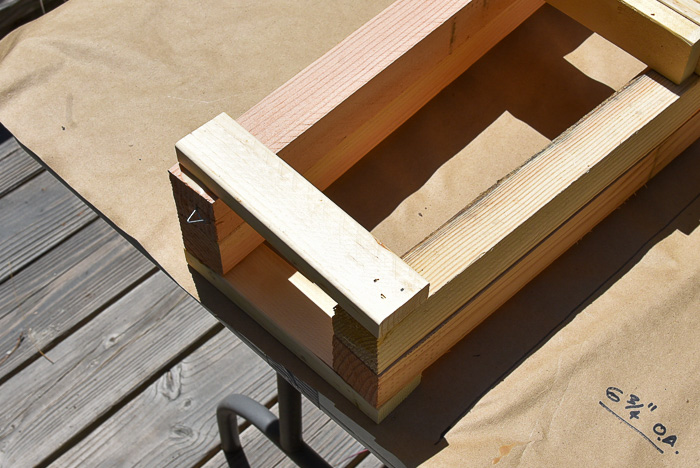
Add the rest of the rungs the same way along the 2 x 2’s creating the ladder.
Build the second side the same way. In the video, I show how I make the two sides the same even though some of the 2 x 2’s are bowed.
As you can see in many of the photos I laid the second ladder on top of the first to assemble.
Attach side rungs
Flip the two ladders onto their sides. Align with the measurement marks on the table.
Take measurements for side rungs. We are going to overlap the rung edges so the measurements for the side rungs are a bit longer than the first.
Measure from the outside of each rung from side to side to get the measurements. Mine were 17 1/8″, 15 3/16″, 12 5/8″, 10 1/4″, 8 1/8″.
Cut the side rungs using the measurements.
Attach side rungs the same as the front ones except you overlap the cut ends.
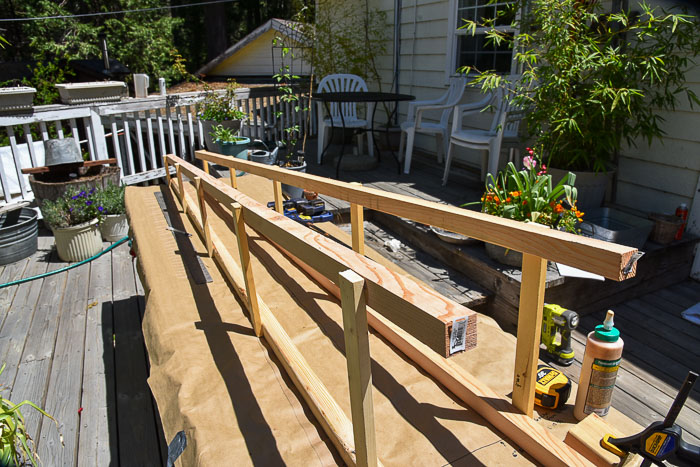
Do both sides and you are done! Now you have extra tall tomato support.
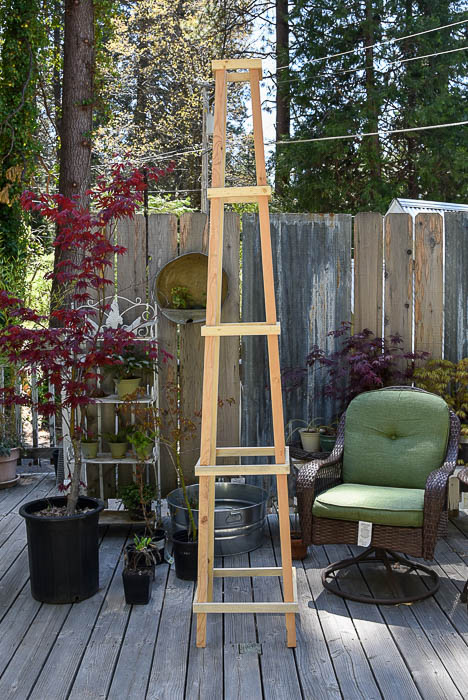
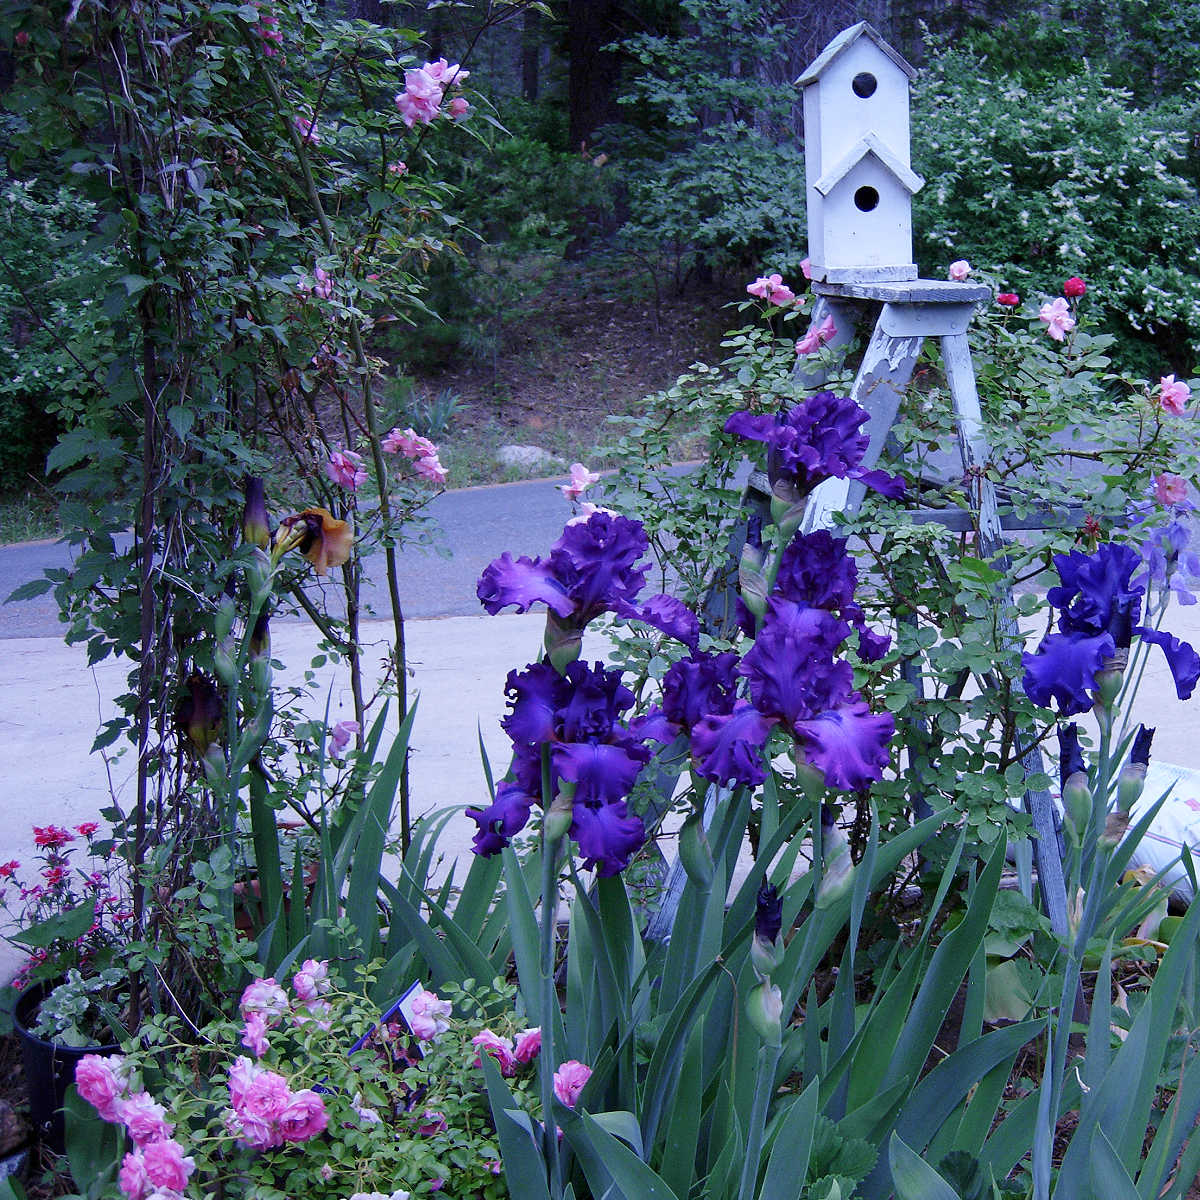
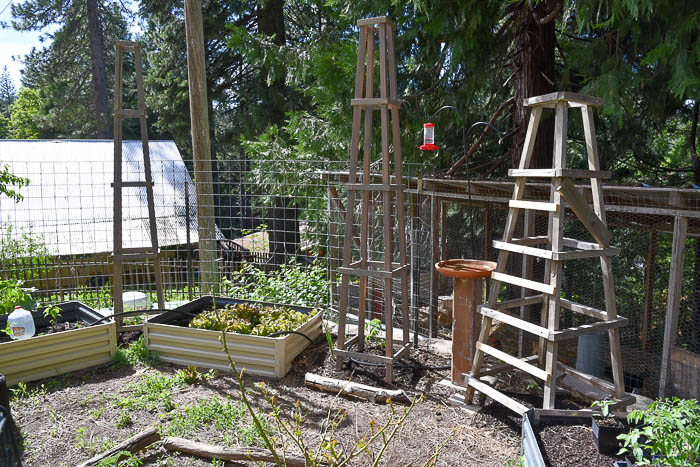
See them in the garden…
See the video of me building these here!
Note: After using them for a few years I would now make them a bit wider at the base and about 1 to 2 feet shorter for better stability. So go ahead and use the regular obelisk design.
Please PIN and Share

These garden obelisks are perfect for climbing roses as I have here, this is another design I know you will like. Other climbers these work great for are clematis, wisteria, and trumpet vine.
Hi, I’m Pamela
With 45 years of hands-on gardening experience, I love sharing practical tips, proven techniques, and inspiration drawn from my own gardens. My goal is to nurture your confidence, spark your passion, and help make every step of your gardening journey more enjoyable.