Growing Dipladenia: Unlocking the Beauty of Mandevilla’s Distant Cousin
Dipladenia, a stunning flowering plant, has become a popular choice for many gardeners seeking to add a tropical vibe and lush foliage to their outdoor spaces.
While many are familiar with its cousin Mandevilla, few are aware of the equally mesmerizing qualities that the Dipladenia plant possesses.
In this blog post, we will explore the art of growing Dipladenia, highlighting its unique characteristics and offering practical tips to help you cultivate a thriving Dipladenia garden.
This post contains affiliate links. If you make a purchase after clicking a link I may make a small commission at no cost to you.
Understanding Dipladenia and Mandevilla
Before diving into the specifics of growing Dipladenia, it’s essential to understand the key differences between Dipladenia and Mandevilla.
Although both plants belong to the same family, Apocynaceae, they exhibit distinctive features. Mandevilla is typically a larger plant with woody stems, while Dipladenia tends to be more compact and shrub-like.
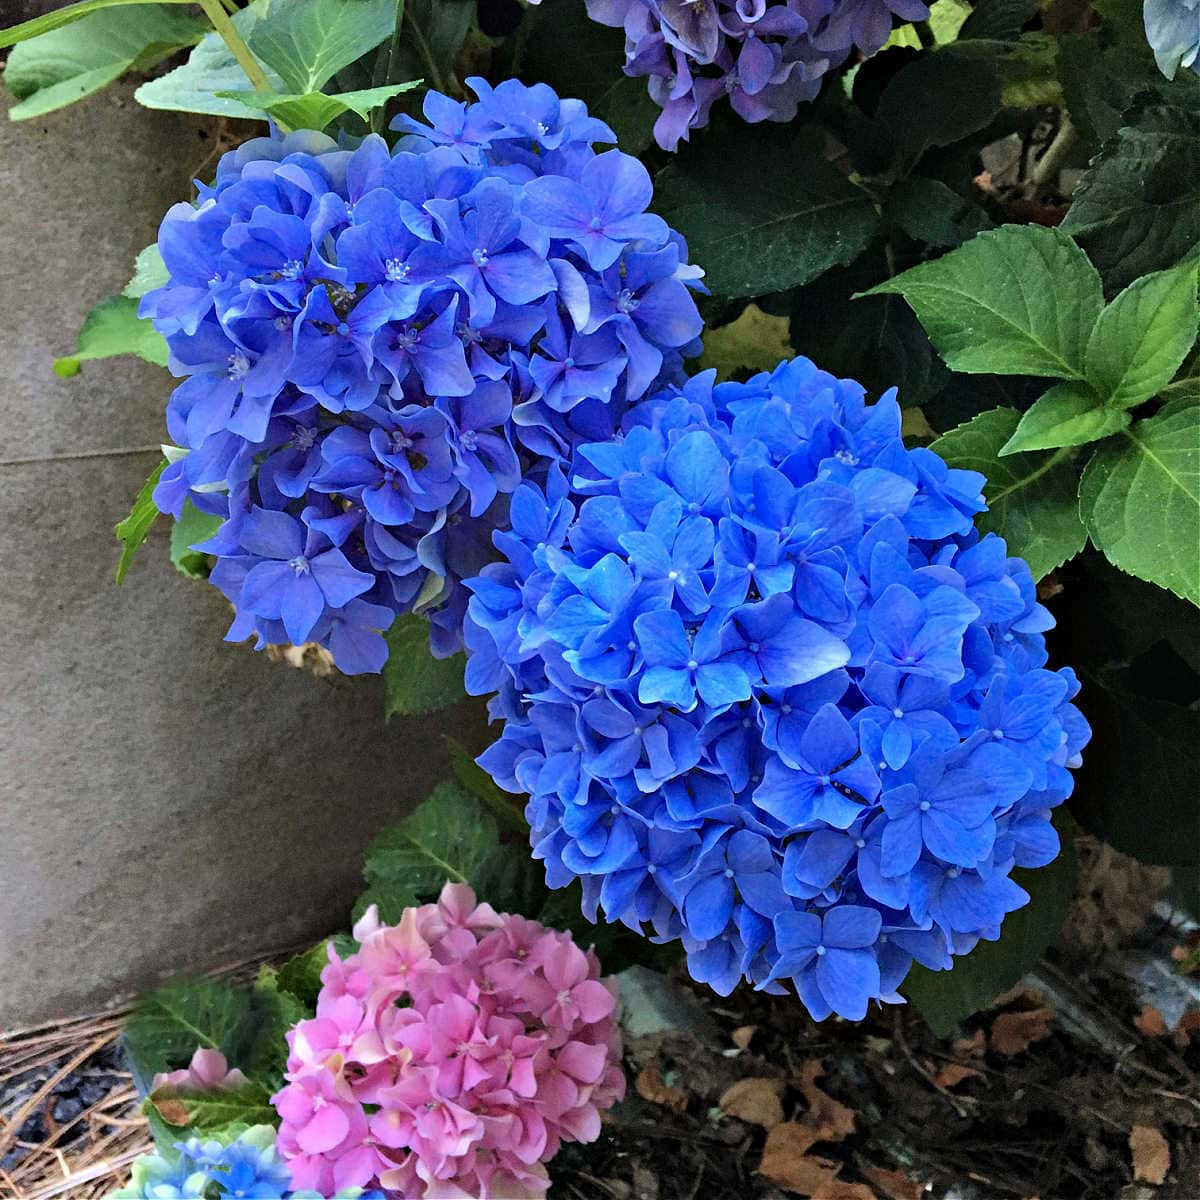
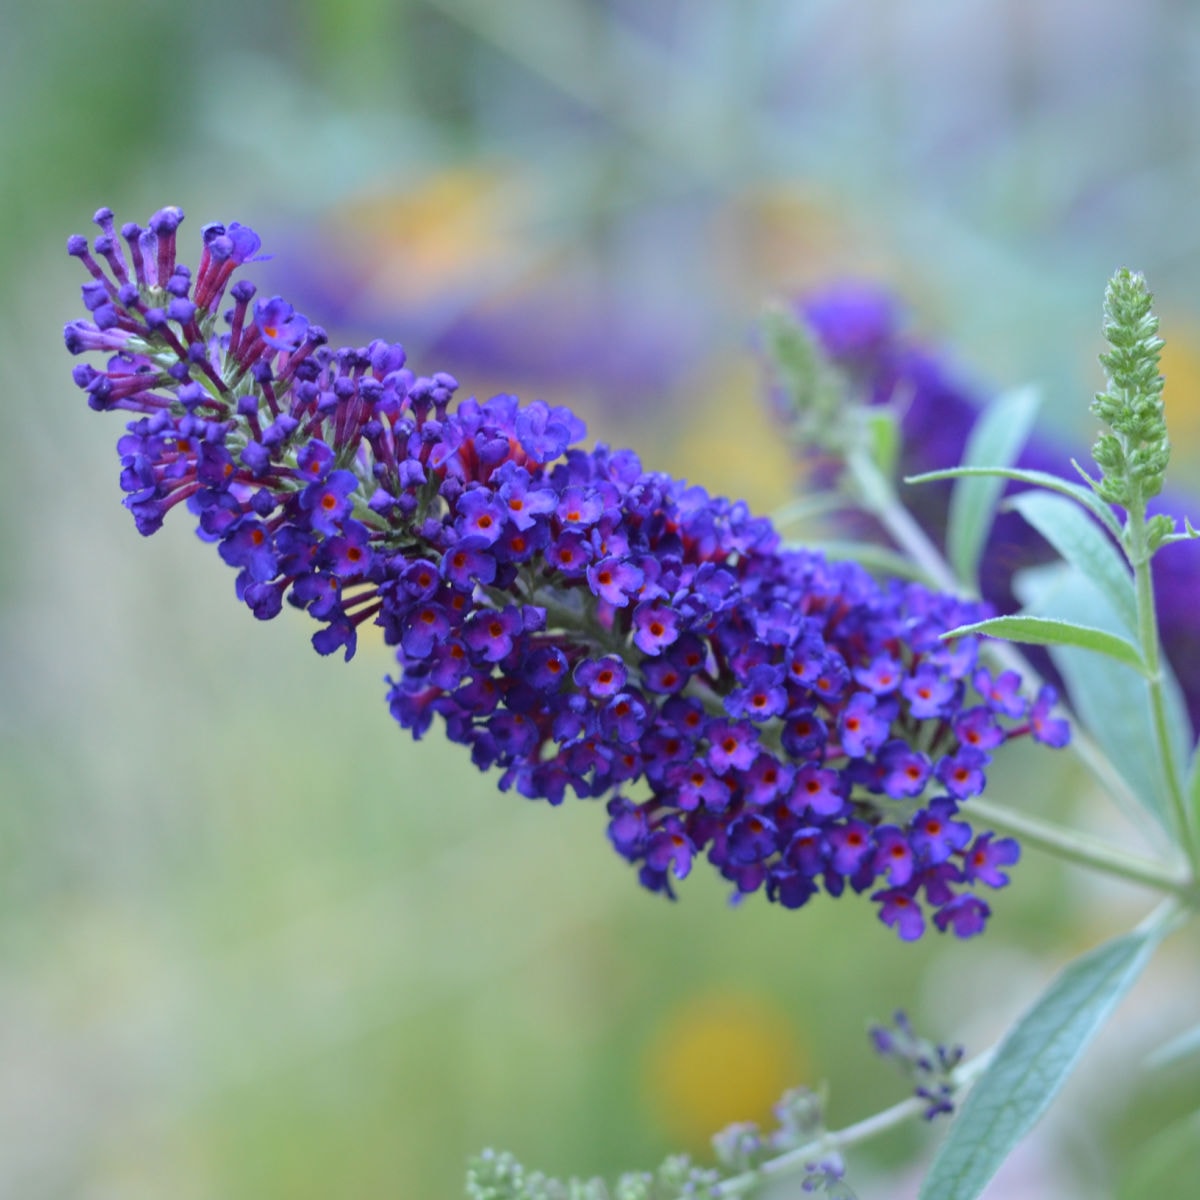
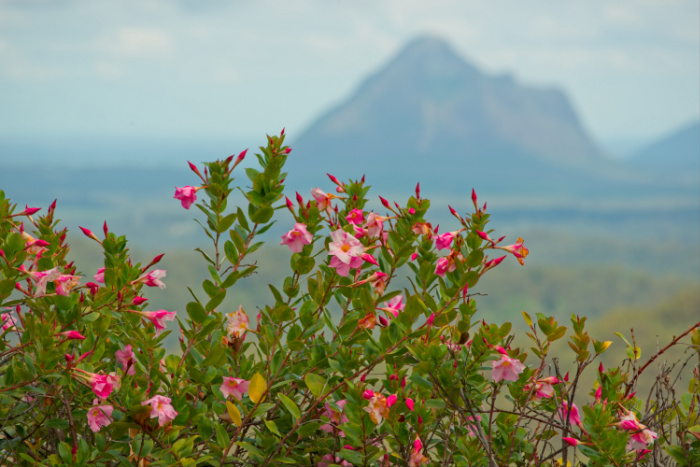
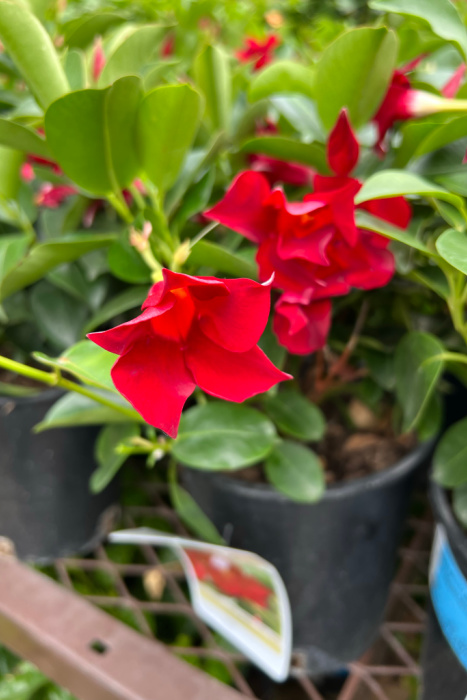
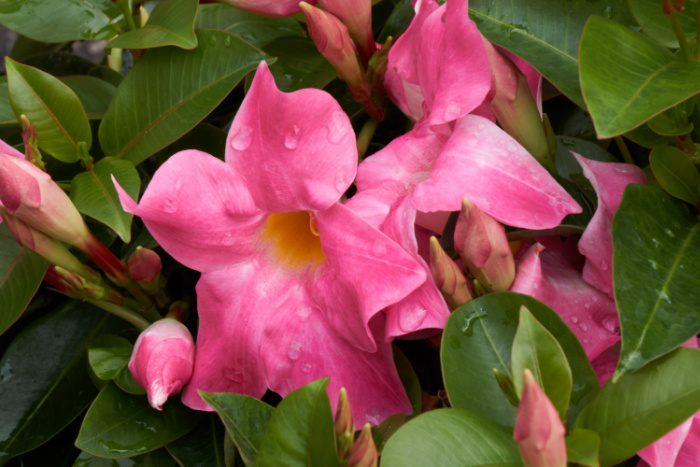
Additionally, the Dipladenia flower is slightly smaller but it is said to possess a more intense hue, ranging from vibrant pinks and reds to pure whites.
By recognizing these differences, gardeners can appreciate the unique qualities Dipladenia brings to their green spaces.
Location, Location, Location
To successfully grow Dipladenia, selecting the optimal location is important. These tropical plants thrive in full sun or partial shade.
Therefore, choose a spot that receives at least six hours of direct sunlight each day. If you live in an area with scorching heat in summer, providing some afternoon shade can prevent the leaves from burning.
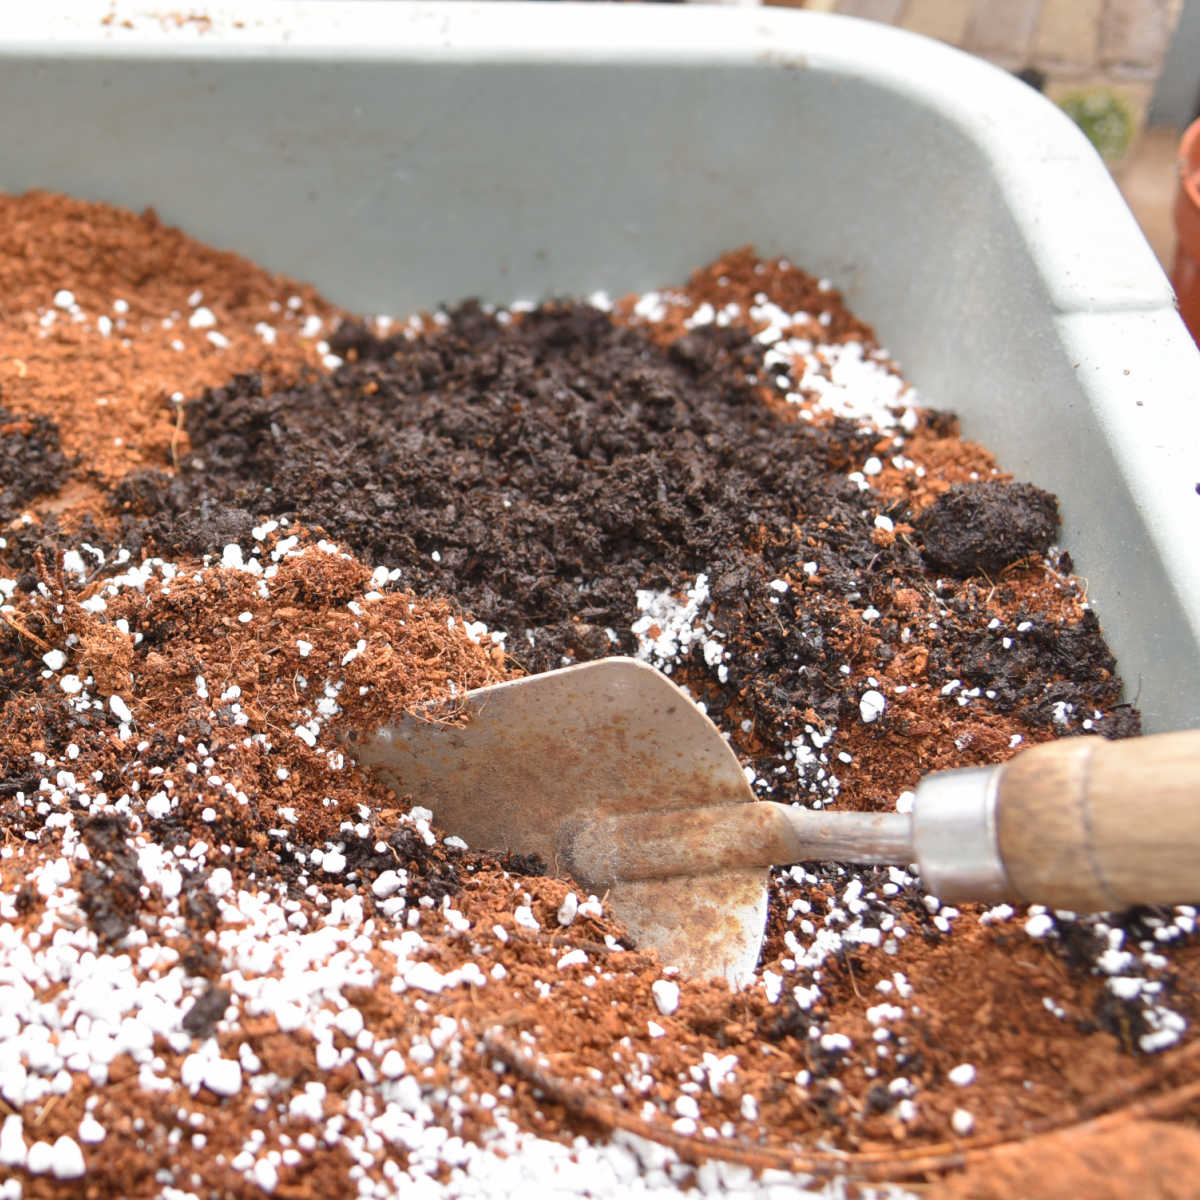
Dipladenia also prefers well-drained soil with organic matter, so ensure the soil is rich and fertile by adding compost or aged manure. (a good potting soil if you are growing it in a container)
I like to grow mine in containers on my deck, this makes it easier to overwinter during our cold season.
Planting Dipladenia
When it comes to planting Dipladenia, there are a few essential steps to follow. Begin by digging a hole that is twice the width and depth of the root ball. (this is a rule of thumb but not an absolute must)
Carefully remove the plant from its container, gently loosening the roots if they appear compacted.
Place the root ball in the hole, ensuring that the top of the root ball is level with or slightly above the soil surface. Backfill the hole with soil, gently tamping it down to remove air pockets.
Water in to help settle the soil around the roots.
Dipladenia Care
Watering and Fertilizing
Proper watering and fertilization are important for the health and vitality of Dipladenia. These plants prefer consistently moist soil but are susceptible to root rot if overwatered.
Water the plants deeply, allowing the top inch of soil to dry between waterings. Applying a layer of organic mulch around the base of the plant can help retain moisture and regulate soil temperature.
To check before watering use a moisture meter, I no longer overwater my plants if I check first. (I don’t rely on the meter for PH levels, I doubt that works but for moisture I have found it does fine)
You can fertilize Dipladenia every week with a diluted liquid feed. I dilute by half this Agrothrive organic fertilizer.
If you want to stretch it to two weeks then use it at recommended dilution rate.
If planted in the garden I don’t fertilize as much because I have regenerated my soil using compost and other amendments that make it nutrient dense.
Build Better Soil!
Building your organic garden soil is essential for long-term gardening success. Here you will learn the best tricks for great garden soil. Beginner gardener friendly!
Training and Pruning
Dipladenia can be trained to climb a trellis or support and for shaping, adding vertical interest to your garden.
As the plant grows, gently guide the vines and tendrils, attaching them to the support structure with soft ties or twine.
Regular pruning is essential to maintain the desired shape and encourage bushier growth. Prune Dipladenia in early spring before new growth appears, removing any dead or damaged branches and cutting back long, leggy stems.
This will stimulate new growth and promote a more compact and robust plant.
Common Pests and Diseases
While Dipladenia is generally resilient, it is susceptible to a few pests and diseases. Aphids, mealybugs, and spider mites are common pests that may infest Dipladenia.
Regularly inspect your plants for signs of these pests, such as distorted leaves, sticky residue, or visible insects. If detected, treat the infestation promptly with organic insecticidal soap or neem oil, following the product instructions carefully.
Dipladenia can also be affected by fungal diseases such as powdery mildew and leaf spot. These diseases can cause discoloration, wilting, and leaf drop.
To prevent fungal infections, ensure proper air circulation around the plants by spacing them adequately.
Avoid overhead watering and instead water at the base of the plant to keep the leaves dry. If fungal issues arise, treat the plants with a milk spray (1 cup milk, 1 cup water) weekly.
Overwintering Dipladenia Plant
Dipladenia is a tropical plant that thrives in warm weather. In regions with colder climates, it is necessary to protect Dipladenia during winter.
Before the first frost, carefully dig up the plant and gently shake off excess soil. Trim back the foliage and remove any dead or diseased parts.
Plant it in a container and keep it indoors in a cool, well-lit area, such as a greenhouse or a sunny window. Water sparingly during winter, allowing the soil to dry out slightly between waterings.
Propagation
Propagating Dipladenia allows you to expand your collection or share plants with fellow gardening enthusiasts.
The most common method of propagation is through stem cuttings. Take 4-6 inch long cuttings from the tip of healthy, non-flowering stems.
Remove the lower leaves and dip the cut end in a rooting hormone powder to promote root development. (rooting hormone isn’t absolutely necessary but I have found it does speed it up)
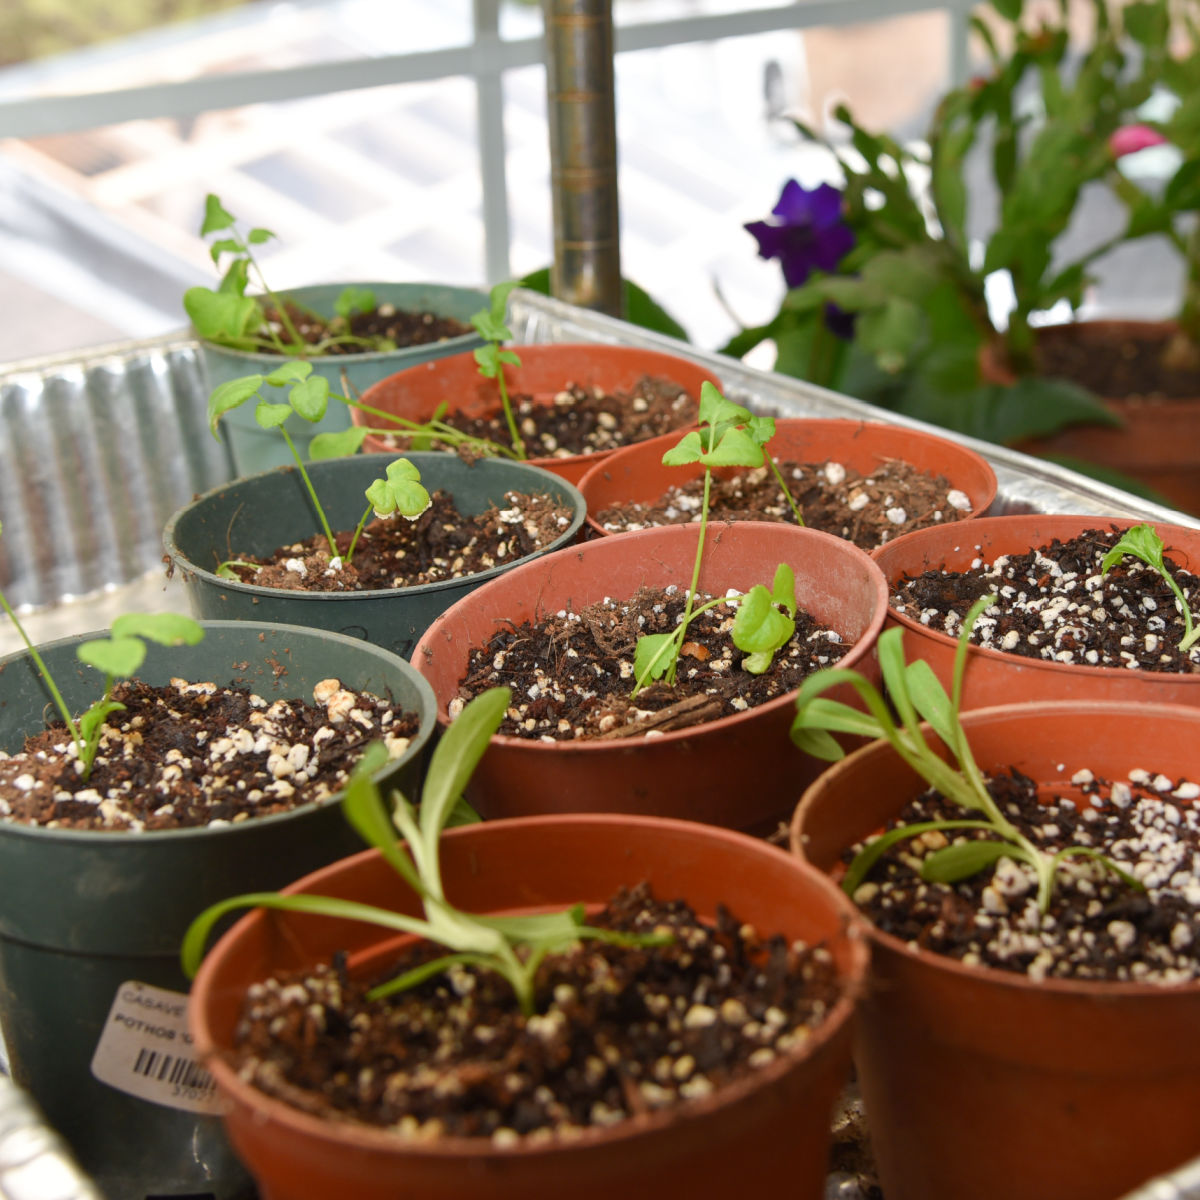
Plant the cuttings in a well-draining potting mix and place them in a warm, bright location. Mist the cuttings regularly to maintain humidity and keep the soil slightly moist.
Within a few weeks, roots should develop, and new growth will emerge.
Once the new plants have established a robust root system, they can be transplanted into individual containers or directly into the garden.
Growing Dipladenia can be a rewarding experience for any gardener, offering vibrant blooms and lush foliage to enhance outdoor spaces.
By understanding the distinctions between Dipladenia and its well-known cousin Mandevilla, selecting the right location, providing proper care, and addressing potential challenges, you can grow a thriving Dipladenia plant.
With its more compact growth habit, intense-colored flowers, and resilience, Dipladenia is an excellent choice for adding tropical charm and elegance to gardens, patios, and balconies.
So, unleash your tropical green thumb, embrace the beauty of Dipladenia, and enjoy the captivating display it brings to your outdoor oasis.
One variety I have seen at big box stores and nurseries is called Rio Dipladenia, they are touted as easy care and non-stop flowering all summer long. Sounds good to me!
Happy gardening!
Hi, I’m Pamela
With 45 years of hands-on gardening experience, I love sharing practical tips, proven techniques, and inspiration drawn from my own gardens. My goal is to nurture your confidence, spark your passion, and help make every step of your gardening journey more enjoyable.