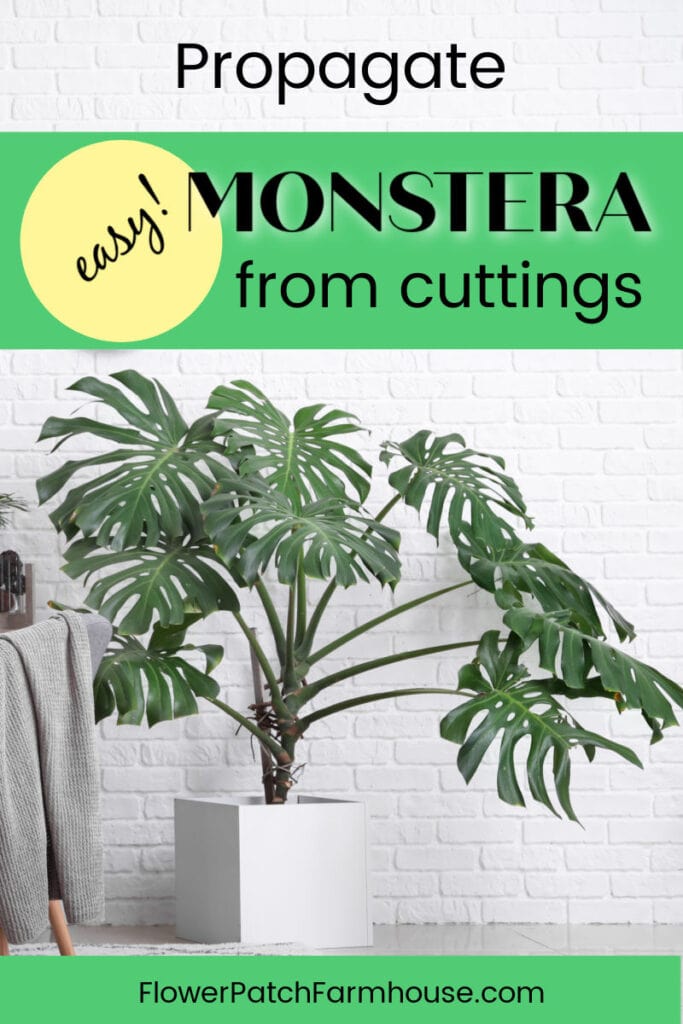
Propagate Monstera in Water or Soil!
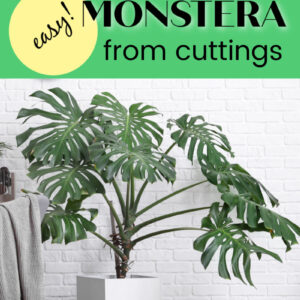
Do you have a Monstera plant at home? If so, you know just how beautiful and unique they are. But did you know that you can propagate Monstera plants to create even more of these gorgeous plants?
In this guide, I will show you what to do to propagate Monstera plants, from taking cuttings to planting them in soil. So read on for all the details!
Today we talk about:
- What is a monstera plant and where does it come from
- When to Propagate Monstera
- How to take Monstera Cuttings
- What is a Monstera Node?
- Propagating Monstera in Water
- Potting Water Rooted Monstera
- Propagating Monstera in Soil
This post contains affiliate links. If you make a purchase after clicking a link I may make a small commission at no cost to you.
What is a Monstera Plant and where does it come from?
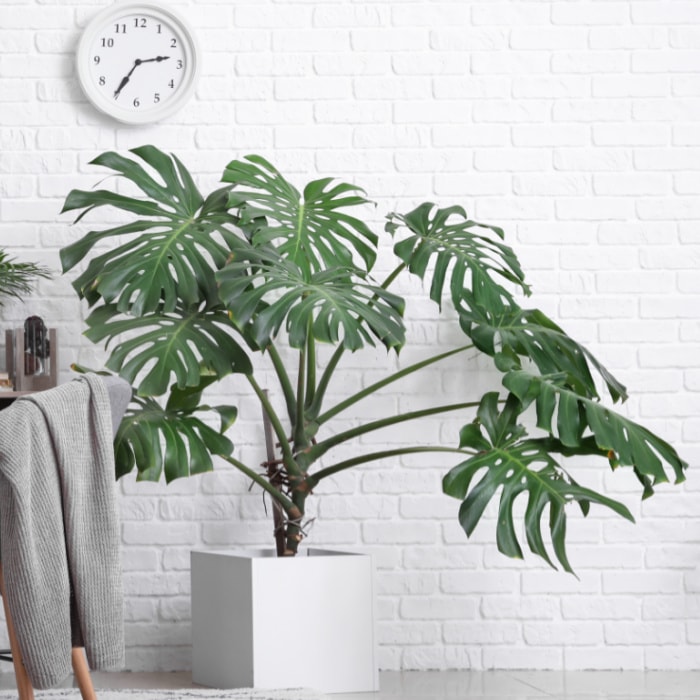
Monstera plants are a type of tropical vine that is native to Central America. They can grow up to 30 feet tall if given the right conditions most of us can grow them as house plants. Monstera plants get their name from the large leaves (up to 18 inches wide) and aerial roots that they produce.
They are noted for their natural leaf-holes, which has led to the rise of their common name of Swiss Cheese Plant.
If you have a beautiful Monstera Deliciosa or Monstera Adonsonii you can easily propagate it to create more.
After seeing the prices of houseplants these days it is well worth the little effort.
When to Propagate Monstera
You can propagate Monstera at any time! It is best when the plant is actively growing. In winter, supplemental light helps keep Monstera growing more actively but isn’t necessary.
The worst-case scenario is your cutting will take longer to root in the winter. But this year that is when I propagated mine and it worked just fine.
How to take Monstera Cuttings
Propagating Monstera plants is super easy and very satisfying. Even the most beginner houseplant owner can do this.
With both the water or in soil method, you will need to take healthy cuttings from the mother plant. Many recommend having a couple of leaves attached to the cutting but I have found that isn’t absolutely necessary.
Cut at least a 6-inch long stem about an inch below a leaf node at a 45-degree angle using a clean knife or pruners. (I use pruners)
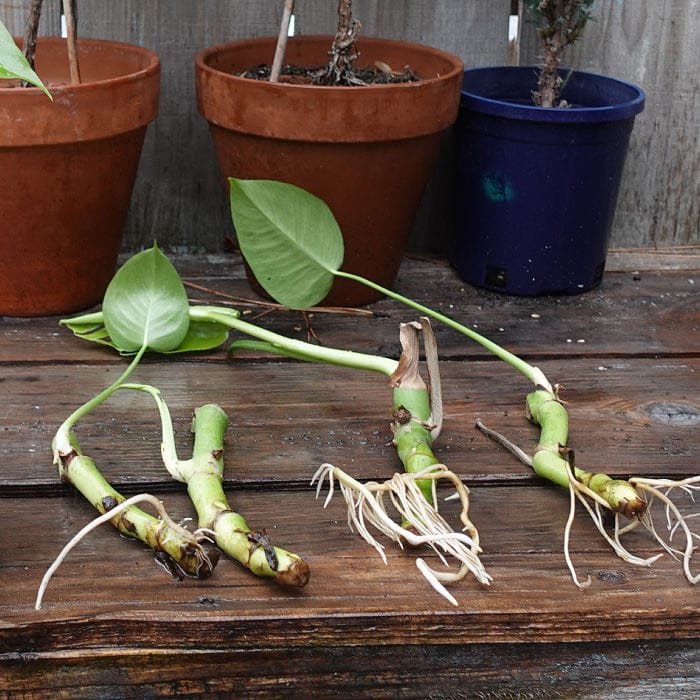
What is a Monstera Node?
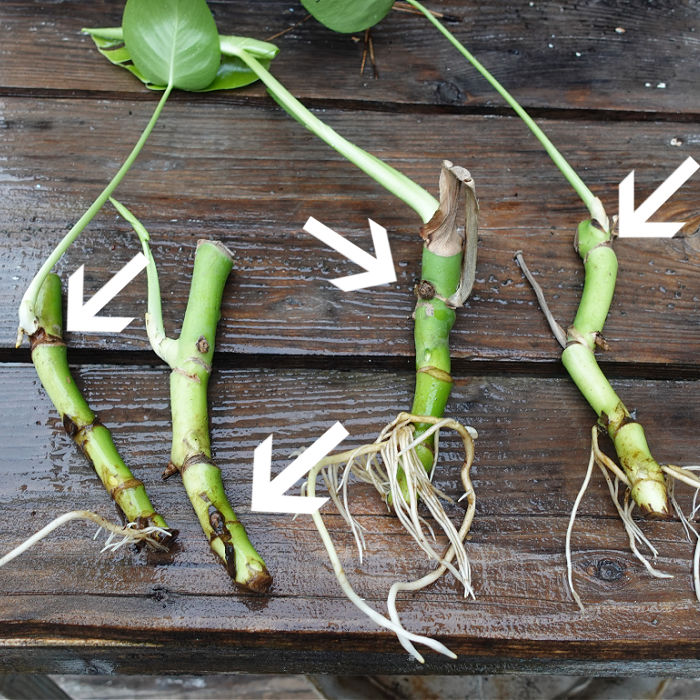
A Monstera node is where all the growth emerges from, leaves, roots, and aerial roots. Getting a few nodes on a cutting is a wonderful way to make sure you get good rooting.
(this photo is of cuttings already rooted but I wanted to show you what the nodes look like, just imagine the cuttings with no roots)
Allow the cutting to sit for a few minutes until the cut end feels dry to the touch. It helps to keep your cutting from rotting by allowing it to callous slightly.
Propagating Monstera in Water
Place the cutting into a container of water, like this vase or a jar. Change the water weekly to prevent it from becoming cloudy.
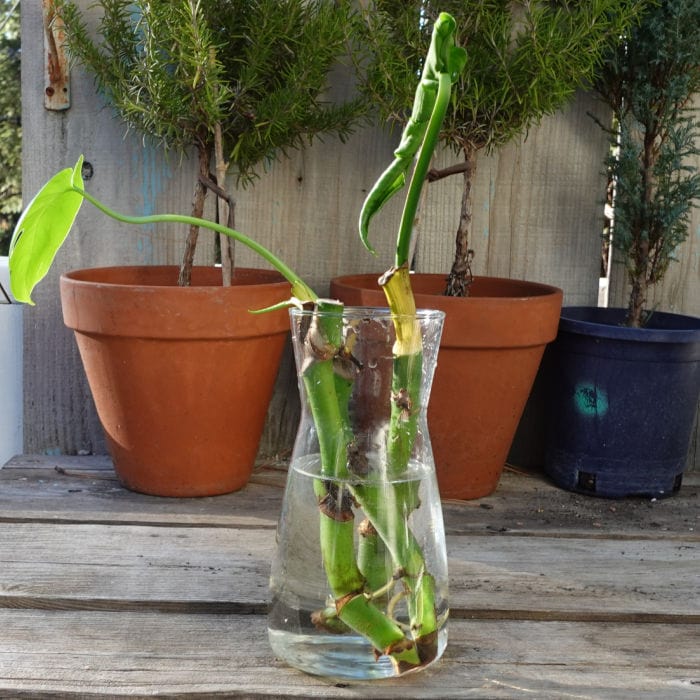
You can also use decorative crocks for this but you can’t see the roots well like you can in a glass container. It will take weeks for roots to develop so having the Monstera cuttings in something decorative while waiting is nice.
I will confess that time gets away from me and I have left the water longer than a week but let’s go with the good advice of cleaning it regularly.
Once you have some sizable roots it is time to pot up your rooted Monstera cutting. Many times you will also have new growth and new leaves along with lots of roots.
Just a note, these Monstera cuttings were all taken at the same time and as you can see some have lots of roots and others have not even gotten started. It just happens that way.
The ones with lots of roots are the ones we will pot up. The others will go back into the water.
Potting Rooted Monstera
Before potting up my rooted cuttings I give them a soak in a solution of Organic Rev, a growth stimulator that I have found so helpful that I won’t be without it.
Use a good quality potting soil, one that has good drainage. Place some soil into the pot, how much will depend on how long the roots are and the depth of your pot.
my favorite potting soil
DIY Potting Soil
Simple ingredients make a wonderful potting soil that costs less than bagged. Plus it is much more earth-friendly!
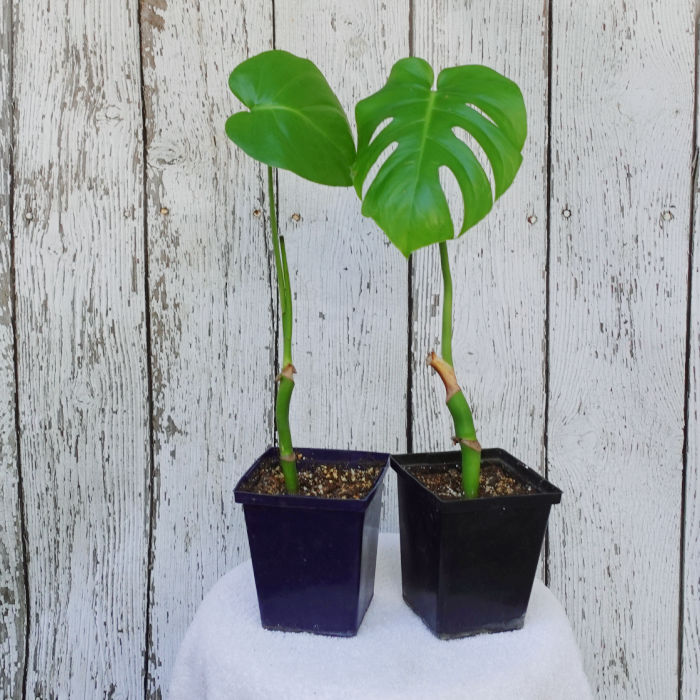
Be mindful, these plants can easily become top-heavy once new leaves start filling in so choose your pot wisely.
I used these tall 4-inch pots to save on space. (I had 20 cuttings going at once) I will have to pot these on up fairly quickly once they really start growing but you can use a larger size, like 1-gallon nursery pots or a decorative pot to plant up your rooted cuttings.
Gently place the roots on the soil in the pot, hold the cutting straight with one hand while filling in with more potting soil. Water well and place in a spot you can keep a close eye on the moisture level.
At first, the freshly potted Monstera plants may wilt and look like they need water but this is normal. They will perk back up in no time. The worst thing you can do is over water. (well underwatering is bad too)
I have a schedule for watering my house plants. It keeps me on track and prevents overwatering.
Every Monday is house plant watering day but I check before adding water to any plant with this Moisture Meter. It has saved many a plant from being overloved (overwatering).
Propagating Monstera in Soil
If you wish to propagate Monstera cuttings directly in soil that works too. You just cannot see when the roots develop.
Choose a pot or container that has good drainage.
Take a 6 inch cutting the same as you did for water propagation but to have better success, try and get a cutting with an aerial root attached. This can begin taking up nutrients from the soil right away giving it a jumpstart.
If you don’t have an aerial root don’t worry, this will still work. Many recommend having a couple of leaves on the cutting too but again I did not find this absolutely necessary.
Let the cut end dry to the touch, this helps prevent root rot.
Fill the pot you are using with slightly moist potting soil just far enough to give your cutting a good base. If you wish to use rooting hormone go ahead and dip the Monstera cutting into it before placing it in the pot. I like this one.
It helps to speed rooting but it will root without it so if you don’t have rooting hormone, no worries.
If you wish to add a moss pole for the Monstera to climb as it grows then this is a good time to add it.
Fill the pot with the soil up just an half an inch below the pot edge. (this gives you room to water without overflowing)
Make sure you have at least one node of the cutting beneath the soil but more is better. Each node can produce roots. More roots make for a healthier, faster-growing plant.
Set your pots of Monstera cuttings in a place where it gets indirect light and wait for them to root.
The potted cuttings will show signs of robust new growth when they have rooted, just give it time and be sure not to overwater them. (see above for how I avoid overwatering my house plants)
Air Layering Monstera Cuttings
Air layering is another method in which you can propagate Monstera but I find it too fussy since the other methods are so easy.
But if you want to learn how to do that this site has some good instructions.
So go and take some Monstera cuttings and create more plants. They make great gifts!
Another beautiful tropical-looking houseplant you may wish to try growing is Alocasia Polly.