DIY Compost Bin
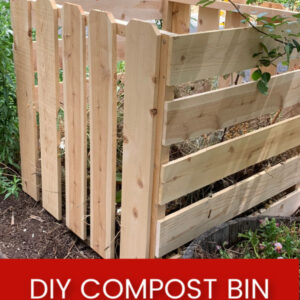
DIY Compost Bin you can build on a tight budget. Easy and much prettier than pallets!
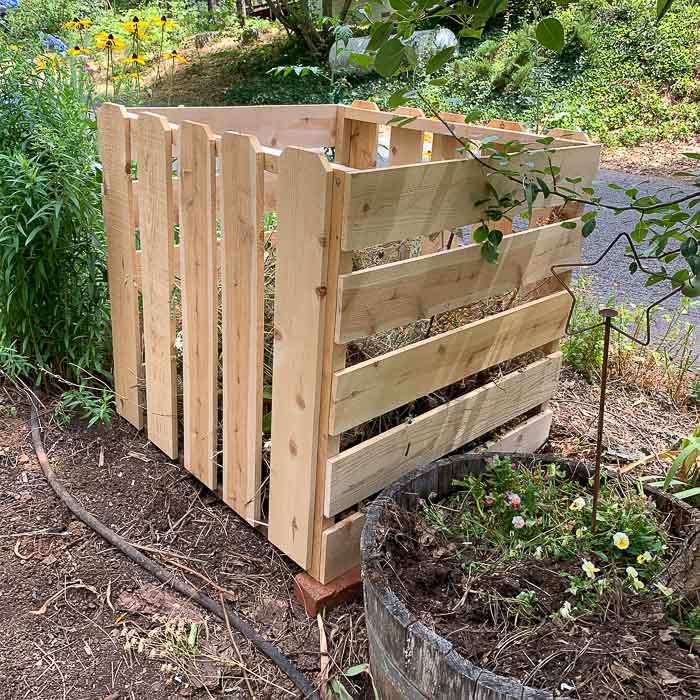
Build a DIY compost bin quickly, easily and inexpensively. This beautiful compost bin is built from cedar fence boards and cheap 2 x 2s. Simple design anyone can put together in a couple hours.
Build it, fill it and have loads of compost to feed your garden for beautiful, rich soil that makes a garden glorious.
This post contains affiliate links. If you make a purchase after clicking a link I may make a small commission at no cost to you.
Supplies
10 – cedar 6 foot fence boards (5.5 inches wide)
4 – 8 foot 2 x 2 furring strip boards (you can get redwood for $1 more per board)
Exterior Wood glue
2.5 to 3 inche wood screws
Brad nails for nailer
Screw gun (this kit also has a saw if you do not own a miter saw. If you have a local Home Depot check there for this kit)
Brad nailer or use screw gun and wood screws
Cut Materials for Compost Bin
Using a miter saw (or have the big box store cut for you) 4 pieces of 2 x 2 to 36 inches long and 4 pieces to 34 inches long.

Assemble Frames
Glue and screw two 2 x 2’s at 36 inches to two 2 x 2’s at 34 inches to create a square frame. (predrill holes to prevent splitting of wood, see video for more info)
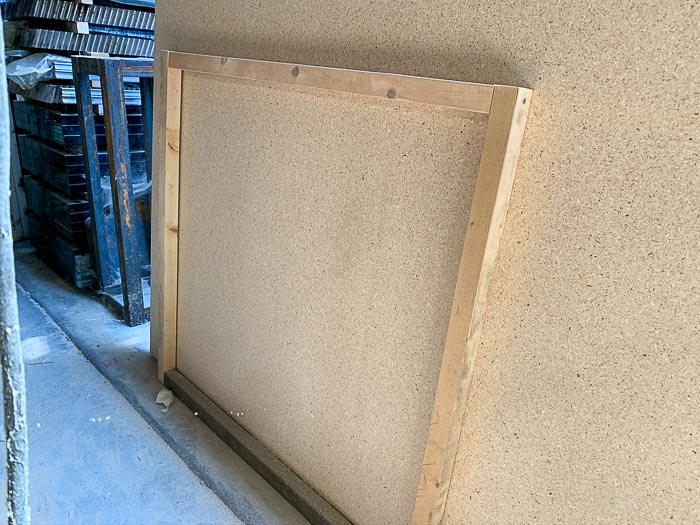
Build another square frame the same as the above, using the remaining 2 x 2 furring strips or redwood.
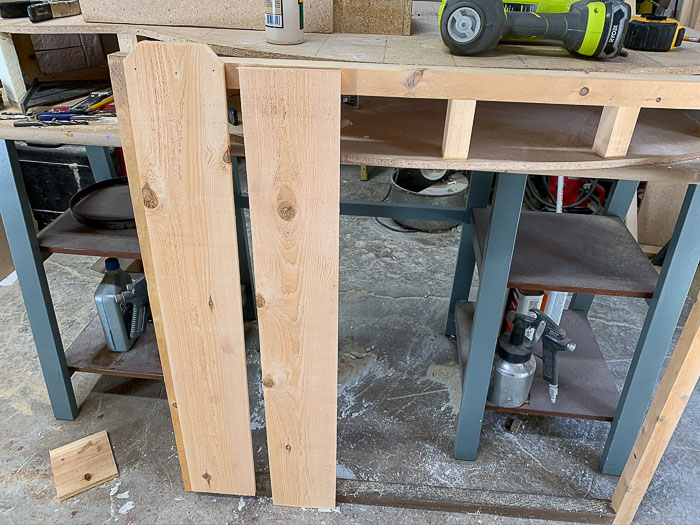
Cut cedar fence boards
Cut top dogeared portion of cedar fence boards to 37 inches, there should be ten total.
The drops will be used later. the dogeared portion is on the left and drop is on the right in photo below.
Attach 5 dogeared boards to square frame with brad nails or screws. Spacing evenly across frame (no need to be exact, you can eyeball it)
On this one I did not start at the very end but in the video I show you how I ended up doing it better. (at least I like the video one better)

You should have 5 dogeared boards nailed at the top and bottom of the frame.
Once both frames are done space them out the distance of the drops from the dogeared boards. These will be slightly under 3 feet long.
Here is the math, the cedar fence boards were 6 feet long, you cut 37 inches from the top (36 inches is 3 feet) so what you have left as drops should be around 35 inches long.
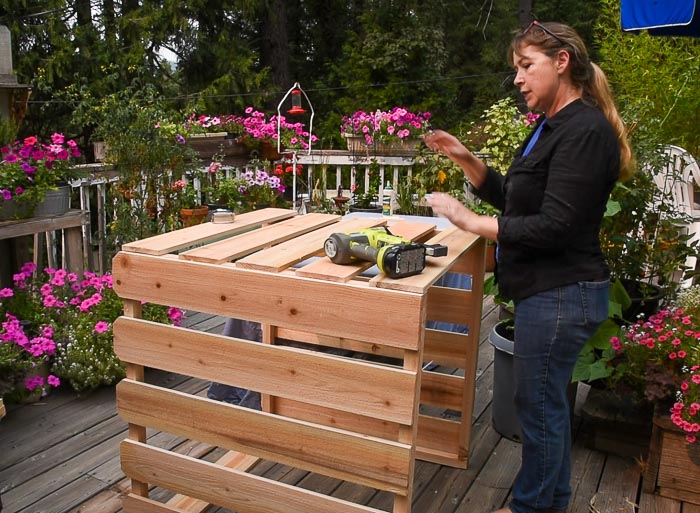
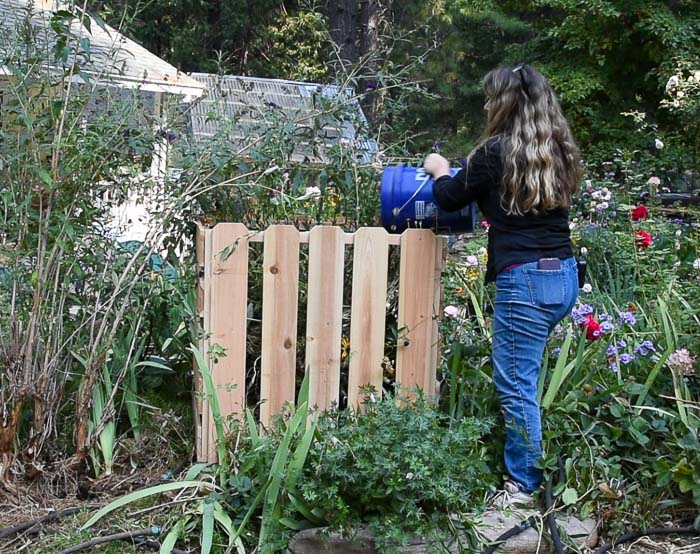
Attach side pieces
Turn the framed on their sides and support them to remain upright.
Attach 5 cedar fence board drops to each side of the frame. In the photo below you can see the frames on their side and I am nailing the cross pieces on which creates a box.
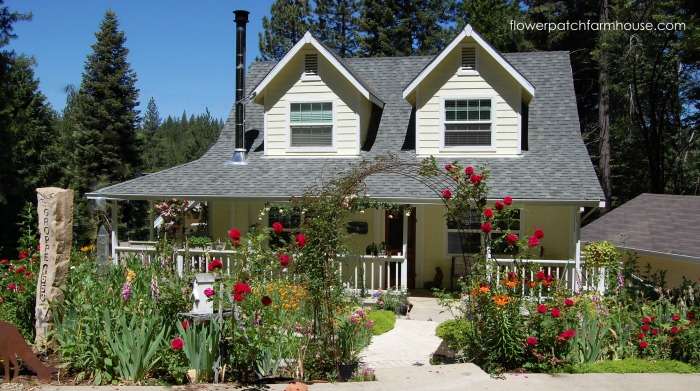
Place your DIY compost bin in garden
Take to your garden or wherever you are going to locate your compost bin and set in place.
This is one of 3 I built and it is setting next to my pear tree in my side garden.
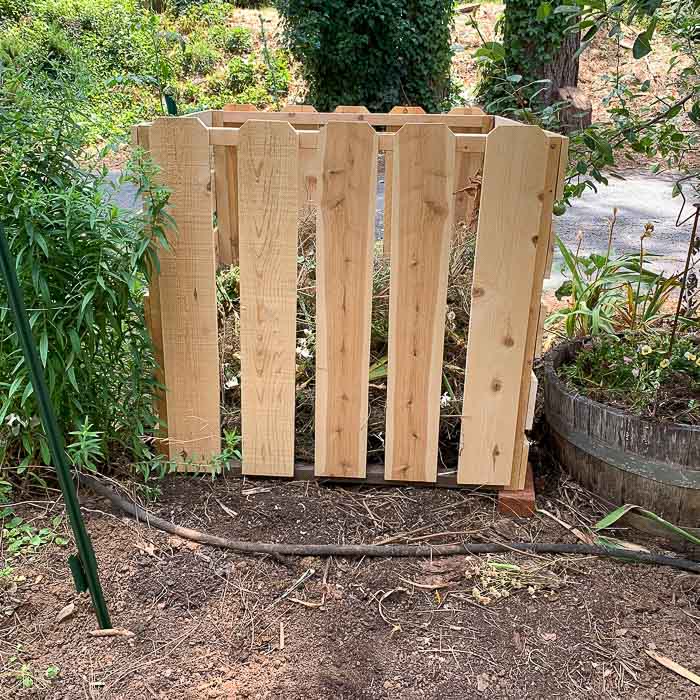
The front view it seems like a piece of fence and is a nice accent and even the side view is pretty too.
To make it even more attractive I will plant morning glories or another climbing annual beside it to vine up and bloom!
Check out my video to see how I fill it and get gorgeous compost. (this compost bin is in my Entrance Garden next to my Butterfly Bush
Fill compost bin
Next Spring I will be sure to update and show you what I collect from this bin.
Want to know more about composting, then check out this article or this one…Instant Compost
Happy Compost Building!
DIY Compost Bin
easy DIY Compost bin you can build on a budget. Not only is it simple to build but it is pretty enough to place anywhere in your garden rather than having to hide it somewhere. Build several to place around your garden for easy clean up and create masses of healthy compost for your garden!
Materials
- 10 - cedar 6 foot fence boards (5.5 inches wide)
- 4 - 8 foot 2 x 2 furring strip boards (you can get redwood for $1 more per board)
- Exterior Wood glue
- 2.5 to 3 inch wood screws
- Brad nails for nailer
Tools
- Miter saw
- Screw gun
- Brad nailer or use screw gun and wood screws
Instructions
- Using a miter saw (or have the big box store cut for you) 4 pieces of 2 x 2 to 36 inches long and 4 pieces to 34 inches long.
- Create frames from 2 x 2 cut materials.
- Cut 10 cedar fence boards from top at 37 inches, set aside drops to use later
- Using brad nailer (or shorter wood screws if you prefer) to frames, 5 dog eared fence pieces per frame, spaced evenly.
- Set frames on sides, support to keep upright.
- Attach cedar fence board drops to create box with frames. (see video on youtube, link in blog post (if confused)
- Place new DIY compost bin in garden and fill
- In a few months lift compost bin off and use compost at bottom
Notes
It is no unusual for the debris at the top of the bin to be uncomposted, just set aside to put back into compost bin once you have removed the composted material beneath.
Toggle panel: Yoast SEO
Yoast SEO
Yoast SEO automatically describes your pages using schema.orgLearn more about structured data with Schema.org(Opens in a new browser tab)
This helps search engines understand your website and your content. You can change some of your settings for this page below.What type of page or content is this?Learn more about page or content types(Opens in a new browser tab)Page typeDefault for Posts (Web Page)Web PageItem PageAbout PageFAQ PageQA PageProfile PageContact PageMedical Web PageCollection PageCheckout PageReal Estate ListingSearch Results PageArticle typeDefault for Posts (Article)ArticleSocial Media PostingNews ArticleAdvertiser Content ArticleSatirical ArticleScholary ArticleTech ArticleReportNone
You can change the default type for Posts in your Search Appearance Settings.Toggle panel: Scripts
Scripts
| Header Scripts | Output before the closing head tag, after sitewide header scripts. |
|---|---|
| Body Scripts | |
| Body Scripts Position | Bottom: before closing body tag Top: after opening body tag |
Toggle panel: Grow: Share Options
Grow: Share Options
Social Media Image Select ImageSocial Media Title70 Characters RemainingSocial Media Description200 Characters RemainingPinterest Image
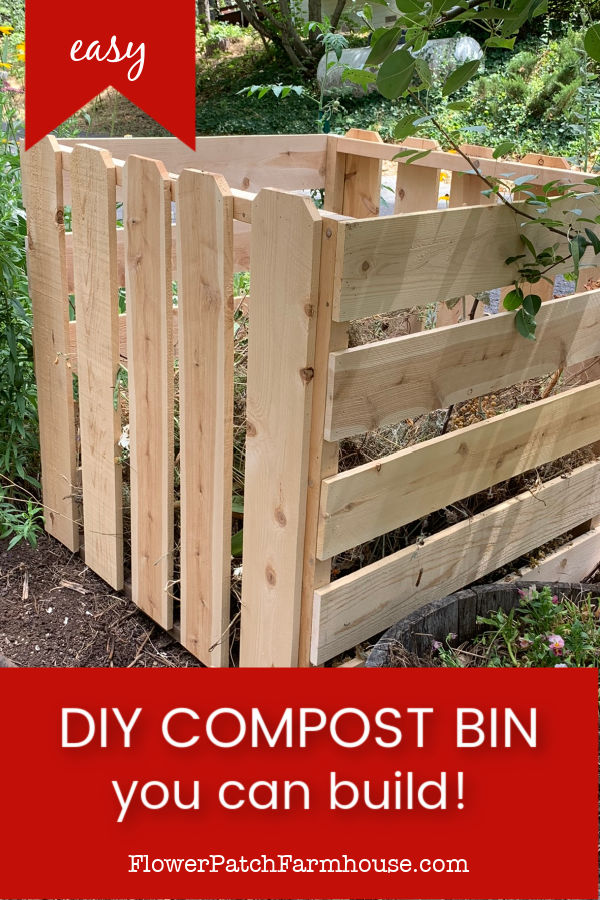 Remove ImagePinterest Title29 Characters Remaining
Please note: Pinterest does not yet support pin titles. Pinterest is still in the process of releasing this feature. We’ve added the field in advance, to make sure you’re ready for when the feature rolls out.Pinterest Description140 Characters RemainingCustom Tweet256 Characters Remaining
Maximum characters is based off of the Twitter maximum, the post permalink, and whether your Twitter username is included in the tweet.Pinterest Hidden ImagesAdd images
Display Options
Hide buttons for theFloating SidebarContentSticky BarPop-UpFollow WidgetShow buttons for theFloating SidebarContentSticky BarPop-UpFollow WidgetToggle panel: Grow: Share Statistics
Grow: Share Statistics
NetworkShares|%Facebook0|0Twitter0|0Pinterest0|0Total shares0Refresh shares
Social Shares Recovery
If you have ever modified the permalink for this particular post and want to recover lost shares for any previous links this post had, add the old links by pressing the Add Link button.Add Link
- Document
- Block
How-To