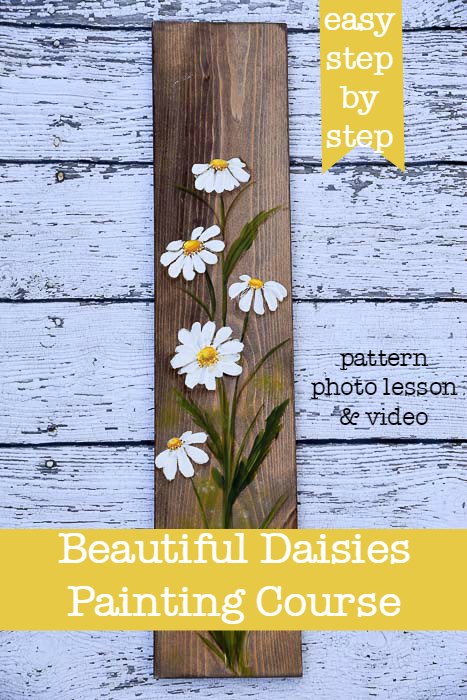
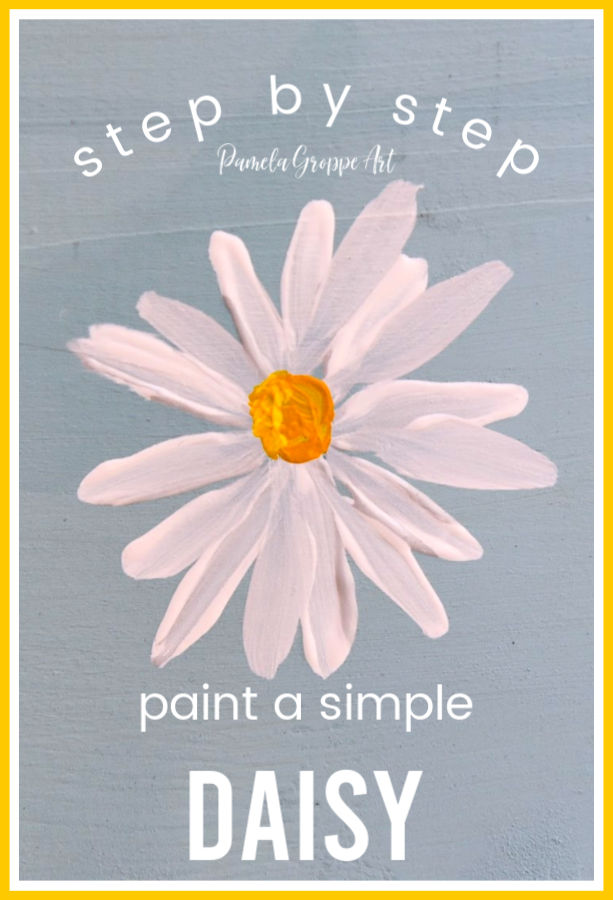
How to Paint a Simple Daisy

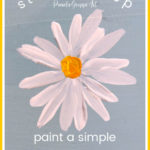
How to Paint a Simple Daisy in acrylics one stroke at a time. Step-by-step painting tutorial for beginner painters!
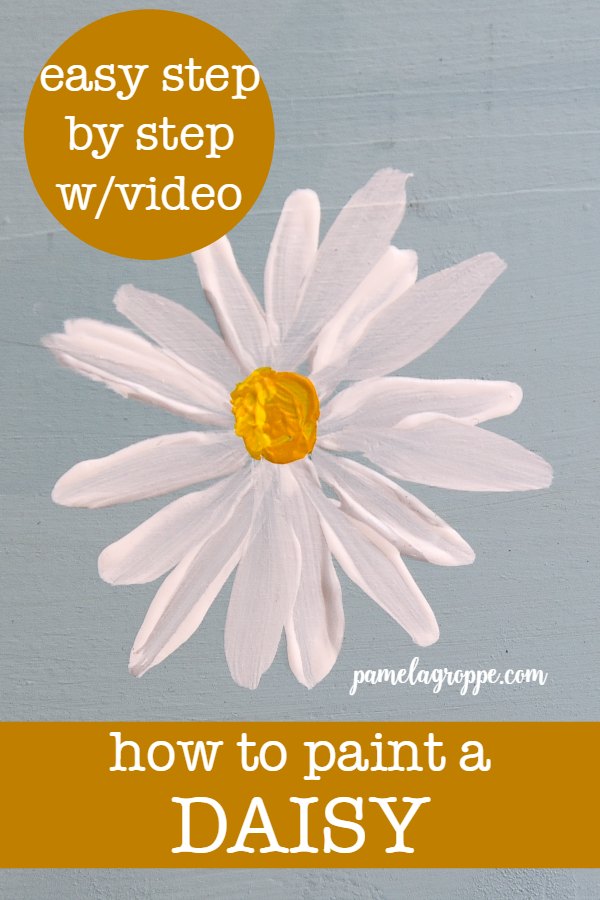
Paint a Simple Daisy painting lesson that is super fast and easy.
Pin for Later…
Want an ad-free printable PDF of this post and supply list so you can paint along? It is available at the bottom of this post.
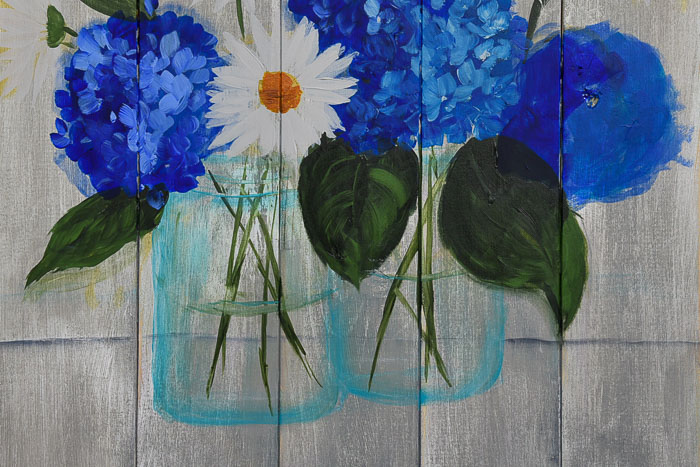
Daisies make great filler flowers when done with a small brush. Add them for a spark of white to a more colorful flower painting. By adding white it can make your colorful flowers pop.
This post contains affiliate links. If you make a purchase after clicking a link I may make a small commission at no added cost to you.
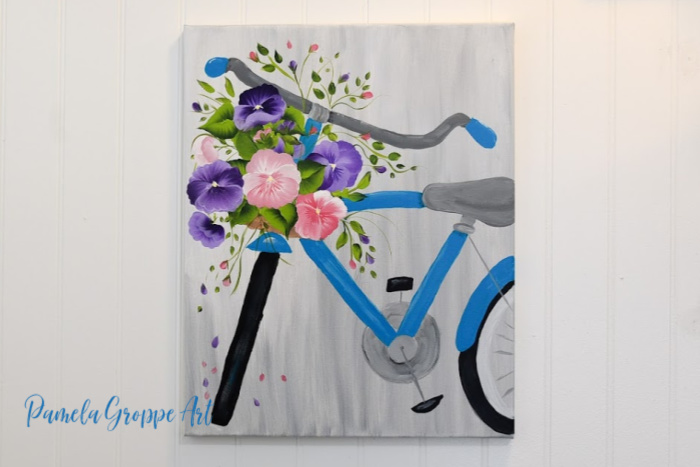
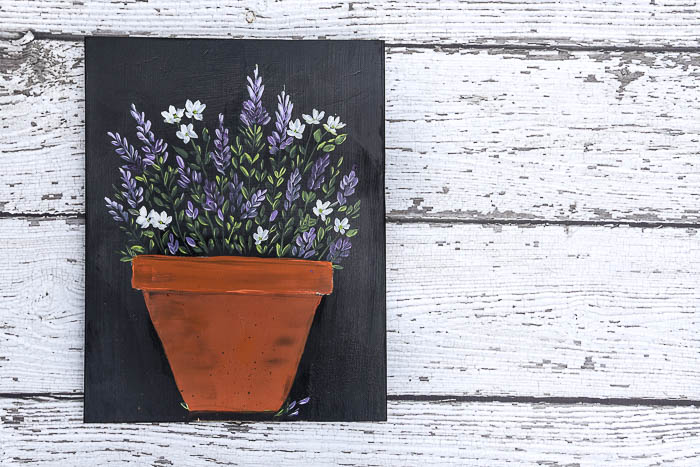
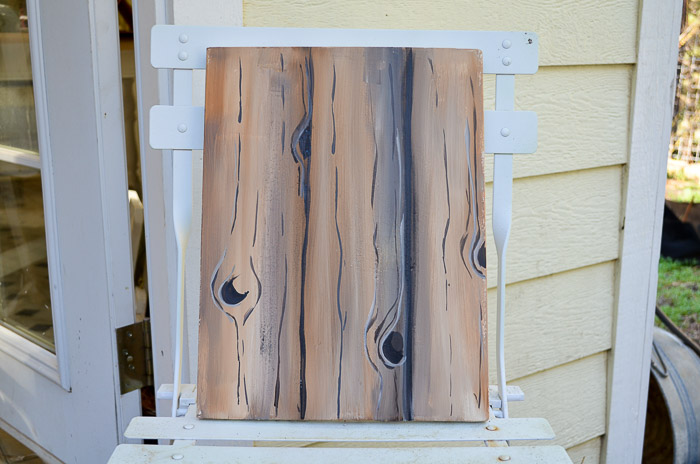
Once you learn to paint daisies you can easily add them to the Spring Bicycle painting, or paint the larger ones in a Terra Cotta pot, and even better, paint daisies on a faux barn wood background!
Step by Step Painting a Daisy lesson
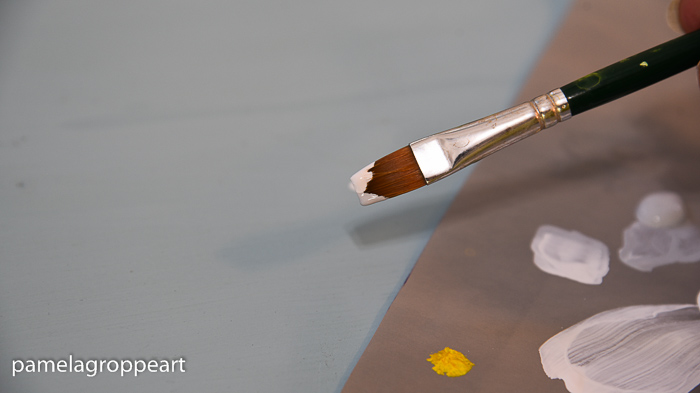
Double load your brush in white and light grey. Only just a little bit gray, you should have mostly white on your brush.
The gray just adds some depth and striations that give the petals some interest, you don’t even have to add it if you do not wish to.
For more on basic brush strokes and double loading see this post: Basic Brush Strokes.
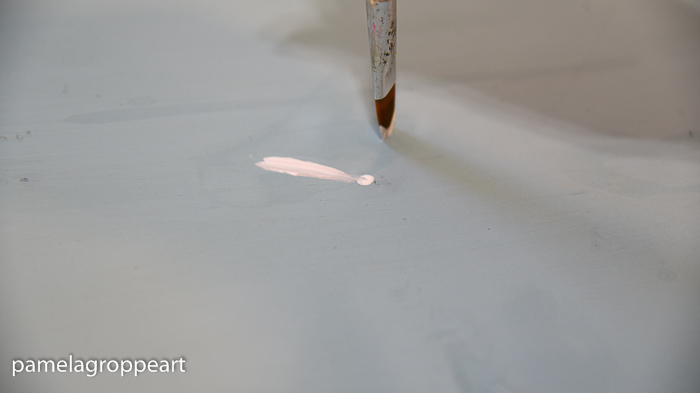
Make a dot on your surface to give you a center point. It makes it easier to have a center point to pull to. Lead with the white.
You can draw a light circle to keep your petals about the same size but I just fly with it much of the time and let them be wonky.
Note: The first video in this post is a quick overview. To see real-time video with step-by-step instructions please see the end of this post.
Paint Daisy Petals
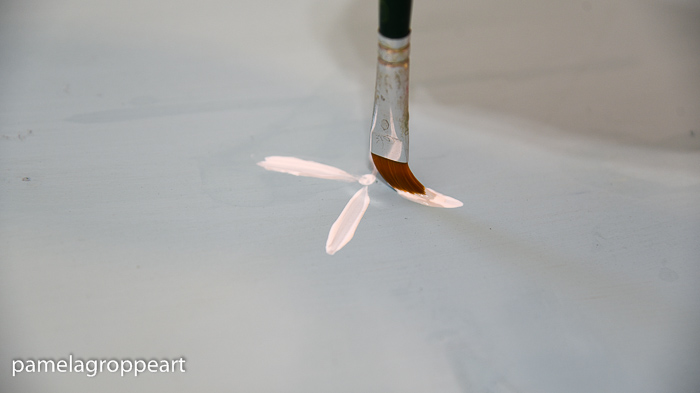
3. Press on the chisel edge of your brush, pull towards the center, adjusting pressure to how wide you wish the petal to be, and lift the brush to a chisel edge as you get closer to the center to let the stroke narrow.
4. Add strokes around the center dot, some can be a bit curved to add movement. You can make the backstroke shorter and the front strokes longer to emulate depth. But I demonstrate as if you are looking straight down on the flower.
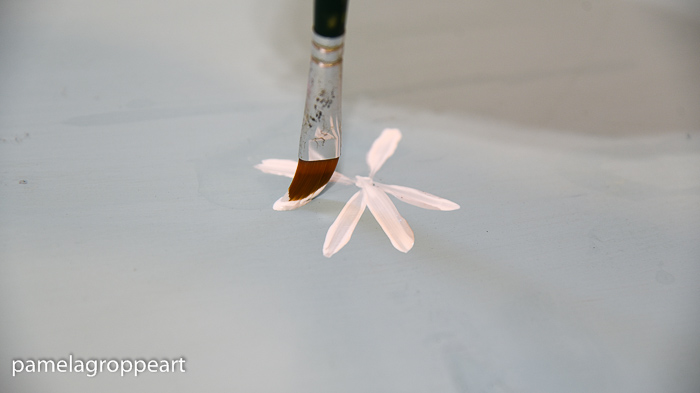
Keep adding petals until you have filled in to your satisfaction. Less is more. You can always add petals but taking away too many is more difficult.
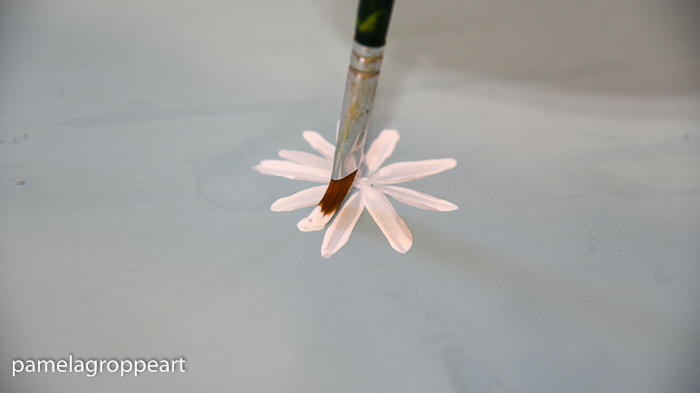
Once you have completed the circle to your satisfaction then we will add the center..
Paint a Simple Daisy Center
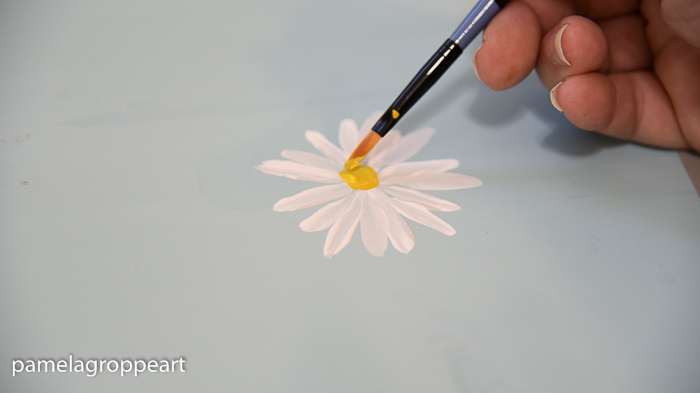
5. Double load your scruffy brush in the yellow and gold and pounce on the center, or you can use a small flat brush and paint on a round center. I like the texture that the scruffy brush adds. (I show you both ways in the video below)
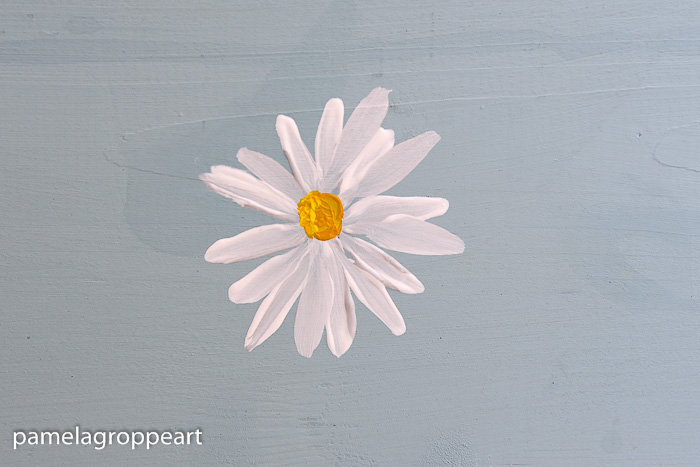
And there you have it, a simple but lovely Daisy.
To view the full-length video and get the PDF download of this post just sign up below. don’t worry, it’s free!
Get a full workshop and paint these gorgeous Daisies!
More painting tutorials you may enjoy!
It is lovely. Beautiful daisy!
Thank you.
Cheers
Janet
So life-like Pamela! You go girl!
Lovely, thank you!
You are very welcome!
Just love your directions! So simple , I can’t wait till I can get my paints out.
Thank you so much for brightening my day!
I know you posted it somewhere, but I can’t find it. What brand (and finish) of multi surface acrylics do you use?
I use primarily Plaid FolkArt multi surface.