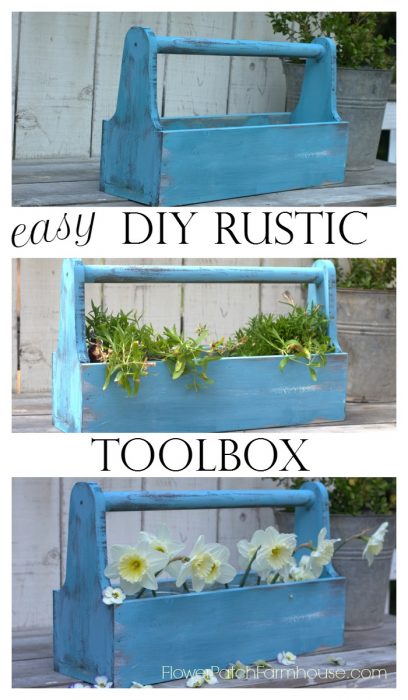
Easy DIY Rustic Toolbox Caddy
Discover the ultimate guide to crafting your own DIY toolbox caddy! Release your creativity as we walk you through the step-by-step.
Keep reading so you can build this easy DIY Rustic Toolbox Caddy at home. See how I plant it in the video at the end of this post!
What is a toolbox caddy?
A toolbox caddy is a container used to organize and carry tools. These tools can vary depending on what craft or use for those tools.
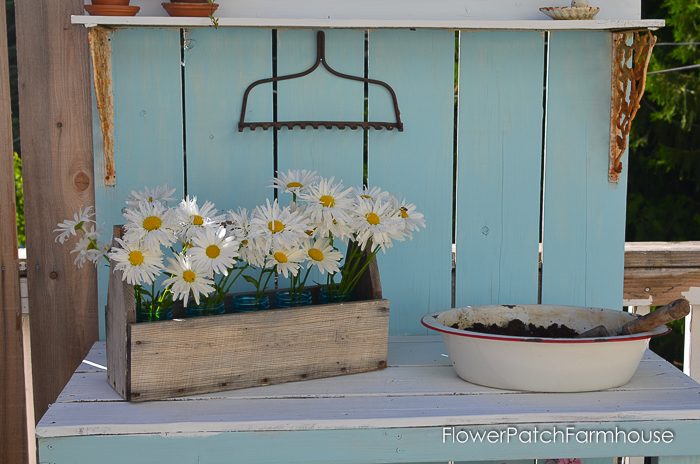
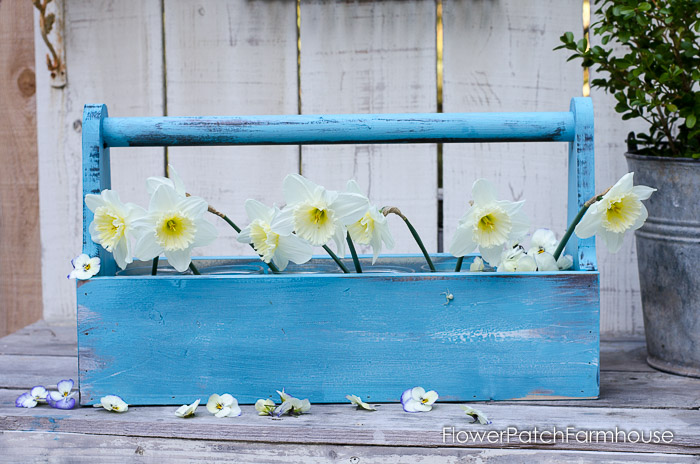
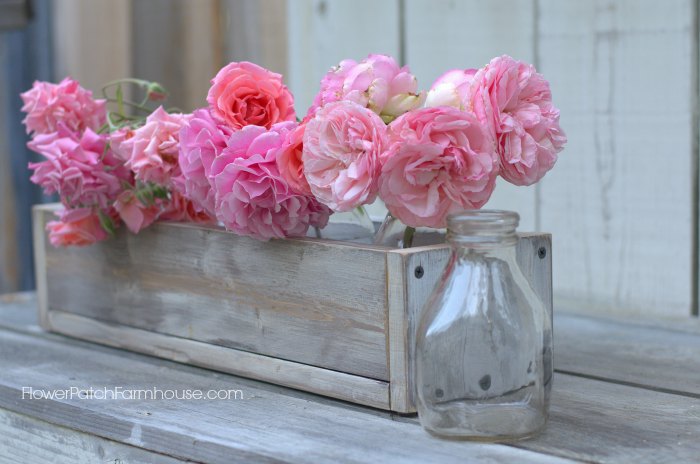
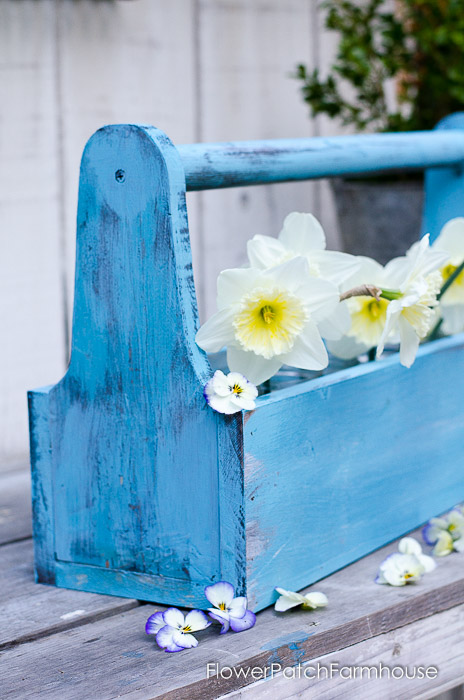
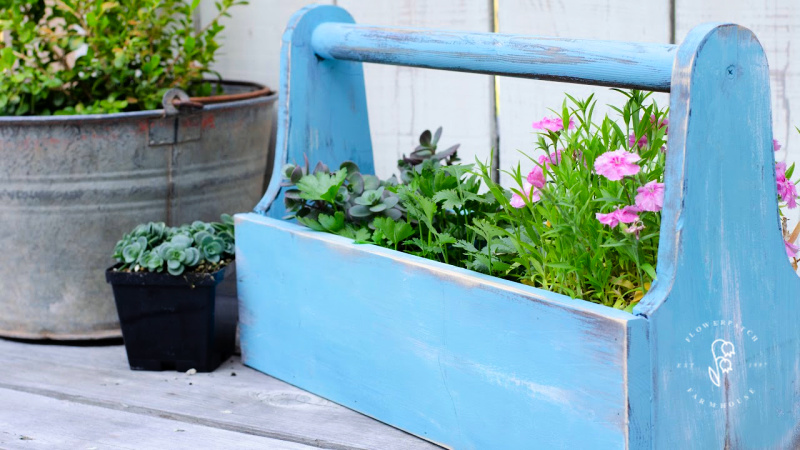
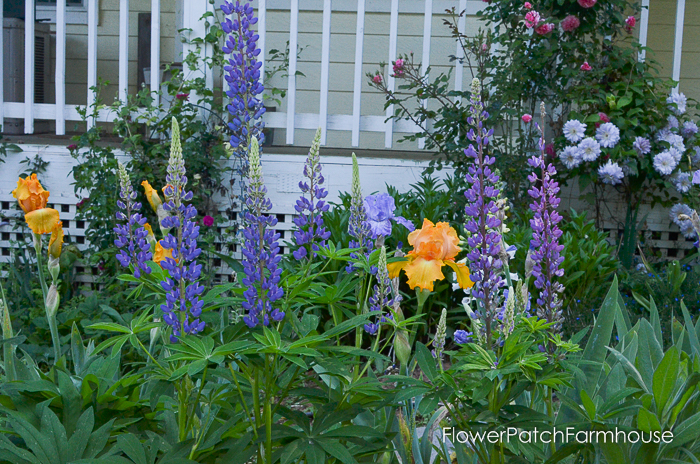
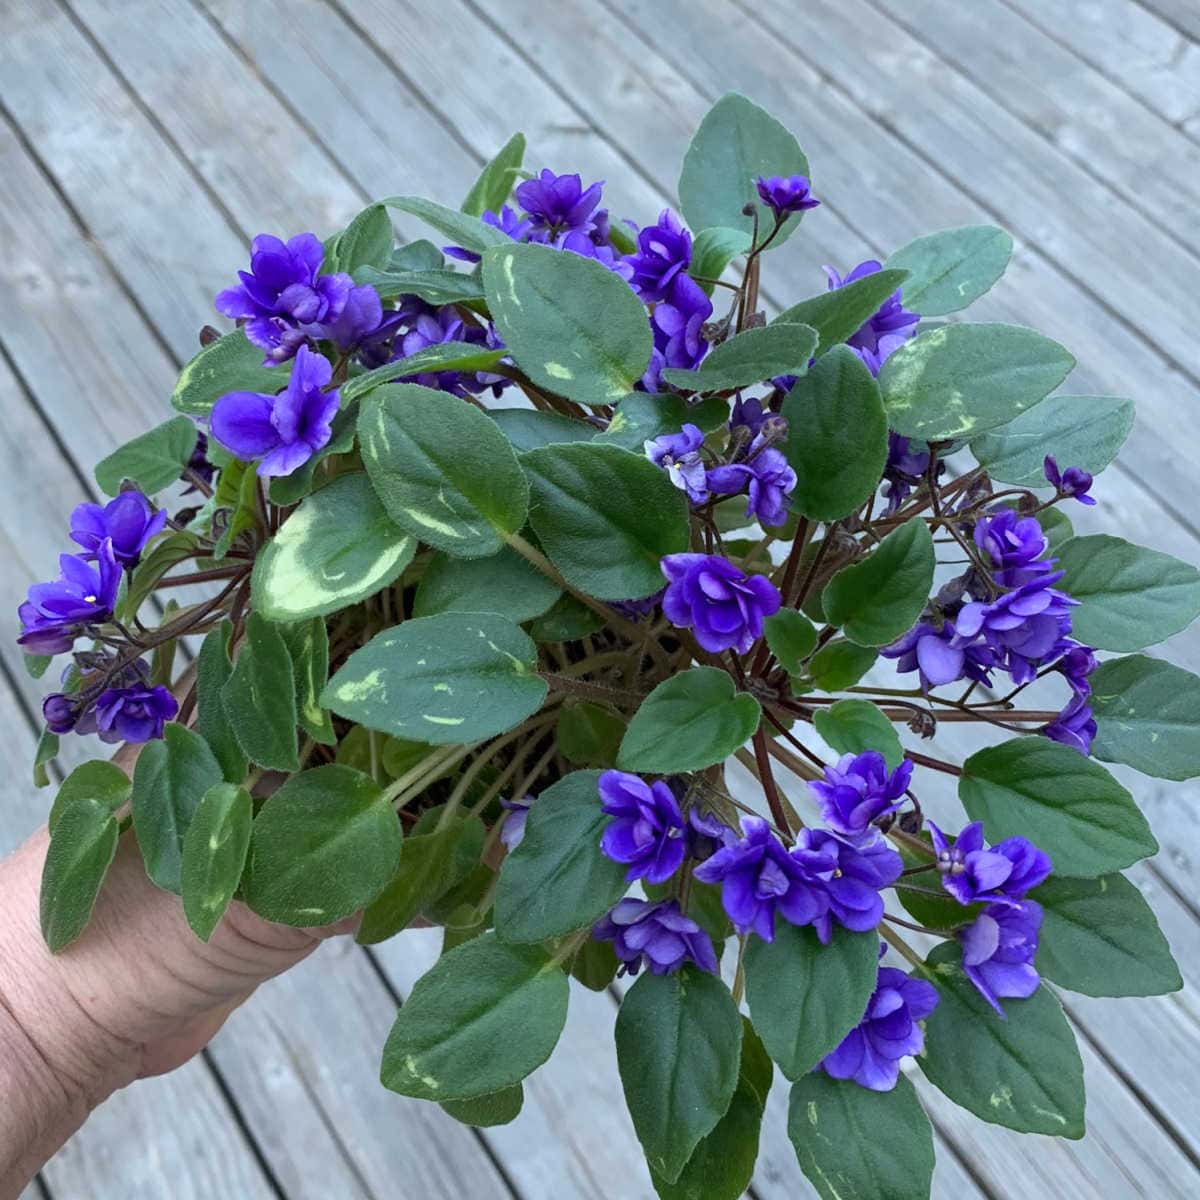
You can use a toolbox caddy for so many things as you will see in the following photos.
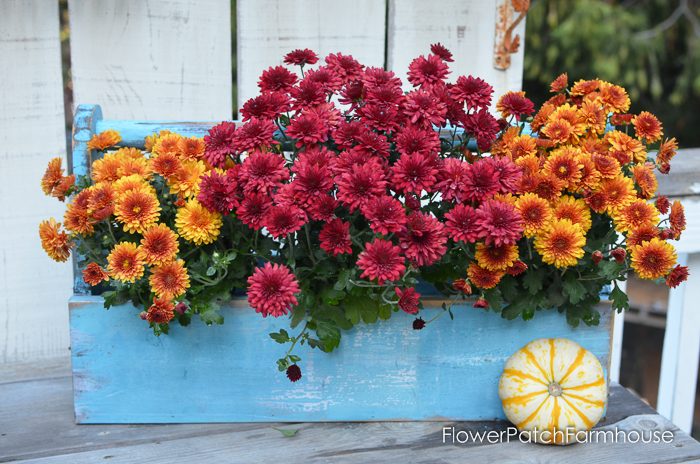
Toolbox caddies can have curved sides, straight sides, or angled sides. You can get fancy with it or make them very plain.
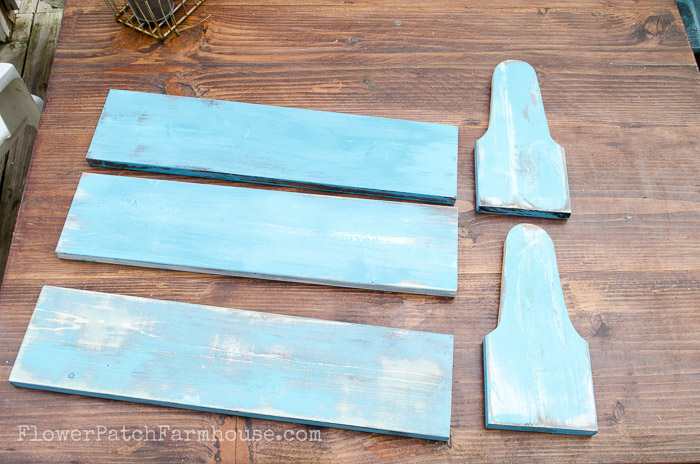
Many are just plain wood that is stained or you can paint them with any color you like.
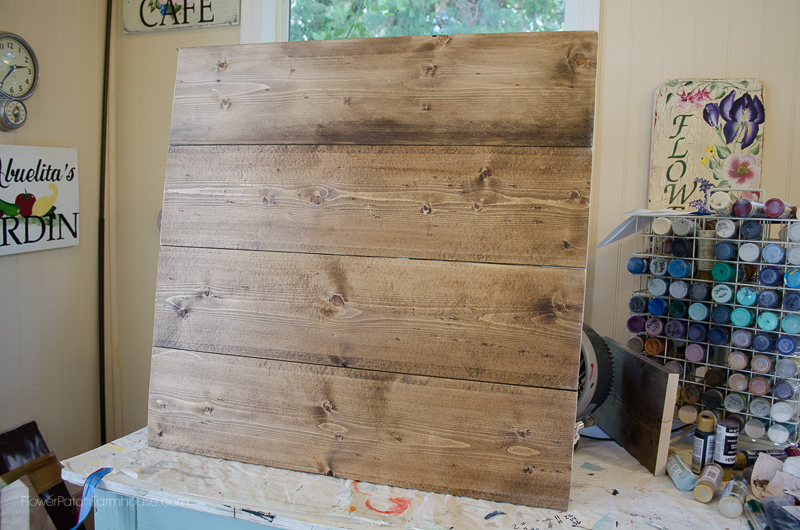
To get the rustic finish on new wood look use the technique shown in a different post here and used the same technique with this one except I used blue paint.
The printable cut pattern is for the curved side one pictured below.
This is a variation on the rustic crate DIY shared here.
We put it together a bit differently to show how you can build these boxes and crates in several different ways.
Cut the wood
First, cut the boards to size. For this toolbox, use a 1 x 6 pine board.
You can make this any length you wish. Use a jigsaw to cut the sides with a curved top. If you want a cut pattern for the curved sides then look for it below.
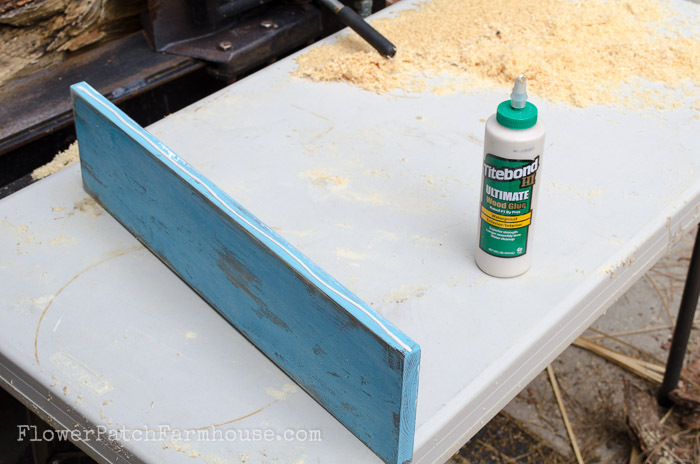
Instead of using screws this time we used glue and a nail gun.
It just goes faster and if I wish to add some vintage look square nails I can come back and add them after pre-drilling.
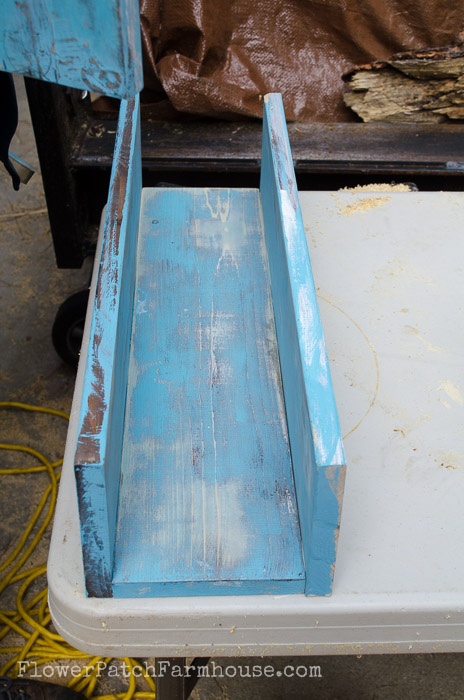
Assemble the Sides
Next, run a bead of wood glue along the edge of one of the boards used for the side.
Fit along the edge of the bottom board and nail or screw in place.
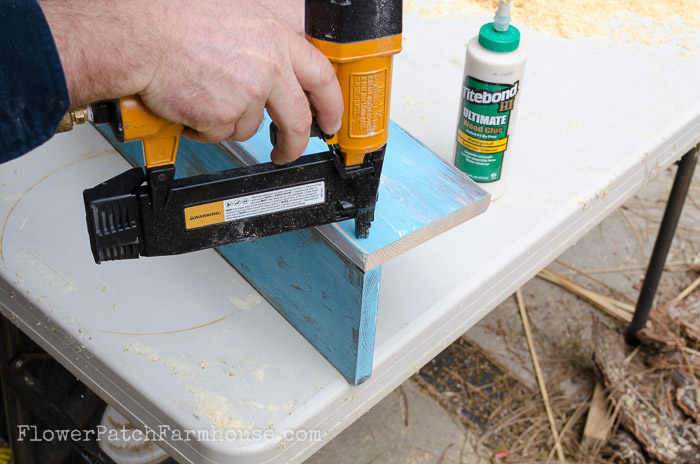
Flip over and do the same with the other side board.
You can build this with screws or nails and a hammer, we just used the nail gun for expediency’s sake.
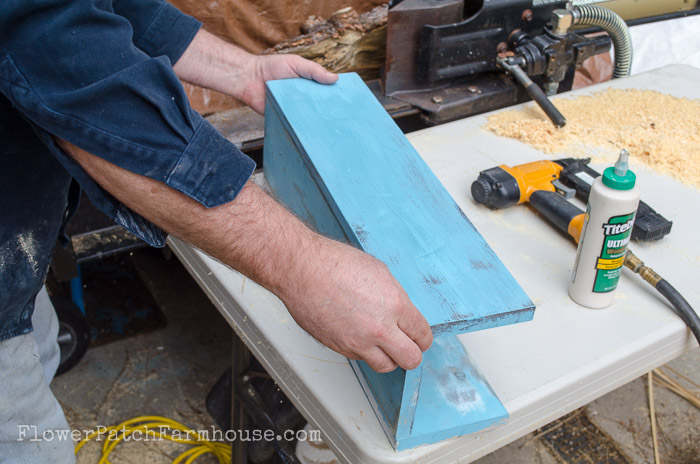
Now you should have something that looks like this..
Attach the End Pieces
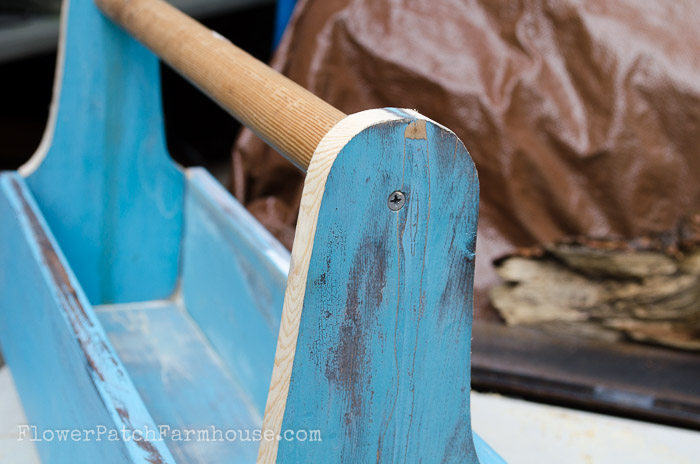
Instead of applying the end boards to the outside this time I am going to put them inside the two sideboards.
Run a bead of glue along each edge of the end piece where the boards will be attached together.
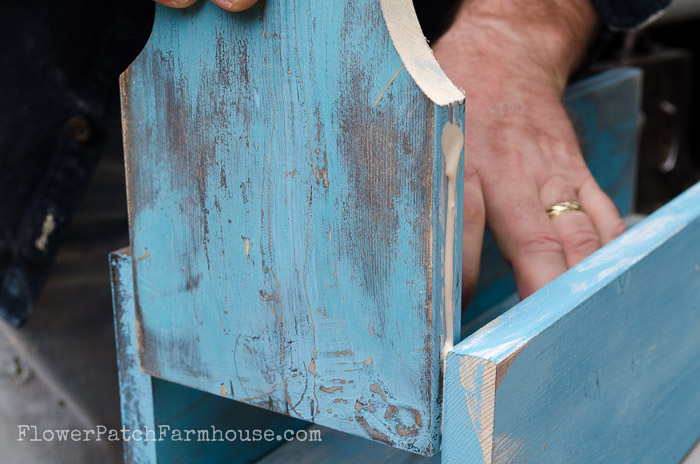
Now nail it together. You can easily wipe off the glue that squeezes out while it is wet. Once it dries that is a whole other story.
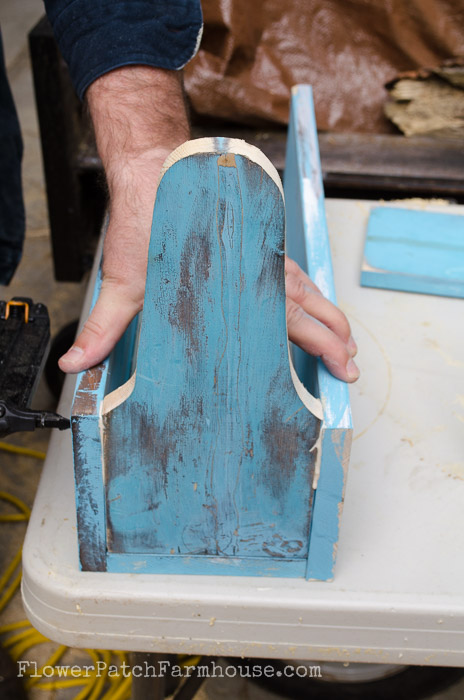
Once you have both ends put on you will have something like this.
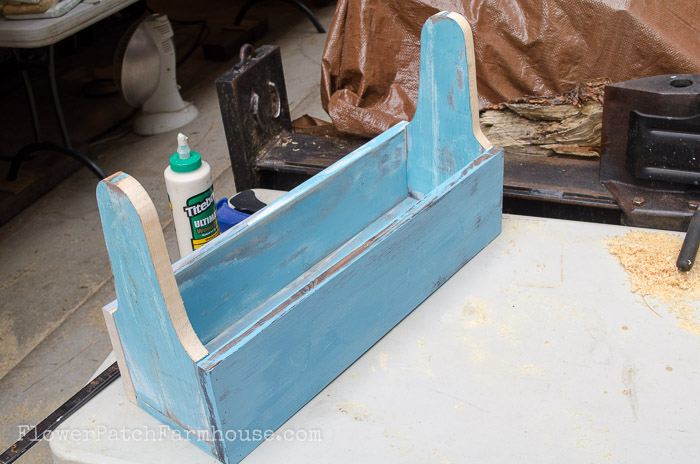
Toolbox Caddy Handle
Measure between the top of the end pieces to cut your closet pole for a handle.
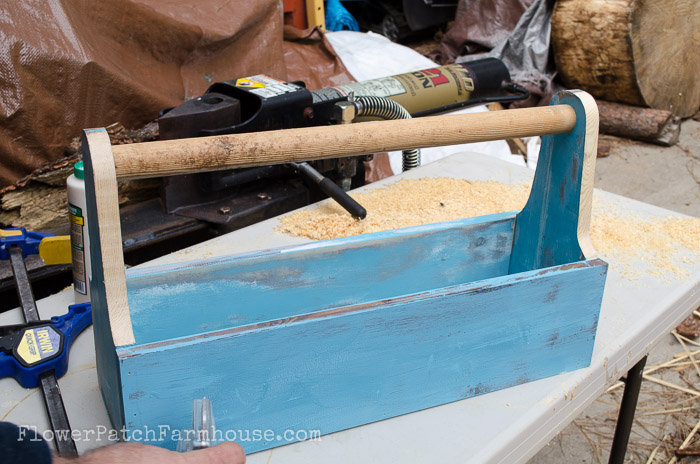
This piece we will screw it together to make it sturdier for lifting. Make sure to predrill the holes so you avoid splitting the wood.
Finish with Paint or Stain
Add a bit of touch-up paint, and distress some more with sandpaper or steel wool to get the desired look.
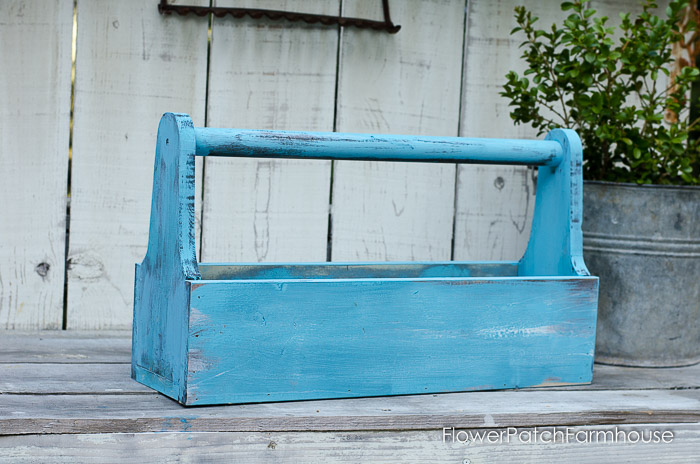
If you need to finish with a varathane or use exterior paint for outdoor use.
These are so fun to make as they are very easy.
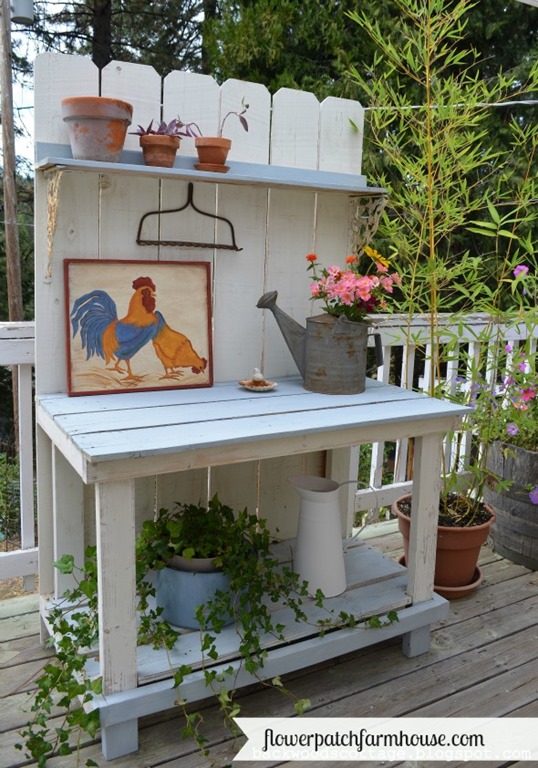
They are great for many things. Storage, centerpieces on the table, planter boxes in the garden…just use your imagination.
Or you can use it as a toolbox or caddy!
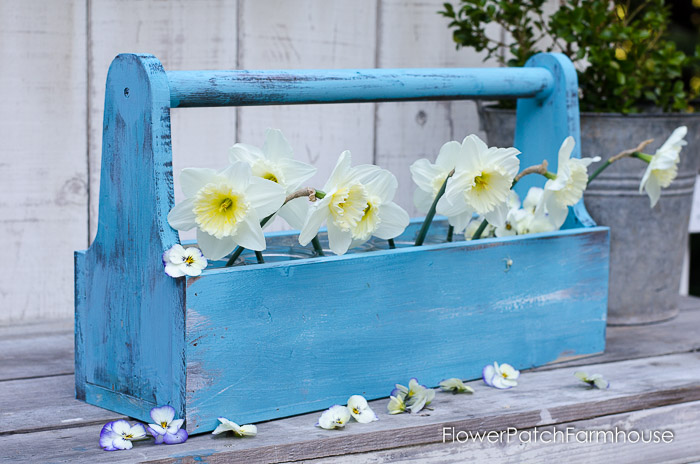
I am thinking I want to paint something on this one, maybe some sunflowers.
The golden yellow would pop against the blue, or maybe some white daisies…or I can put some graphics for a more vintage advertisement vibe…
The ideas are endless!
For a free printable cutting pattern for the curved sides of this toolbox caddy just sign in or sign up for a free account!
I wish you Happy Building!
It is in the menu bar at the top of the site. It is called Subscribers Downloads but maybe I should change the name. I may do that.
I have the password but I don’t see a link to the resource library to get the pattern.
What size board did you use?
My planter box I used cedar fencing for the bottom and coated it with organic tung oil. If I use pine I will paint it with an exterior varathane (the one I use on signs I paint for the outdoors) I usually don’t plant directly in the box but put little pots of plant in it. When the plants are lush and full you cannot see they are not planted directly in the toolbox.
If you plant in your box, do you use anything to protect the wood from rotting out at the bottom from watering the plant?
I love mine and I plan on making a few more, so many ways you can go with this.
It is a beautiful color and such a versatile project.
I did a check on Ebay under Antique Nails and found a large variety of antique nails. Anywhere from 25 up to 475 pieces, prices starting around $5 on up to $25. Don’t know whether that is a good deal or not, but you might want to look there too.
Let me know if you find any reasonably priced. I did a cursory check and choked on pricing.
Thanks Pamela! I will have to try online too!
I found my square nails at a mom and pop hardware store in a nearby town. I think they are called hand forged nails, I should see if I can find any online.
Cute little toolbox! Love that color of blue. I just recently learned about the wet distressing technique. Don’t know why I neven thought of that, because that’s how I clean up mistakes.
It would look real cute with the vintage nails. Where can you find them?
What is great is you can’t have too many and you can build in so many sizes!
So cute! I love the look of things like this. I need to dig around in my scrap pile and put together one or two or ten!
I am so glad, if you are on the east coast I can totally understand the need for a bit of Spring inspiration. It has been close to 70 and sunny here the past few days. We are getting a few clouds and we are praying for even a little itty bit of rain or snow to fall.
Pinned! The blue is giving me that spring feeling, inspite of gray skies.
I love the blue as well, I have yet to finish with either a wax or varathane finish to protect it but that is because I may paint a motif on it. It may or may not tone it a bit with adding a protective finish. I have another started but it is in a mint green.
It’s beautiful and such a pleasant shade of blue. I have a similar one but the handle separates two side and the sides aren’t big enough for anything I think I will remove it and do more like you did.