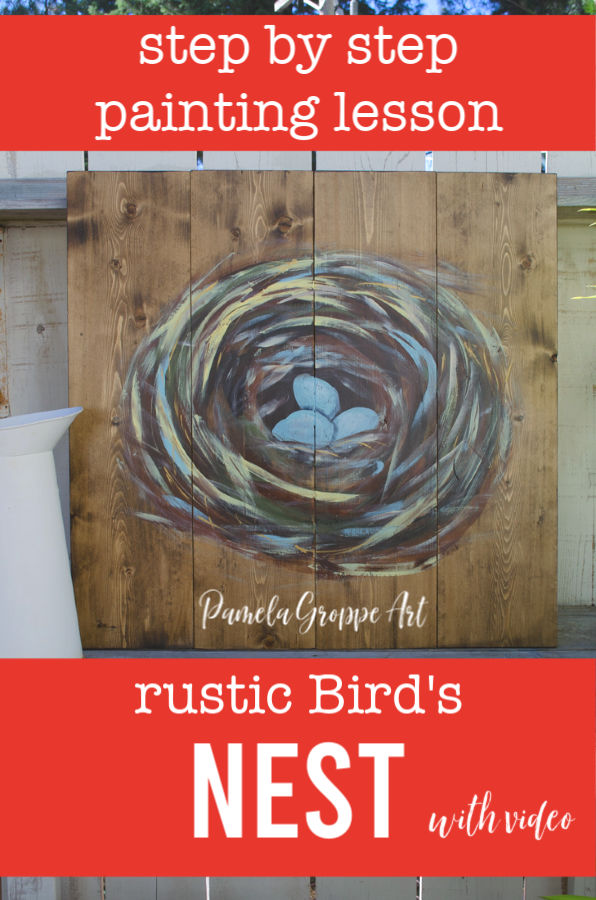
How to Paint a Bird’s Nest
DIY How to Paint a Bird’s Nest on Wood using chalk paint. This nest painting tutorial shows how you can use just about any paint to create art.
This How to Paint A Bird’s Nest tutorial is so easy you can do this with your kids.
You can paint this on pallet wood, a canvas, or attach boards together as I did!
I love painting on wood, there is just something so organic about it.
You could certainly paint a background color rather than having just a stain but I thought I could make it rustically appealing letting the wood shine. Now let’s get started and paint a bird’s nest.
This post contains affiliate links. If you make a purchase after clicking a link I may make a small commission at no added cost to you.
Are you ready to paint!
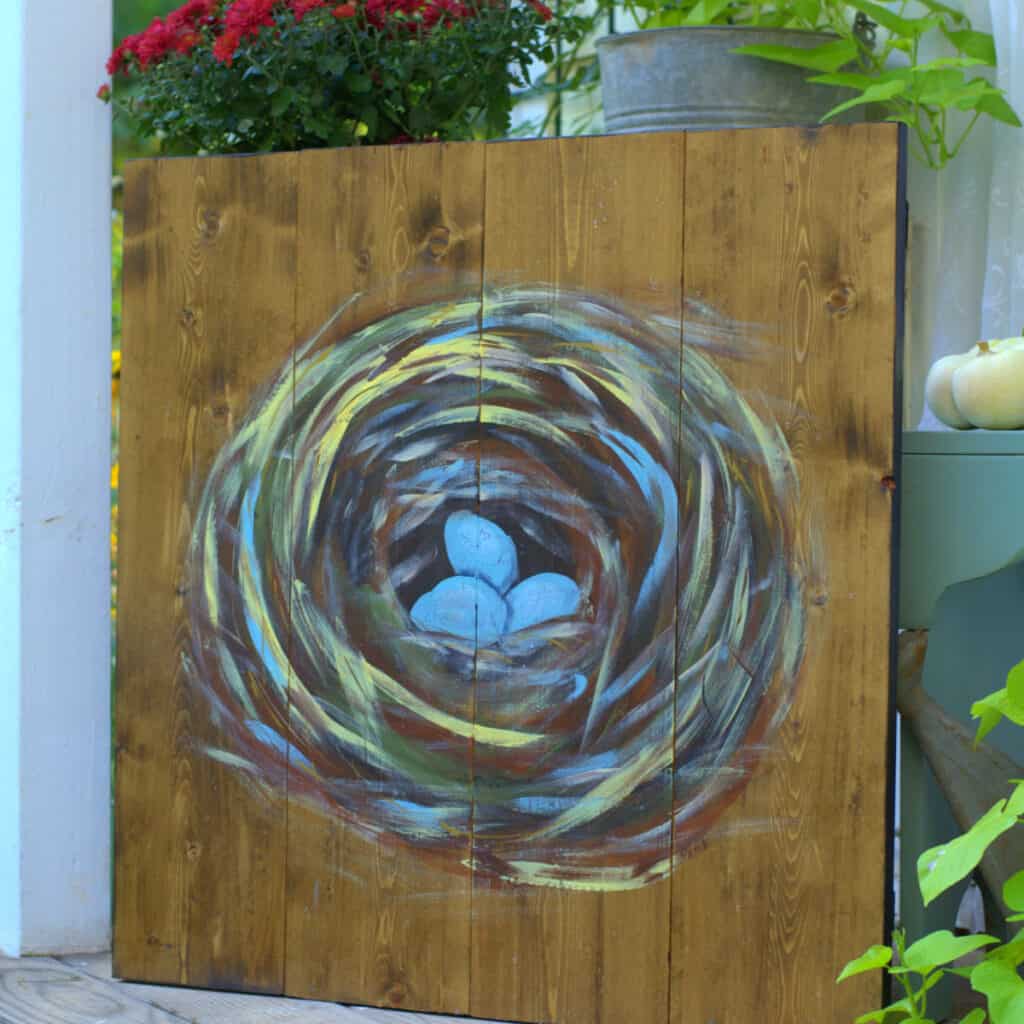
Bird nests are a great natural decorative touch. Painting yourself such a great rustic piece to hang in your home should not take you long.
This also would make great garden art if you seal it well.
You can use a variety of paint colors, not just the ones I share today, get artsy with it.
I used the chalky finish paint that you would use repainting furniture to show how you can use many types of paint to make your art, you don’t have to stick to the traditional “art” paints.
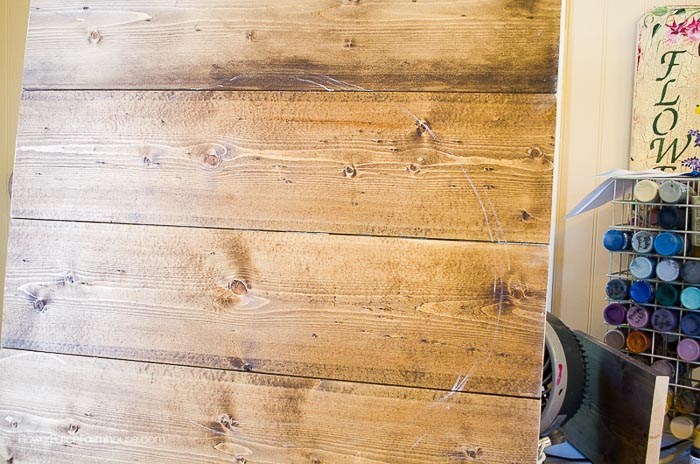
Surface to Paint a Nest
I started by staining my wood a Dark Oak and cutting it to size. I used pine 1 x 8’s cut 28.5” long. I stained the side edges of the boards too.
(CLICK HERE to view a full step by step of how I cleat the boards together)
Now you have a surface to paint on, this one measures about 28.75 x 28.5.
Sketch in You Nest Area
Chalk in your oval or nest shape as a guideline.
I used a 1 inch flat brush to paint the nest materials.
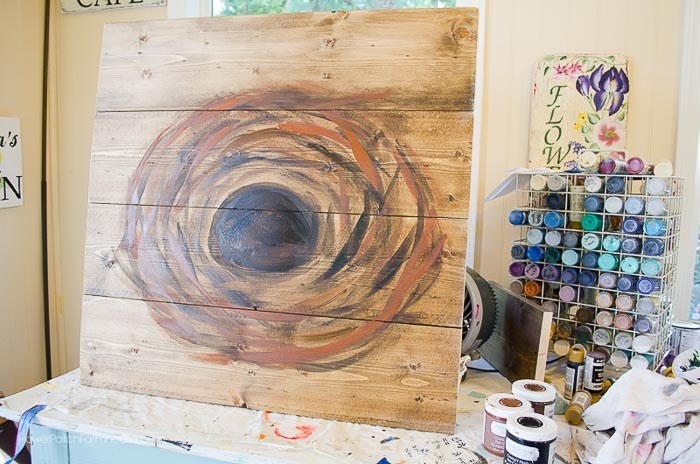
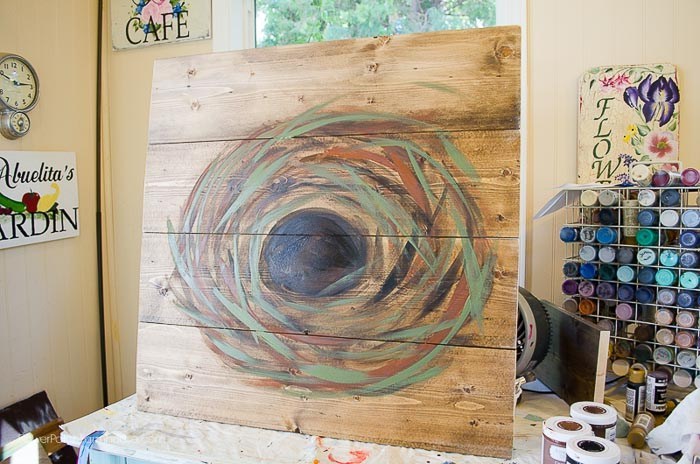
Start Painting Base of Nest
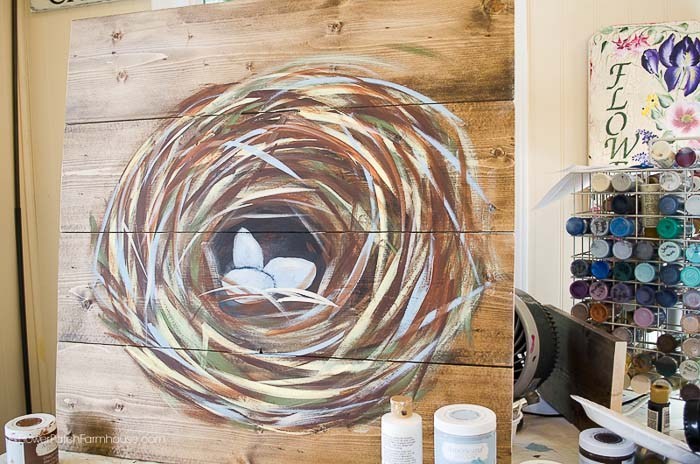
Start by stroking in the dark brown and black, the center you want to be very dark to help set the backdrop for the eggs.
Then loosely stroke in the brown (Rustic) and black twigs (Carbon), straw, or whatever it may be.
Layers
Next using a bit of green (Enchanted) and slash in more lines and curves, keep it loose and try not to overdo it. Less is more.
(I have to constantly tell myself this, I have a tendency to go overboard)
Crackle Medium for Texture (optional)
I painted in some crackled medium here and there so the next layers will have a crackled effect giving it a bit more interest and texture. I also painted some crackle medium into the center where the eggs will sit.
This is optional and not necessary for this painting to be beautiful. I just like the added texture it gives.
Want to know more on how I use CRACKLE MEDIUM, go Here!
Add Highlights
Now for some light, this is the light yellow by DecoArt Chalky Finish called Delicate. Again stroke in lines and nest pieces with slashing strokes.
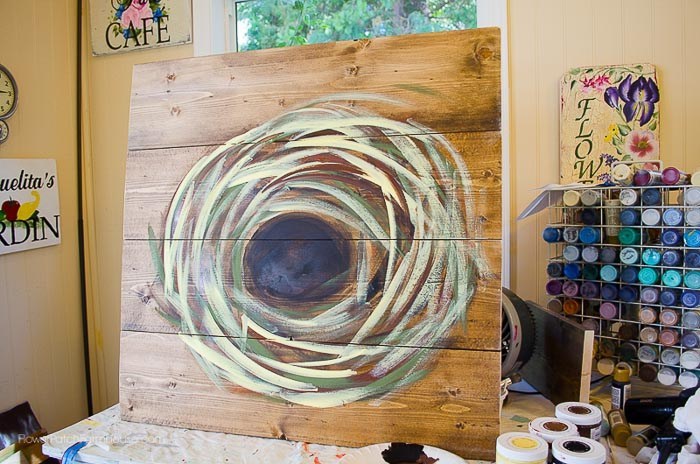
I got this a bit too yellow so I added in some darker brown (Burnt Umber bottled acrylic). That toned it back down nicely.

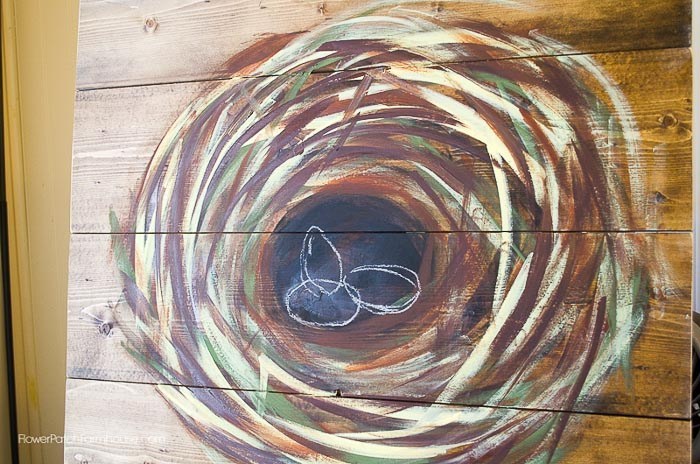
Paint Eggs in the Nest
Now draw in your eggs. using chalk. They do not have to be perfect, just egg shaped.
I mixed two blues of the Americana Decor Chalky Finish Paint to get a blue I liked for the eggs, Serene & Escape.
(Mixing the available colors of Chalky finish paint is easy and fun to make your own custom colors. If you do, make sure to write down how you do it, trust me, you forget. Also you can easily find a color in the Decoart Americana bottle acrylics for the eggs)
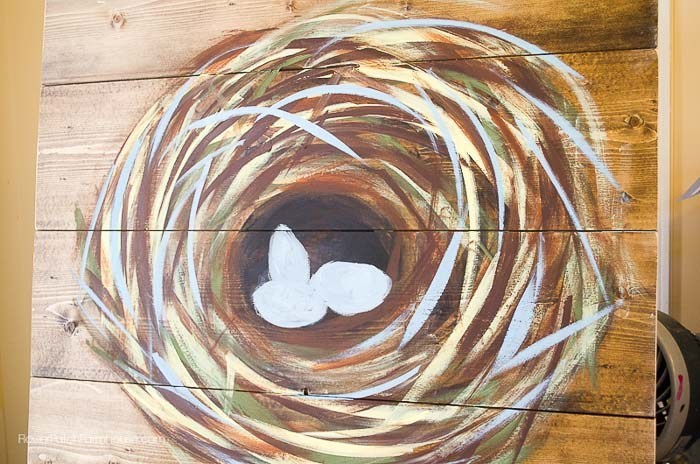
I painted the eggs in gently and quickly so as not to lift the paint as the crackle finish is activated.
If you go over it too much it will lift off the paint.
Make sure to add a shadow around the eggs, some are sitting in front of others. This will give them dimension.
Add a touch of highlights.
Slash in a few pieces of nesting material in front of the eggs to set them back a bit more.
Finito
Finish it off with an exterior protective finish, I use Varathane Spar Urethane, it is water-based and does not amber.
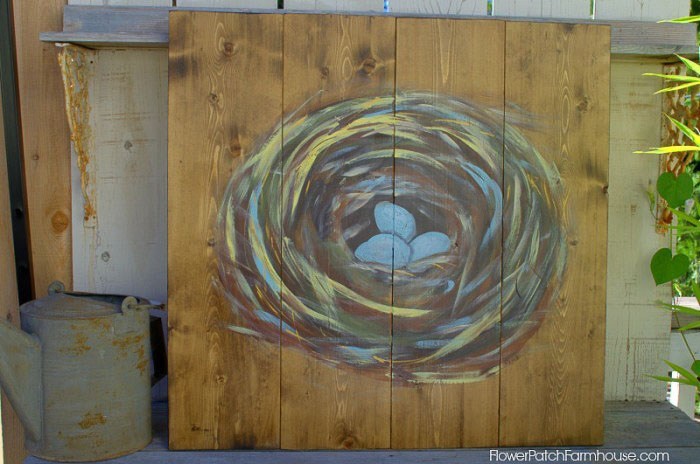
Now step back and gaze at your lovely work.
Don’t forget to sign your painting!
Supplies:
I used chalky finish paint for this but you are welcome to use Craft Acrylics in comparable colors.
DecoArt Chalky Finish paint in:
Carbon
Rustic
Enchanted
Delicate
DecoArt Americana Burnt Umber Craft Acrylic
Crackle Medium
Loew Cornell brush set
Water base Rustoleum Spar Urethane in Semi Gloss or Satin for exteriors
Please PIN and share
For a complete list of my GO TO painting supplies visit this page.
Using an exterior finish means you can hang your painting outside as well, this would make great garden art. You need to coat the painting on both sides with at least 4 coats of varathane and let it cure a good two weeks in a warm, dry environment.

And that is How You Paint a Bird’s Nest.
Happy Painting!
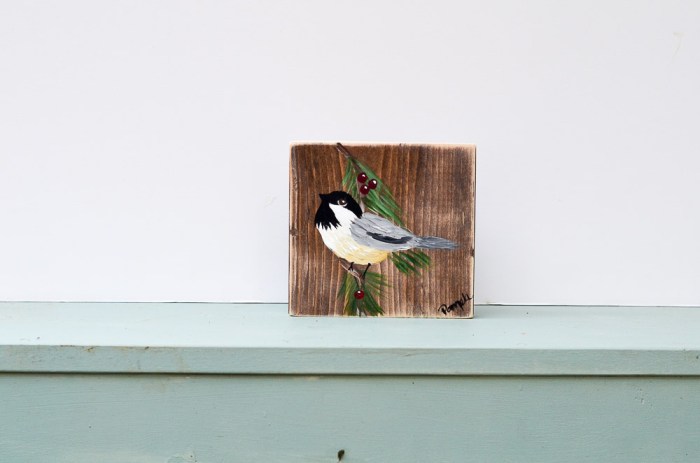
You May Also Like


That’s pretty nice!